ORBIMAT CA
| Operating instructions
Operation
(09.03.15) OW_ORBIMAT_CA_BA_871060202_04_EN
orbitalum tools
GmbH, D-78224 Singen, www.orbitalum.com, Tel. +49 (0) 77 31 792-0
39
1.
Ignition current:
Using the "
go further to gas pre
purge time
" > "
go further to start delay time
" buttons,
select, adjust and save parameters.
2. Final current and current slope-off: Using the "
go fur-
ther to gas post purge time
" > "
go back to weld seam
end"
buttons, select, adjust and save parameters.
3. Press softkey 1 ("
Weld
") or softkey 2 ("
Test
").
– or –
1. In the main menu, select "
Manual/Adjust programming
"
> "
Adjust parameters
".
2. Select, highlight, adjust and save parameters.
3. Press softkey 1 ("
Weld
") or softkey 2 ("
Test
").
The machine is ready to start.
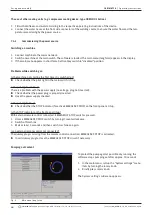
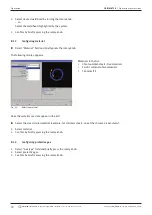
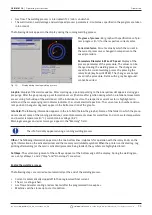
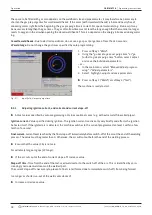
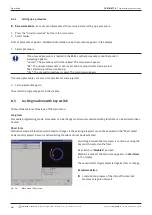
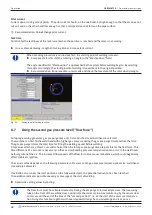
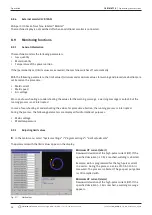
Fig. 18:
Input field - Ignition current and pool formation time
8.3.6
Adjusting the pool formation time
Pool formation time:
Start delay of the rotation motor so that a point weld penetration exists at the beginning of the rota-
tion movement. The pool formation time must be adjusted if the starting point shows too much or too little weld penetra-
tion. Adjustment of the pool formation time is made easier by observing, for example, the root formation inside the pipe
on a test piece. Ideally, the rotation should begin immediately after a visible formation of the melt pool inside the pipe.
Increasing the weld current in the 1st sector affects the energy introduced to the melt pool during pool formation.
X
Ensure that the weld current of the 1st sector is used during pool formation.
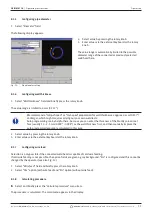
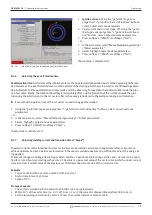
1. Using the "
go further to gas pre purge time
" > "
go further to start delay time
" buttons, select, adjust and save
parameters.
– or –
1. In the main menu, select "
Manual/Adjust programming
" > "
Adjust parameters
".
2. Select, highlight, adjust and save parameters.
3. Press softkey 1 ("
Weld
") or softkey 2 ("
Test
").
The machine is ready to start.
8.3.7
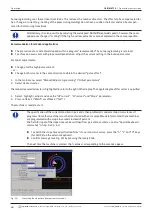
Adjusting welding current and transition times ("Slope")
The weld currents in the individual sectors are the process parameters which are changed most often in practice to
achieve optimum and even weld seam formation. If the seam is welded unevenly or insufficiently, adjust the energy be-
ing applied.
To prevent changes in voltage from being sudden, and thus a possible visible change in the seam, a value can be speci-
fied for a transition time starting with sector 2. The value is a percental value of the sector time in which a linear current
transition from (current) value of the previous sector follows the current value of the current sector.
Example
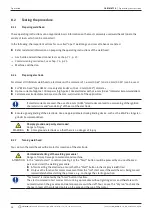
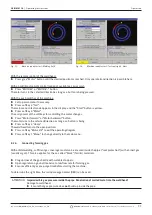
• Current of 50 A (HP) in sector 1 and 45 A (HP) in sector 2
• Sector time in level 2 of 10 sec.
• Slope of 10%
Process sequence
• The sector is welded up to the end with 50 A (HP or LP as programmed).
• Within 10% of the sector time (i.e. 10% of 10 sec = 1 sec), the current is dropped linearly from 50 A to 45 A.
• For the remaining sector time in sector 2 (9 sec), the current remains constant at 45 A.

