Service and troubleshooting
ORBIMAT CA
| Operating instructions
64
orbitalum tools
GmbH, D-78224 Singen, www.orbitalum.com, Tel. +49 (0) 77 31 792-0
(09.03.15) OW_ORBIMAT_CA_BA_871060202_04_EN
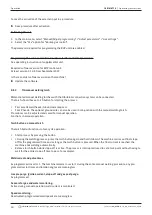
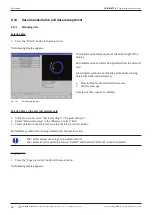
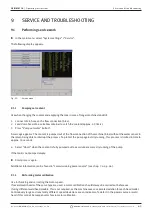
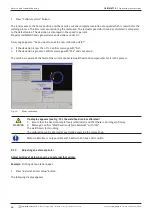
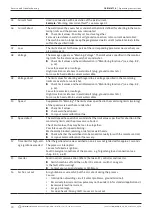
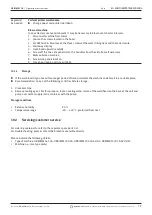
1. Press "
Calibrate motor
" button.
The rotor moves to the home position and then carries out one complete revolution at a speed which is realistic for the
welding process. The time is measured during the revolution. The (actual) speed which can be calculated is compared
to the default value. The deviation is displayed in the speed in percent.
Properly calibrated heads generally mean deviations under 1%.
A message appears: "
Do you want to save the new calibration data?
"
2. If the deviation is less than 1%: Confirm message with "
No
".
3. If the deviation is greater: Confirm message with "
Yes
" and save value.
The machine is aware of the fault of the current connected weld head and compensates for it in the process.
Fig. 34:
Motor calibration
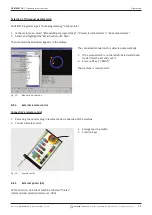
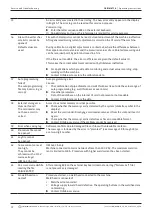
WARNING
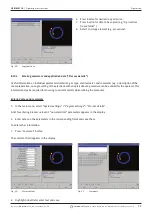
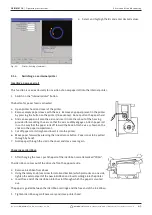
If a display appears (see Fig. 35), the weld head can be calibrated!
1. Ensure that the head can rotate freely (electrode?) and that there is no danger of injury.
2. Message: Confirm "
Weld head ready for calibration?
" with "
Yes
".
The weld head starts running.
The calibration can be aborted at any time by pressing the rotary knob.
Motor calibration is only possible with heads which have a limit switch.
9.1.3
Adjusting an external printer
Adjust printing of data when using an external (A4) printer.
Example:
Printing data on letter paper.
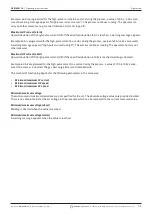
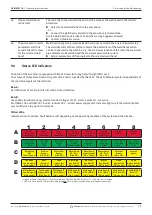
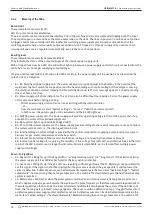
1. Press "
External printer setup
" button.
The following display appears:

