CHRONOTHERMOSTAT
[10]
INSTALLING THE CHRONOTHERMOSTAT
Follow the instructions below to operate device:
1)
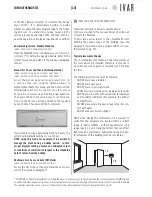
Choose a location for the device and mount it on the wall.
2)
Insert the batteries.
3)
Associate each actuator to the chronothermostat,
defining the various zones of the building. (See the
paragraph, ‘Association of an actuator with the chrono-
thermostat‘ on pg. 19).
Typical placement of device
The chronothermostat measures the temperature of
the room where it is installed; therefore, it must be in
a position exposed to good air circulation, at 5 ft above
the floor.
The following instructions must be followed.
• DO NOT place near a radiator.
• DO NOT place near doors.
• DO NOT place on perimeter walls.
• DO NOT place in correspondence to piping inside the walls.
• DO NOT place in rooms with exceptional temperature
and humidity conditions (For example the kitchen
and bathroom).
• DO NOT place where the device may come into con-
tact with water.
• DO NOT expose to direct sunlight.
NOTE:
when placing the thermostat, it is necessary to
verify that the actuators are located within a certain
range. In ideal conditions - without any obstacles - this
range covers 33 yd. Among the factors that can affect
transmission performance, humidity and the architec-
tural features of the building must be considered.
5 ft
1 ft
to the time interval selected. To complete the change,
press
ENTER
. It is immediately possible to decide
whether to apply the same programming to the follow-
ing 24 hours. To extend it by one day, respond to the
system prompt by selecting
ENTER
and then
EDIT
. Re-
peat the operation until a typical week has been defined.
Summer adjustment - Weekly Schedule
[MENU
à
SETTINGS
à
SUMMER ADJUSTMENT]
When the SUMMER mode is enabled, access
Summer Ad-
justment
(*) to define the weekly schedule. Refer to the
similar procedure, described in the previous paragraph
(Zones).
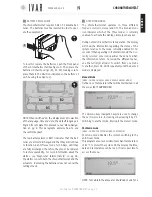
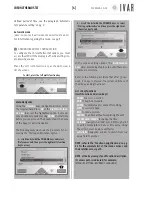
Manual for 1 hour and then Auto (Manual Mode)
[MENU
à
MODE
à
MAN. MODE
à
MANUAL FOR 1 HOUR...]
[MENU
à
MODE
à
MAN. MODE
à
MANUAL FOR 2 HOURS...]
Access the
Manual Mode
section and select
Man. for
1 hour and then auto
, using the
Up/down
arrows, to
temporarily activate this mode, and then press
ENTER
.
Alternatively, select
Man. for two hours and then auto
or
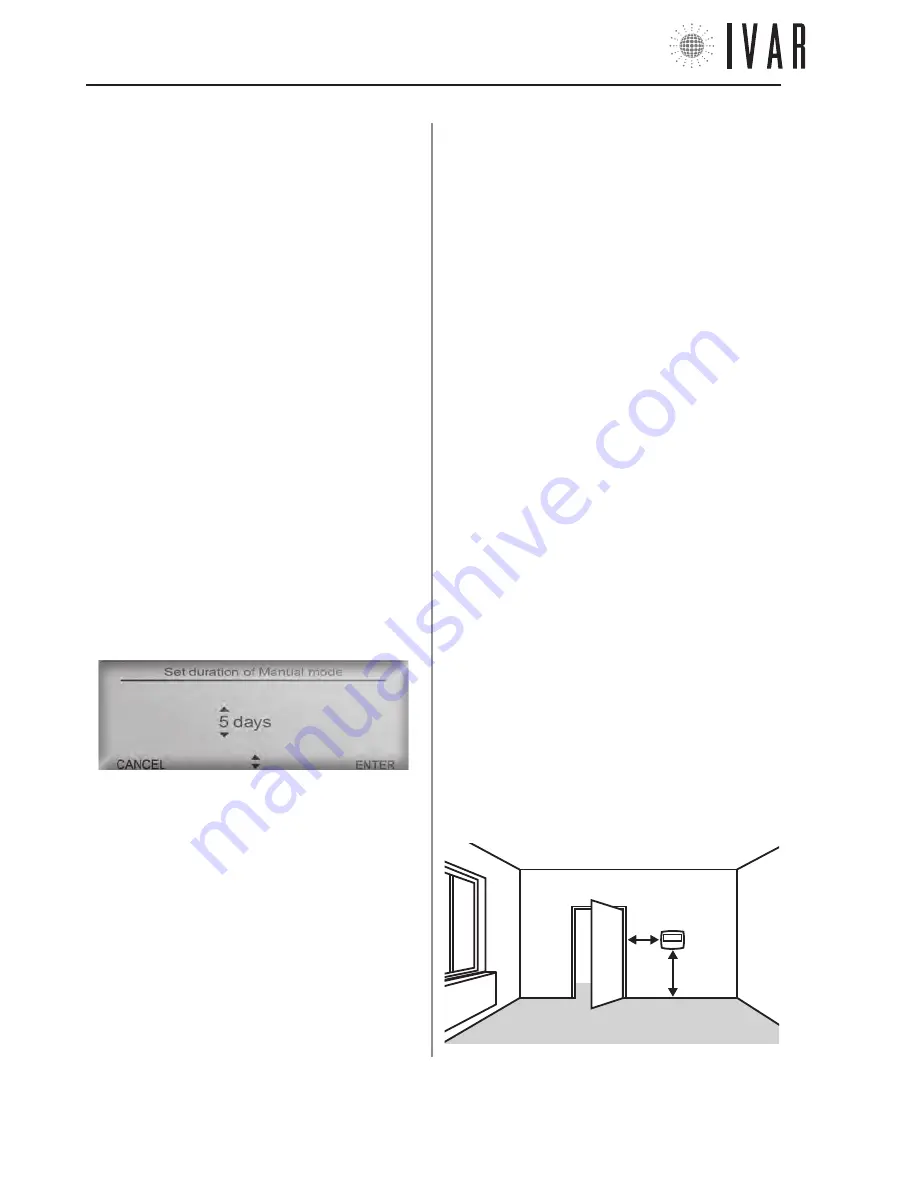
Set duration of manual mode
to define longer durations.
Then press
ENTER
. In the second case, to set this dura-
tion, use the
Up/down
arrows and define the required
period of time. Then press
ENTER
to complete.
If you want to specify a period longer than 24 hours, the
system automatically switches to count days.
NOTE: using this mode, for example, it is possible to
manage the plant during a holiday period. In fact,
proper program setting, ensures an anticipated return
to conditions of comfort with respect to the scheduled
date of return from the holiday.
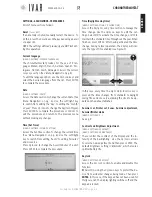
Shutdown for 1 hour and Auto (OFF Mode)
[MENU
à
MODE
à
OFF MODE
à
SWITCH OFF FOR...]
Access the
OFF mode
section and follow the same pro-
cedure (See previous paragraph).
* ATTENTION:
in ‘Summer adjustment’ selecting the zones is not necessary. In Summer mode the system operates in ON/OFF mode
on all the actuators and on a single zone, whose temperature is measured directly by the chronothermostat. It is possible to disable
the summer operation of one or more of the actuators (See Anti-condensation function adjustment on pg. 23).
300546US-10-14


