7. QUICK START
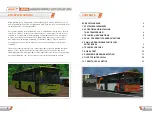
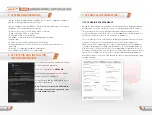
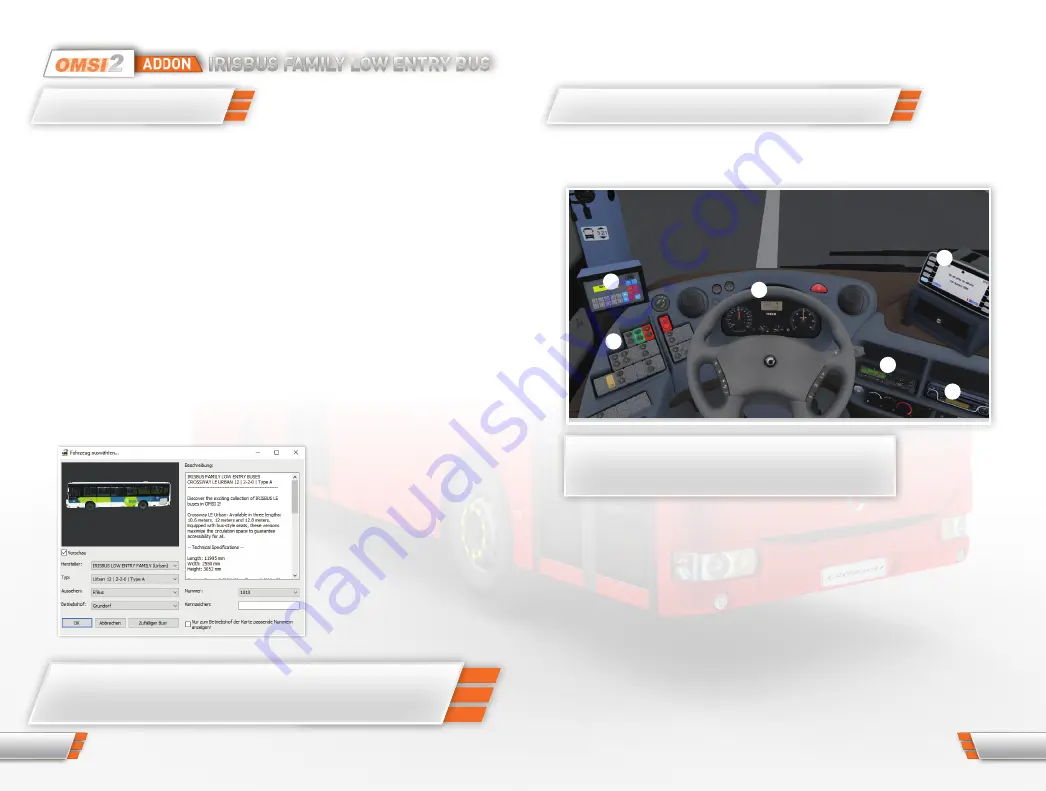
When selecting the vehicle, choose one of the following manufacturers:
- „IRISBUS LOW ENTRY FAMILY (Urban)“, intended for urban lines.
- „IRISBUS LOW ENTRY FAMILY (SubUrban)“ for lines in suburbs.
You can now select the vehicle (type). There are different lengths, door
arrangements and production years (called „phase“).
Each model is described with the following syntax:
Name (Urban / SubUrban) - Length (10/12/13) - Door arrangement
(1-2-0, 2-2-0...) - type.
After you have selected the type, the appearance (Repaint) can be selected.
Make sure that the .hof file „{MapName.hof}“ matches the selected map. You
must then select a location for the placement.
Switch to the driver view with [F1]. Start the electrical system [E] and the engine
[,]. Engage gear [D] (automatic transmission), shift into first gear and release
the clutch (manual transmission) and release the parking brake [/]. Depending
on the air pressure in the system, the bus will now start to roll and you can
accelerate and steer.
At night, you should switch on
the headlights [L/F] and light
up the interior [8] [9].
When the passengers are
to board the bus, you must
programme display matrix
that shows the final stop of the
service you have chosen.
This is done via the IBIS
matrix controller or via the
menu „92E“.
Important for creators, in the folder \ OMSI 2 \ Addons \
Irisbus-Low-Entry \ you will find a repaint guide as well as a
SETVAR list to configure the individual equipment.
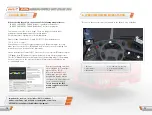
8. OVERVIEW DRIVER WORKSTATION
Below is a short overview of the controls in the driver‘s area of the bus.
1. IBIS unit
2. side switches
3. dashboard
4. air conditioning / heating
5. ticket printer CX6000
6. radio
1
2
3
6
4
5
12
13


