background image

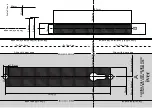
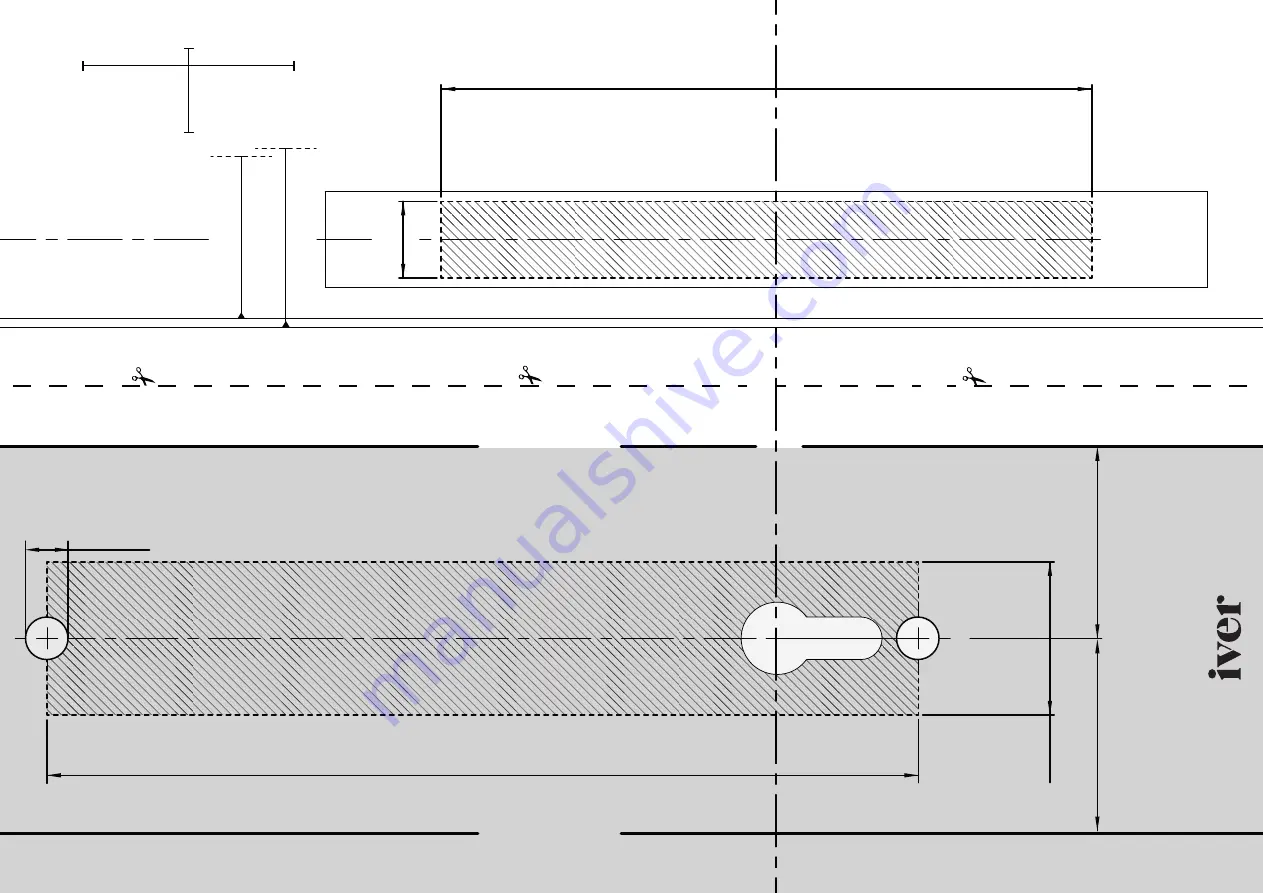
45mm backs

et

36mm

205mm

Ø 10mm

153mm

A

A

B

18mm

Align g

uideline with t

emplat

A

 & 

B

G

uideline

G

uideline

EDGE OF DOOR

Sc

ale C

heck

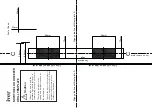
20mm

50mm

Align with door edge

Align with door edge

45mm backs

et

EDGE OF DOOR

Align with door edge

Align with door edge

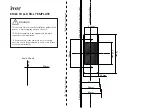
SLIDING P

ULL WITH EUR

O L

OCK 

FUNC

TION DRILL TEMP

LA

TE

Align with left hand side of door edge

38mm

42mm

Align with left hand side of door edge

Trim here 

Trim here

Trim here 

Cent

re of door edge

Cent

re of door edge

Summary of Contents for IV003

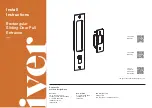
Page 1: ...outhern Design Group New Zealand P 64 0 6 359 0008 info iver co nz iver co nz Scan for Product Finish Care Information Scan for NZ Warranty Scan for AU Warranty 1 Australia 14 16 Stepney Street Stepney South Australia 5069 P 61 0 8 8362 1133 info iver com au iver com au New Zealand P 64 0 6 359 0008 info iver co nz iver co nz Tradco Hardware Pty Ltd trading as Iver ACN 008 154 041 ABN 18 008 154 0...

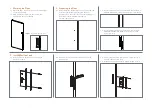
Page 2: ...ill pilot holes with 10mm drill bit to accommodate tie bolt 3 Install Mortice Lock 3 1 Attach lock face plate to mortice lock with provided screws 3 2 Insert mortice lock and trace around edge with stanley knife 2 2 As per template using your preferred method create a W36mm X H205mm cavity through door for pull handle 2 3 As per template using your preferred method create a W18mm X H153mm X D63mm ...

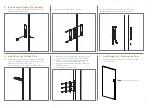
Page 3: ...avities in the door frame to accommodate the strike plate and dust box to a minimum depth of 28mm 5 Install Dust Box Strike Plate 2 5 2 Insert dust box and strike and mark around the edges of the strike plate with a stanley knife 5 3 Using your preferred method create a 4 5mm recess to accommodate the strike plate 5 4 Insert dust box and strike plate and affix with provided screws 5 5 Test that th...

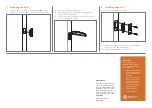
Page 4: ...ce painters tape or masking tape over the product The tape will damage the finish 3 Paint finish door 4 Reinstall hardware Please recycle me after use 4 Sliding Door Pull With Euro Lock Function 7 1 Using preferred method create a W25mmxH42 5mm cavity to a minimum depth of 20mm on the door edge 7 Preparing the Door 5 7 2 Remove dust and insert dustbox 7 3 Place edge pull over cavity and mark aroun...

Page 5: ...e is the appropriate template required for the installation Check the scale of the template is correct using the scale check If the template is not to scale please contact you distributor 42 5mm 25mm Align with left hand side of door edge 38mm 35mm 42mm Align with left hand side of door edge 76mm 28mm 54mm Trim here if required Trim here if required Centre of door edge ...

Page 6: ...20mm 50mm Align with door edge Align with door edge 45mm backset EDGE OF DOOR Align with door edge Align with door edge SLIDING PULL WITH EURO LOCK FUNCTION DRILL TEMPLATE Align with left hand side of door edge 38mm 42mm Align with left hand side of door edge Trim here Trim here Trim here Centre of door edge Centre of door edge ...

Page 7: ...jamb Dustbox recess Dustbox recess Faceplate Edge MORTICE LOCK KEEPER DRILL TEMPLATE Caution Please take time to read the installation guides in full prior to commencing any work on the door Check the template is the appropriate template required for the installation Check the scale of the template is correct using the scale check If the template is not to scale please contact you distributor ...

Reviews: