

If the padding is not centered or touches the buckle, remove the crutch and slide the foam to
the correct position.
This also applies to the upper and lower thigh straps.
.
.
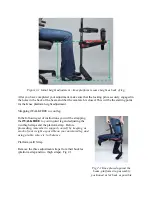
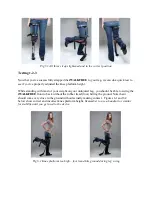
Fig 2.3.1 Correct placement
of stap pad
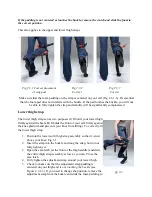
Fig 2.3.2
Correct
Fig 2.3.3
Correct
Make sure that the foam padding on the strap is centered on your calf (Fig 2.3.1-3). It's essential
that the foam pad does not interfere with the buckle. If the pad touches the buckle, you will not
be able to fully tighten the strap and stability will be significantly compromised
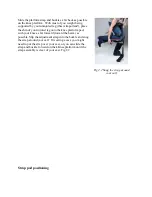
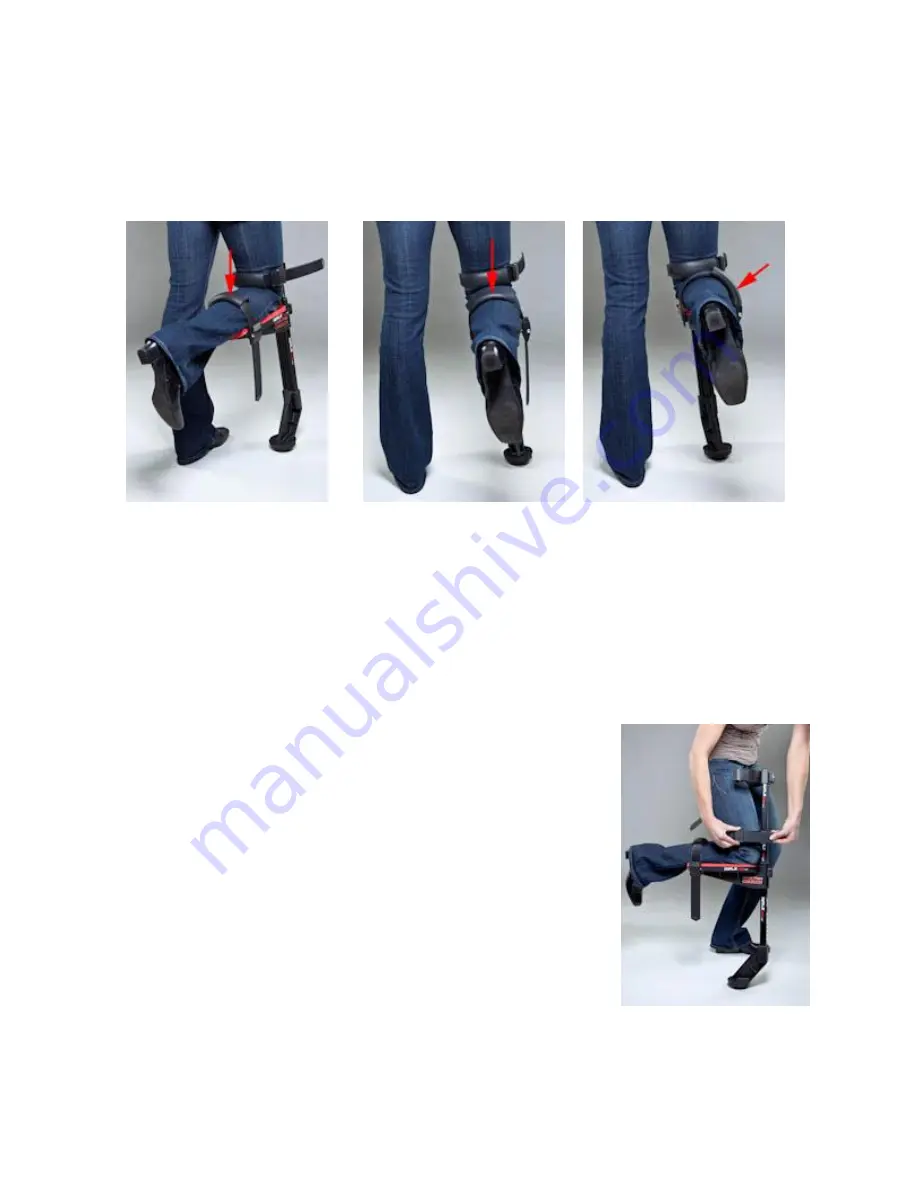
Lower thigh strap
The lower thigh strap serves two purposes A) It holds your lower thigh
firmly against the beam B) It holds the front of your calf firmly against
the knee platform and prevents your knee from lifting). To correctly fit
the lower thigh strap:
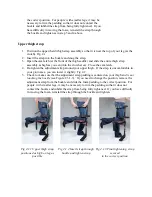
1.
Position the lower (soft) thigh strap assembly so that it is just
above your knee. Fig 3.1
2.
Insert the strap into the buckle and snug the strap, but do not
fully tighten yet.
3.
Open the cam latch (at the front of the thigh saddle) and slide
the entire thigh strap assembly as low as you can. Close the
cam latch.
4.
Fully tighten the adjustment strap around your lower thigh.
5.
Check to make sure that the adjustment strap padding is
centered on your thigh and
is not touching the buckle
(see
Figure 2.3.1-3). If you need to change the position, remove the
adjustment strap from the buckle and slide the foam padding to
fig 3.1


