3
6
SET UP
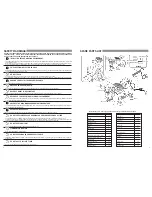
1. Check that model name is as you ordered and that the following accessories are included: 1 x instruction manual, 1 x air hose, 1x
adapter kit, 1 x o-ring.
2. Check that the product has not been damaged during transportation.
3. Carefully unpack the compressor, and all components, onto a flat, level surface.
4. Teflon tape should be applied to all threaded components prior to assembly, so that air does not leak.
5. Connect one end of the coiled air hose to the compressor motor. Connect the other end of the coiled air hose to the smaller fitting on
the moisture filter.
NOTE:
Attach the coiled hose behind the red arrow on the moisture filter. The red arrow sticker is the airflow direction.
6. A thin black o-ring should be around the clear bowl on the moisture filter. Make sure the o-ring is snug against the upper rim of the
moisture filter, then drop the entire moisture filter assembly into the silver metal holder attached to the compressor motor.
7. Screw the airbrush straight air hose (larger fitting) to the mositure filter, opposite the coiled air hose. The straight air hose should be
attached in front of the red arrow sticker.
NOTE:
If using a different airbrush brand (not Iwata), screw the airbrush hose to the large fitting in the same manner as stated above.
(adapter kit provided for use with non Iwata airbrushes). In both cases, tighten securely with a wrench.
8. Connect the other, smaller end of the airbrush straight air hose to your airbrush. A small black airbrush holder is mounted on top of the
moisture filter and gauge holder. This is for holding the airbrush when not in use. The air compressor system is now assembled and
ready for testing.
TESTING THE COMPRESSOR
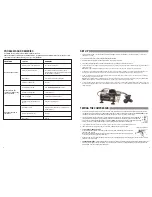
1. First, make sure that the electric source switch is turned “OFF” and that there is no residual pressure inside the air hose, then care-
fully plug the compressor directly into a standard wall socket (never connect to poorly mounted wall socket).
DO NOT USE
an exten-
sion lead as it could create a voltage reduction (causing the engine to stall) or cause fire or electric shock.
2. Turn the compressor switch on and make sure that compressed air comes out. The compressor switch is attached to a
small cord inside the compressor housing. Operate for about 5 minutes in these conditions and make sure that the com-
pressor does not create any abnormal sounds or vibrations.
NOTE:
The compressor will leak air from the moisture filter
valve for the first 15 seconds during start up as it automatically drains moisture from inside the bowl.
3. The compressor will run and then shut-off automatically for about 10 seconds, until the storage circuit is full.
4. If the system does not turn itself on after 10-15 seconds, it means that the system is airtight.
5.
Check automatic ON/OFF function:
Connect air hose and airbrush to air outlet, turn electric source switch “ON” and check that it stops oper-
ating after a few seconds.
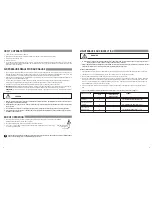
When it has stopped, push button of airbrush to exhaust compressed air and make sure that it restarts.
Check that air does not leak from the connection.
6. However, if after 10-15 seconds the compressor does not shut-off automatically, OR if it repeatedly shuts on and off when not in use,
there is most likely an air leak.
7.
CHECK FOR AIR LEAKS:
Check all fittings and hose connections, listening for leaking air. Reapply teflon tape to leaking areas where
necessary and re-tighten all hose connections. Also, check to make sure that the air filter knob and the air tank drain are both com-
pletely closed. Feel for air leaking out of both places.
PROBLEMS AND REMEDIES
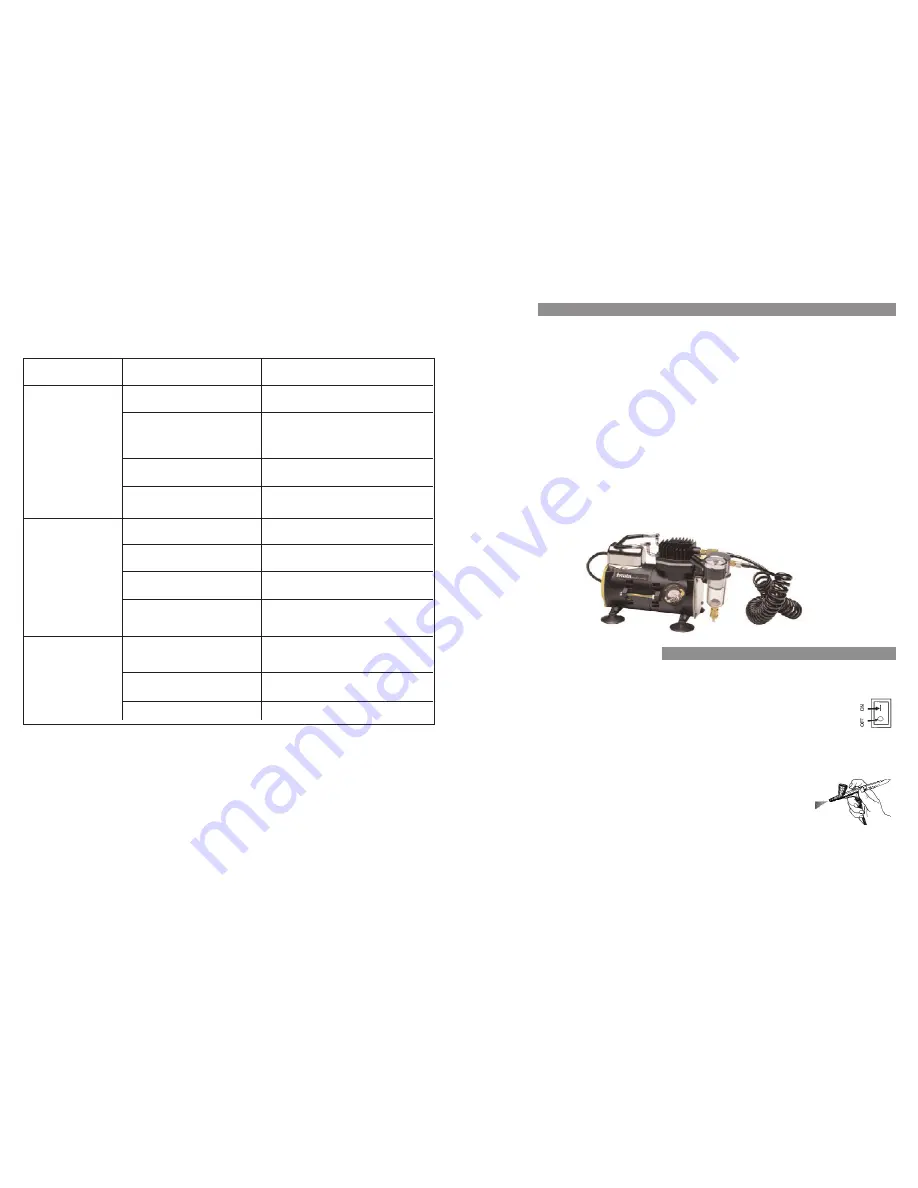
If a problem occurs, refer to the chart below in order to resolve it.
Items marked with an asterisk (*) in the remedies column, are problems which are difficult for the user to resolve. In this
case, contact the shop which sold it to you, or your local distributor.
PROBLEMS
CAUSES
REMEDIES
Electric source is not turned on
Turn on electric source
Safety system is activated
Turn off electric source switch, exhaust
Engine does not work
compressed air and turn electric source switch
on again after 15 minutes
Low voltage
*Contact local electricity company
Seizure of compressor
*Repair
Air regulator is closed
See “
HOW TO OPERATE”
section
Pressure does not
increase or takes a long
Air leaks from filter ball
Clean filter ball
time to increase.
Filter is clogged
Clean filter by blowing with air
Air leaks from connections and
Tighten or replace parts
hoses
Installation failure
Install correctly and evenly (Install on all 4
rubber stands)
Abnormal sounds or
vibrations
Wear inside compressor
*Repair
Loose parts
Tighten
electric
source switch
push button to exhaust air


