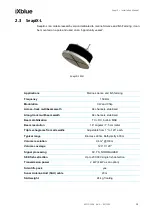


SeapiX
–
Installation Manual
SSD-C-1306 Ed. A
–
01/2020
33
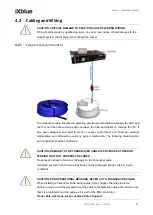
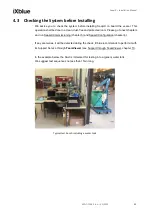
4.4
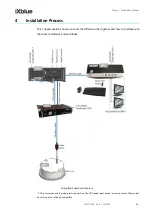
Installing SeapiX Antenna Unit (SAU)
To help for assembly, refer to SAU drawings from design office appended in
•
For any details about SeapiX-F or SeapiX-R antenna, go to PLA02664 AG.
•
For any details about SeapiX-L antenna, go to PLA14711-AA.
4.4.1
C
ONSIDERING THE
S
LAMMING
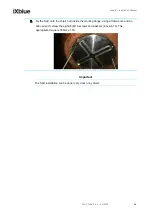
Please note that the SAU must always be fully immersed
– whatever the vessel’s motion.
CAUTION: SLAMMING COULD DAMAGE THE ANTENNA (SAU)
The SAU must be installed in a part not exposed to slamming.
There is a risk the SAU could be distorted - which would not be covered by iXblue
warrantee.
If any slamming risk, it is under the installer’s / shipyard’s responsability. Please refer to 4.1
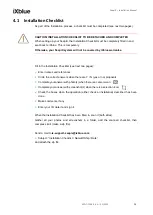
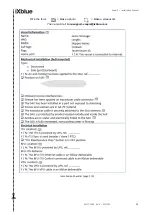
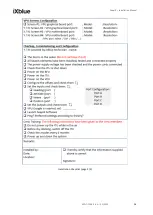
Installation Checklist and the following box to check:
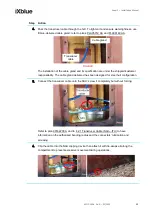
4.4.2
C
OOLING
D
OWN THE
SAU
Please note that the SAU must always be fully immersed.
CAUTION: DAMAGE TO THE ANTENNA (SAU)
When using SeapiX, as the SAU is cooled down by thermal dissipation on its rear face, it
is mandatory to have the SAU completely immersed all the time and to insure enough
water flow.
There is a risk the SAU electronics could be damaged because of overheating -
which would not be covered by iXblue warrantee.
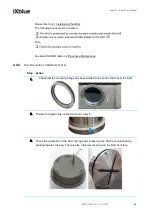
4.4.3
C
ORROSION
P
ROTECTION OF THE
SAU
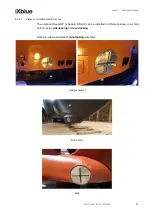
SeapiX SAU is made of marine grade stainless steel (SAE 316 L). When immersed, it shall
be protected against corrosion by anodes:
•
an anode is positioned on the SAU rear face,
•
a witness anode is positioned on the SAU front face, oriented to the back to avoid
turbulences.
CAUTION: SAU CORROSION IF WORN ANODES
The customer must ensure the anode protection efficiency and its maintainance over time.
Lack of protection may result in severe damage to the SAU and would not be
covered by iXblue warranty.


