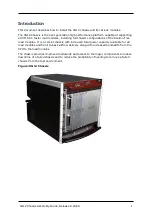
Install XG12 Chassis
The following sections describe the installation procedure:
l
l
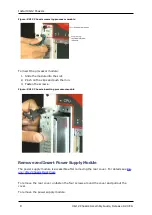
Remove and Insert Processor Module
l
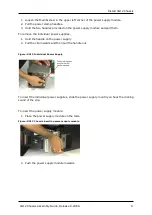
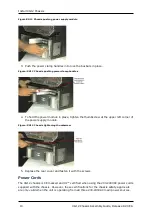
Remove and Insert Power Supply Module
l
XG12 Chassis Installation Precautions
The following precautions should be followed while installing the XG12 chassis:
l
The chassis should be installed in the rack before installing the power supply module,
fan module and load modules, thereby reducing the weight of the chassis.
l
The two lower bolts used to secure the chassis to a rack can be used to hold the
chassis frame in place while securing all of the other bolts.
l
Secure the chassis to rack face with all six bolts.
l
Fully depress power supply clamps when installing power supply module.
l
Secure the power supply module thumb bolt when installing power supply module.
l
Install the rear power supply cover before applying AC power. After removing or
installing this cover, ensure that the thumbscrews are tightened down with a 'Flat
Blade' screwdriver.
l
Do not use the chassis without installing the Fan module.
l
Do not use the chassis without installing the Processor module.
l
Do not leave unused slots open. Use the filler panels to cover the un-used slots.
l
Do not block the front air intake.
l
A minimum air flow clearance of 12 inches is required. 24 inches of air flow clearance
is preferred at the rear of the chassis.
l
Operator intervention may be required to power cycle the XG12 chassis or restart a
software program in the event the XG12 chassis operation is upset or stopped by elec-
trostatic discharge.
XG12 Chassis Assembly Guide, Release 8.20 EA
5
Summary of Contents for XG12
Page 1: ...XG12 Chassis Assembly Guide Version 1 0 Release 8 20 EA December 2016...
Page 4: ...This page intentionally left blank...
Page 6: ...This page intentionally left blank...
Page 8: ...This page intentionally left blank...
Page 10: ...This page intentionally left blank...


