22
2010-05/MU/ROVINS-001-B
23
2010-05/MU/ROVINS-001-B
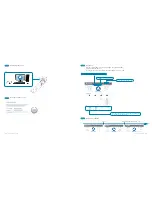
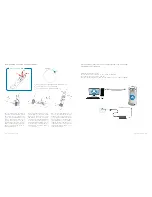
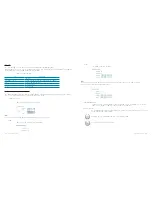
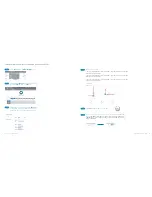
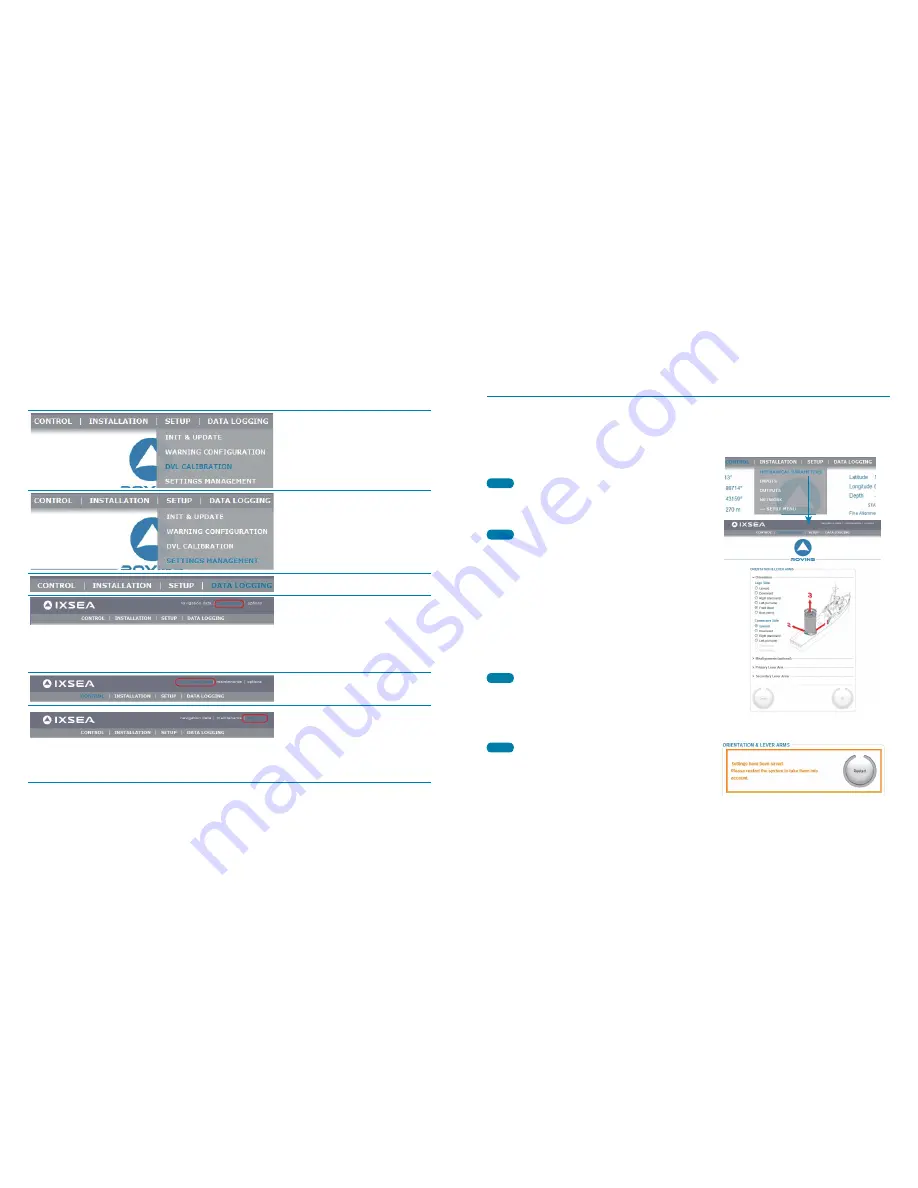
Menu /options
Used to …
To launch the DVL calibration
To save /restore product settings
Log the data of the repeater output or of
any A to E output.
•
Restart your ROVINS Unit
•
Update the system: firmware, loader,
and/or WEBBasedUser Interface versions
•
To activate your license by entering the
activation code
•
Get ROVINS serial number and WEB-
based User Interface
•
Contact IXSEA Support
Display all navigation data computed and
received by ROVINS
Choose the position coordinate represen-
tation (latitude/longitude or UTM coordi-
nates)
Choose the display mode (night/day mode)
Choose the WEB-based language (English
or French)
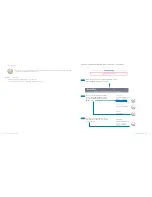
STEP 3. CONFIGURING ROVINS
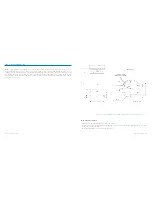
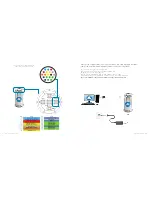
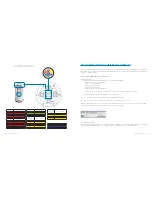
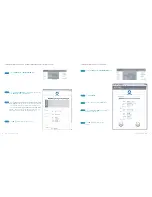
CONFIGURING THE ROVINS ORIENTATION WITH RESPECT TO THE VEHICLE
As ROVINS can be installed with any orientation with respect to the vehicle, ROVINS axes orientation can be different
from vehicle axes orientation, with 90 degrees rotations of any of the ROVINS axis with respect to the vehicle axes.
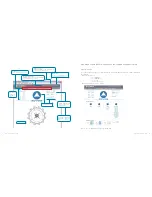
Choose
MECHANICAL PARAMETERS
under
INSTALLATION
Menu
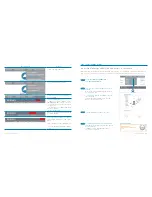
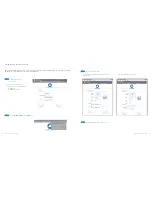
Click on
Restart
button in the warning window
that appears in the upper part of the Mechanical
Parameters page.
>ROVINS restarts, and alignment sequence
(see step. 4) is repeated.
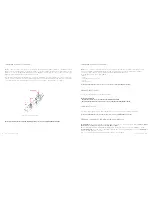
Click the
OK
button to validate your choice.
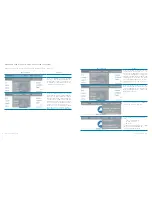
•
The direction to which the IXSEA logo side is
pointing.
>
In the illustration, ROVINS logo side points to
the chosen direction.
•
The direction to which the ROVINS connectors
side is pointing.
>In the illustration, ROVINS connectors side
points to the chosen direction.
Step 1:
Step 2:
Step 3:
Step 4:

