29
29
29
29
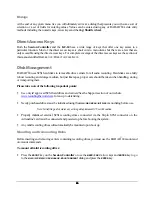
11. The
FTP LOGIN NAME
is required for accessing the RADAR
24 via FTP. Using the QWERTY keys
enter a login name and press the
ENTER
key. This login name will be required by the FTP client
application on the personal computer.
12. The
FTP PASSWORD
is also required for accessing the RADAR
24 via FTP. Use the QWERTY
keyboard to enter a password and press the
ENTER
key. This password will be required when
connecting using an FTP client application on the personal computer.
Preferences
Every time a new project is created, there a number of settings that are required by the RADAR
24: sample
rate, bit depth, TC format etc. In order to save you time and effort, RADAR
24 assigns these values
automatically using the current values selected in the
PREFERENCES MENU
.
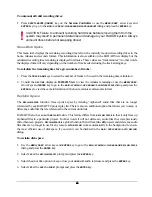
To set the preferences for newly created projects:
1. Use
the
MENU/PREV
, arrow keys and
ENTER
key to go to the
MAIN / PREFERENCES MENU
and press the
ENTER
key.
2. Review and modify the settings in the sub-menus to your specifications.
Software
Although your RADAR
24 is shipped to you with the latest version of RADAR
software, you will want to
make sure that you keep it up to date by downloading new versions of the software as they become available.
We are constantly working to add new features and to improve the performance and reliability of our product
so it is certainly worth the effort. Software updates and downloading instructions are available from our
website at
www.recordingtheworld.com
.
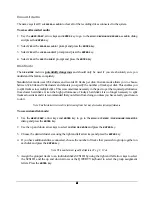
To install a new version of RADAR
software:
1. Use
the
MENU/PREV
, arrow keys and
ENTER
key to go to the
MAIN / SYSTEM MENU /
UPGRADE SYSTEM
and
press the
ENTER
key.
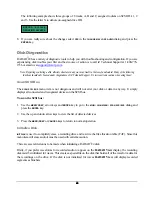
2. Use the up and down arrows to select
YES
at the
SYSTEM UPGRADE PROCEED?
prompt and press the
ENTER
key.
All projects will be converted to a special version-independent state and the disk(s) will be
unmounted. If you have other disks that you wish to convert to a version independent format you
can insert them at this time. To convert them simply mount them using the
MOUNT
key or
MOUNT
menu item and repeat steps 1 through 3.
3. Insert the first install floppy disk containing the new version of software and reboot the machine
using the power switch.
4. Insert additional disks as prompted to complete the install.


