53
53
53
53
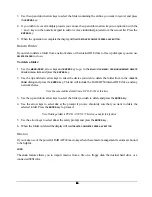
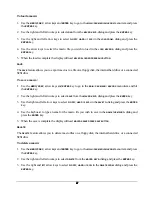
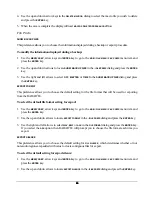
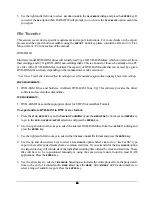
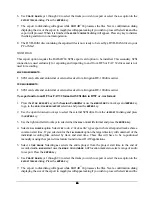
Note: When backing up you are always in a folder. The top level folder is named “!RADAR!”. You’ll never see
its name listed because you will always be inside of it or inside one of its sub-directories.
!
Use the up and down arrow keys to select
NEW FOLDER
and press the
ENTER
key to create a new one.
You will be presented with a
FOLDER NAME
dialog. Use the keyboard to type in a name for your folder
and press the enter key. You will be returned to the
SELECT FOLDER
dialog with your new folder name
as the current selection. Press the
ENTER
key to accept this folder as a destination.
4. Use the up and down arrow keys to select
ALL PROJECTS
,
CURRENT PROJECT
or
SELECTED PROJS
from the
BACKUP MENU
dialog and press the
ENTER
key.
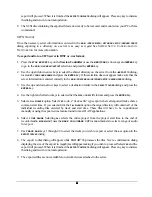
If the
SELECTED PROJS
option is selected you can select the individual project or projects you wish to back
up using the up and down arrow keys and the + and – keys on the numeric keypad. Pressing the + key
adds the selected project to the archiving list and places a + sign to the right of its name. It also
increments the number of selected projects in the upper right hand corner of the menu display. Pressing
the – key removes the selected project from the archiving list and removes the + sign to the right of its
name. It also decrements the number of selected projects in the upper right hand corner of the menu
display.
5. When using either the
SELECTED PROJS
or
ALL PROJECTS
option you must also choose how the projects are
organized within the backup.
!
Grouping archives by
PROJECT
means that each project will be backed up separately and can therefore
be restored separately.
!
Grouping by
SET
means that all the projects you selected will be backed up as a data set. This will
speed things up if you are backing up a number of projects that share a lot of audio, and it’s also
helpful to group projects that you want to restore as a set.
Select
PROJECT
or
SET
from the
BACKUP MENU
dialog and press the
ENTER
key.
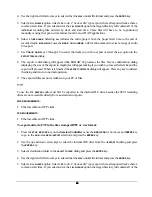
6. When using the
SET
option you must also choose a name for your data set. Accept the default name or
use the keyboard to enter a new name in the name field of the
BACKUP MENU
dialog and press the
ENTER
key.
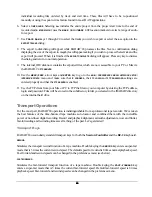
7. If you are backing up to a data tape or DVD, the
BACKUP MODE
dialog will appear asking if you want to
APPEND
or
OVERWRITE
.
APPEND
will add your new backup data to the existing archive.
OVERWRITE
will erase
existing archive data and replace it with the new backup. If you choose to
OVERWRITE
the
ERASE EXISTING
TAPE?
or
ERASE EXISTING DISK?
prompt will appear just to make sure. This prompt will also appear with
APPEND
if the tape or DVD has been used for some other purpose e.g. if it was used as an export DVD.
Use the up and down arrow keys to select
APPEND
or
OVERWRITE
from the
BACKUP MODE
dialog and press
the
ENTER
key.

