EN
86
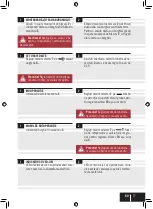
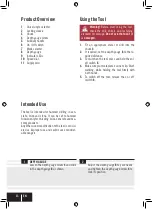
DEPTH GAUGE
Loosen the depth gauge screw
4
and slide
in the depth gauge
8
as shown.
1
Adjust the depth gauge
8
to your needs
and tighten the depth gauge screw
4
to
lock its position.
2
Using the Tool
1.
Fit an appropriate chisel or drill into the
chuck
3
.
2.
If required, set the depth gauge
8
to the re-
quired distance.
3.
To switch on the tool, press and hold the on /
off switch
6
.
4.
Make sure your workpiece can not slip. Start
working, while holding the tool firmly with
both hands.
5.
To switch off the tool, release the on / off
switch
6
.
Intended Use
The tool is intended for hammer drilling in con-
crete, brick and stone. It can be set to hammer
funcion only for chiseling brick, concrete and ma-
sonry products.
Any other use or modification to the tool is consid-
ered as improper use and could cause consider-
able dangers.
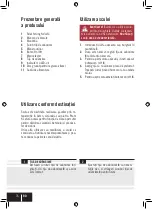
Product Overview
1
Chisel angle selector
2
Locking sleeve
3
Chuck
4
Depth gauge screw
5
Auxiliary handle
6
On / Off switch
7
Mode selector
8
Depth gauge
9
Indicator LEDs
10
Speed dial
11
Supply cord
Warning!
Before start using the tool,
check the drill, chisels and fastening
elements for damage.
Do not use the tool if it
is damaged.
Summary of Contents for JBH40MV SDS-Max
Page 10: ...DE 10 ...
Page 20: ...FR 20 ...
Page 30: ...IT 30 ...
Page 40: ...NL 40 ...
Page 50: ...SV 50 ...
Page 60: ...CZ 60 ...
Page 70: ...SK 70 ...
Page 80: ...RO 80 ...
Page 90: ...EN 90 ...

