PAGE 22
SCENECONTROL 500 OPERATING INSTRUCTIONS
Design, Manufacture and Installation of Theatrical Equipment Worldwide
(315) 451-3440
Fax (315) 451-1766
www.jrclancy.com
Rev 1: February 15, 2007
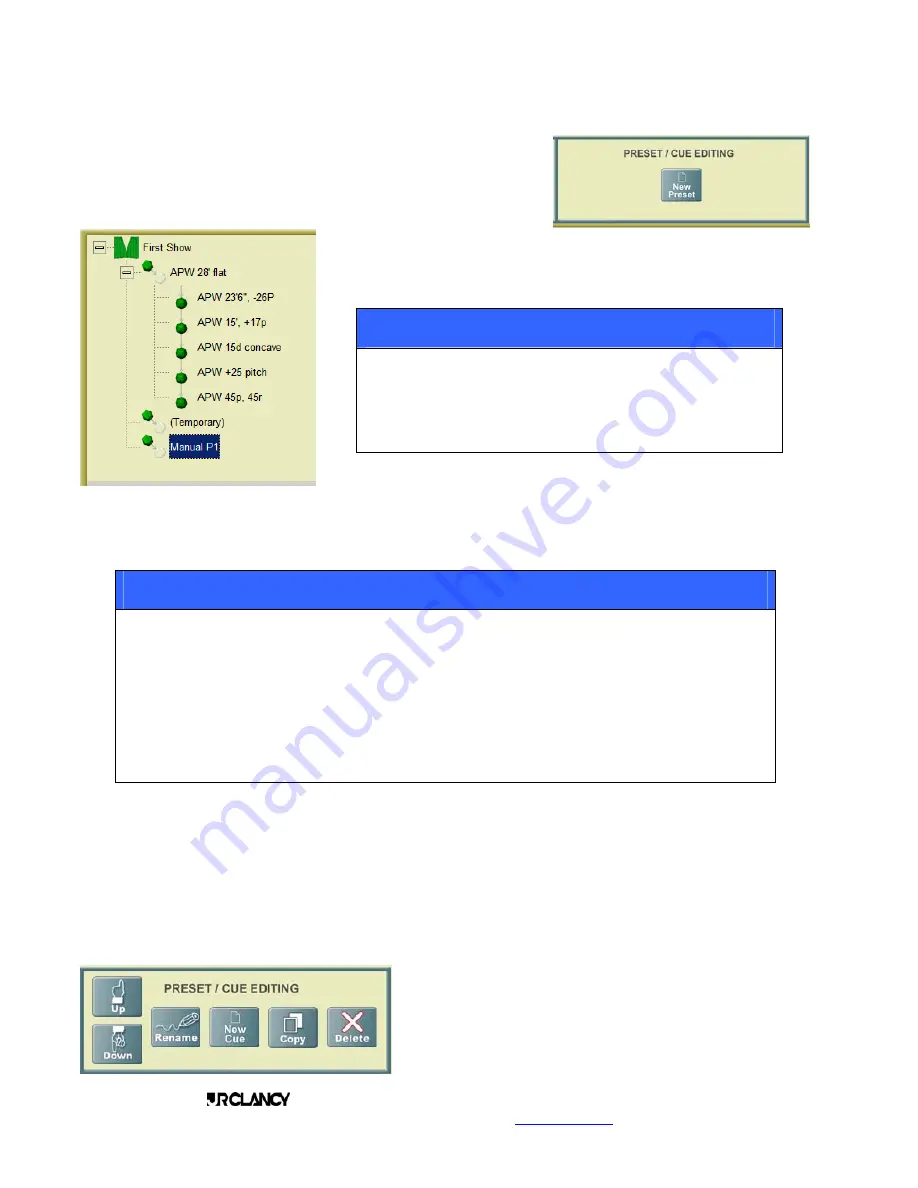
Click on this icon, and a new preset will appear at the bottom of the
Preset list in the center pane. The keyboard will also appear, so that
a new name for the preset can be entered.
Since this is the manual for this system. We’ll call this preset manualP1.
The next step is to return to the main screen to set up the winches to be
used in the preset. The Eyeball icon at the bottom of the screen is used
to make this move.
NOTE!
A
preset contains the starting positions for all winches
that are part of the preset AND ANY CUES THAT ARE
SUBORDINATE TO IT. If a winch is not included in the
preset, and is later added into a cue, the winch target
designated in the cue will be incorporated into the preset
as the starting position for the winch.
Once the preset has been named, select the winches that are to be part
of the preset, and designate targets for them. This is done using the
same procedures outlined for doing target moves in the earlier section of the manual. As each set is selected
and a target designated, the unit will be incorporated into the preset. Once all targets have been designated,
we can unload the current preset by pressing the CLEAR button in the active NEXT MOVE box, or return to
the Preset list using the three dots button.
NOTE!
While in edit mode, any changes done while a preset is loaded are being actively recorded
to that preset. Be very careful to note which preset is loaded while making changes, in
order to avoid trashing a good preset. If you are experimenting with a look, or want to try
something out first, you may unload the current preset or cue using the CLEAR button in
the active NEXT MOVE box. This will make the Temporary preset active. You may then
use the Temporary preset as your “scratch pad”. If the settings you select work out and
you want to save them, you can switch to the Preset List, rename the Temporary preset to
a new name and move it to the appropriate spot in the cue list, using the tools outlined
below. Once the Temporary cue has been renamed, a new, empty Temporary cue will be
created (don’t worry, we’ll make more!).
Preset ManualP1 moves all of the acoustic panels to the same height, at the same pitch and roll values. The
following cues will start from there.
RECORDING A CUE
Recording a cue is much the same as recording a preset. To record, the operator must be logged in with Edit
Level password privileges, and must be on the preset page to begin the process.
Since a cue is subordinate to a preset, click on the preset that will be the "master" for the desired cue. In our
example, we click on the icon for preset ManualP1.
This will bring up the "New Cue" icon in the box at the
bottom right of the page. Clicking on this icon will create a
new cue in the cue list, and open the keyboard so that the
cue can be named. Again, since this is the manual, we'll call
this cue ManualC1.


