background image

J.Sikora 


Initial

 and 

Initial MAX

 Turntable Manual 


36 

© 2021 Notable Audio Products | www.notableaudio.com 

14.


Mount the Secondary Armboard (

Initial MAX

 only) 

In this step, you will 

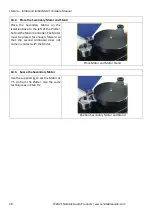
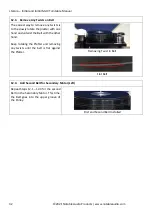
install a second Armboard onto the turntable’s Secondary Arm Tower.


14.1.


Attach Armboard 

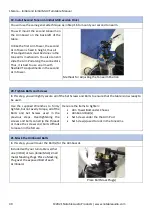
The  second  Armboard  attaches  to  the 
Arm  Tower  on  the  back-left  corner  of 
the Chassis. 
 
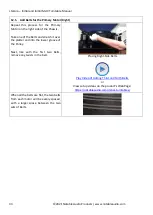
To attach the second Armboard, you will 
use  the  same  procedures  as  in  Steps 
13.1 

 13.3. 

 
Like with the main arm, if the tonearm is 
too low to set the proper VTA, you may 
add a riser to the arm tower. 


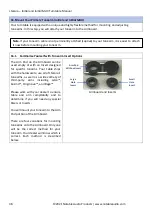
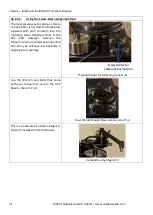
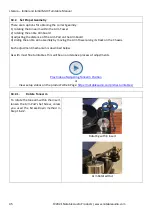
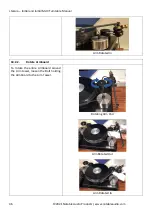
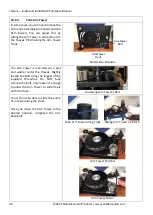
Attach Second Armboard 


15.


Connect the Motors and Power Supply (

Initial

 and 

Initial MAX

In this step, you will 

attach the Power Supply and Motors to the turntable’s Controller.


15.1.


Connect Motor Cable(s) 

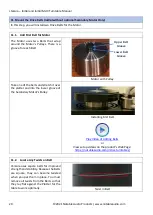
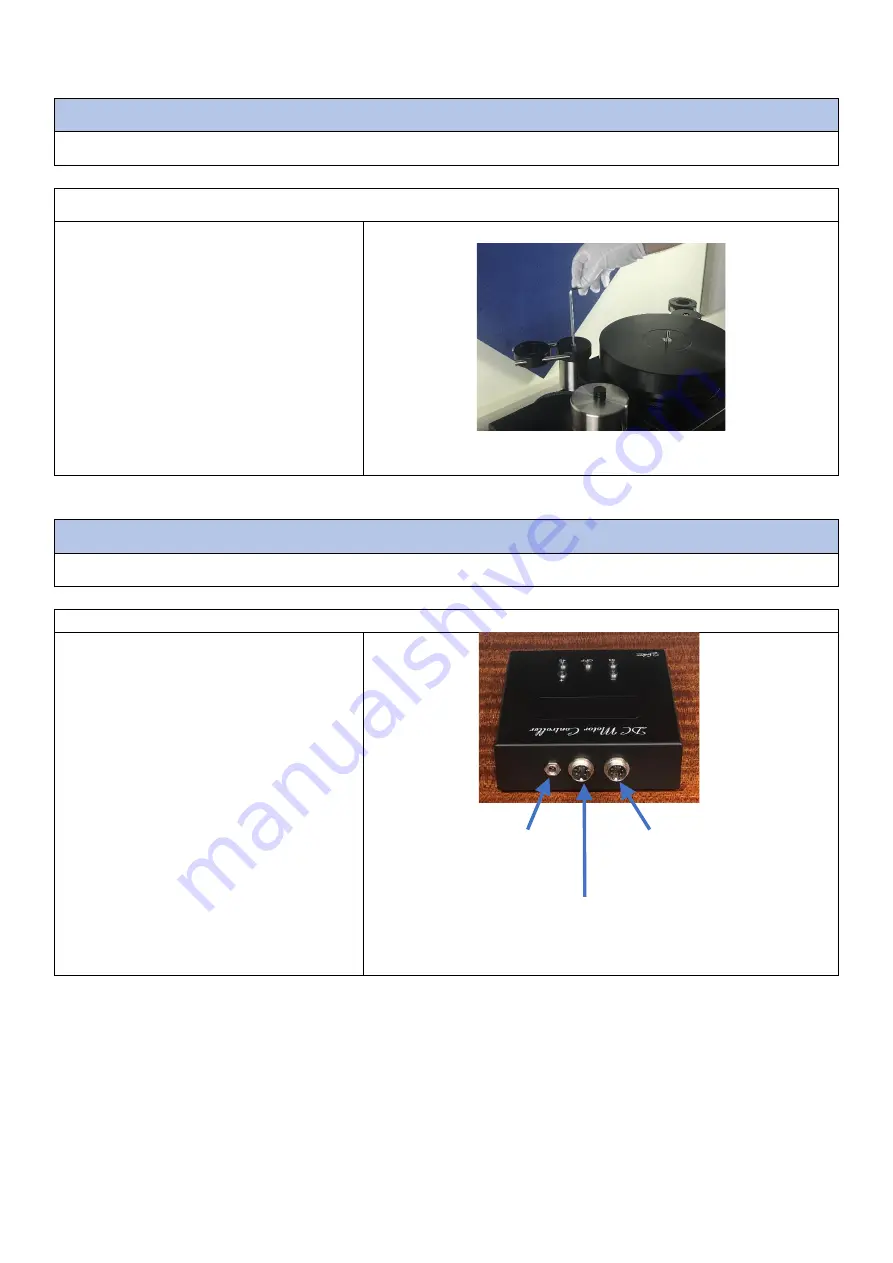
Your  J.Sikora  turntable  comes  with  a 
high-precision  Motor  Controller.  The 
use  of  each  of  the  buttons  will  be 
detailed  in  the 

Using  the  Turntable


portion of this User Manual. 
 
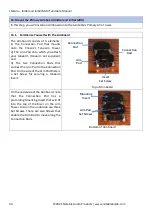
First, you need to connect the Motor(s). 
If you have the 

Initial

, you will only have 

one cable to plug in from the one Motor. 
If you have the 

Initial MAX

, you will plug 

in the cables from both Motors. 


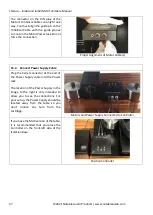
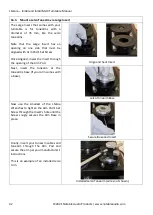
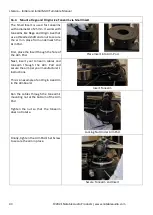
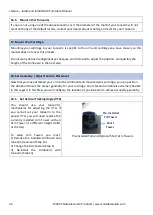
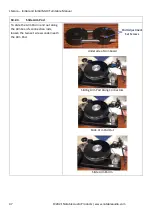
Motor Controller Connections 

Power Supply 

Input

2

nd

Motor Input 

(

MAX

Model)

1st Motor Input 

(Both Models)

Summary of Contents for Initial

Page 1: ...Uncompromising and Extreme Audio Solutions Initial Initial MAX Turntable Manual...

Page 2: ...ght Avoid putting the turntable next to devices emitting high levels of heat such as Class A amplifiers heaters radiators or ovens Excessive heat can damage or shorten the life of plastic elements dis...

Page 3: ...2 Add Isolation to the Feet 13 2 3 Level the Isolation Base 14 3 Add the Second Arm Tower Initial MAX Only 15 3 1 Attach Second Arm Tower 15 4 Set the Turntable Chassis Initial MAX Only 16 4 1 Place t...

Page 4: ...Drive Belts Initial MAX and Initial with Optional Secondary Motor 31 12 1 Add First Belt for Secondary Left Motor 31 12 2 Locate Any Twists on Belt 31 12 3 Remove Any Twists on Belt 32 12 4 Add Secon...

Page 5: ...Set Proper Geometry 45 18 2 1 Rotate Tonearm 45 18 2 2 Rotate Armboard 46 18 2 3 Slide Arm Pod 47 18 2 4 Slide Arm Tower 48 19 Install Second Tonearm Initial MAX version Only 49 20 Tighten Bolts and...

Page 6: ...com I General Information 1 Initial Turntable Weight and Dimensions Total weight 28 kg 61 7 lbs Dimensions W x D x H 440 x 330 x 160 mm 17 4 x 13 x 6 3 Platter Motor Optional Clamp Armboard Belts Tur...

Page 7: ...g the table North American models only 3 Wrenches North American models only 1 x set of J Sikora Monogramed Coasters 3 North American models only 1 x precision Bubble Level North American models only...

Page 8: ...eight and Dimensions Total weight 52 kg 114 6 lbs Dimensions W x D x H 620 x 350 x 280 mm 24 4 x 13 8 x 11 2nd Motor Isolation Base Platter Motor 2nd Armboard Clamp Belts Turntable Chassis Foot and Di...

Page 9: ...4 x Belts 1 x Speed Controller 1 x Glass Mat 1 x Clamp 1 x Clamp O Ring 1 x High Quality HQ Power Supply Norther American models only 1 x Manual 1 x USB Drive with J Sikora Manuals 5 Unpacking Be care...

Page 10: ...significantly and J Sikora allows you to use most arms via interchangable Arm Towers In this step you will learn how and when to change Arm Towers 1 1 Identify Parts The turntable ships with both Tall...

Page 11: ...where where it is safe and where you won t forget it Note You can change the Arm Towers while the Chassis is on its side However if you do not firmly hold the tower when moving it it can slide across...

Page 12: ...process to avoid damaging the shelf J Sikora Coasters Note where the points of the Feet of the Isolation Base are located There are two Feet on the bottom of one side of the Isolation Base and one Foo...

Page 13: ...xt to each Coaster Position Discs by the Base s Feet Next lift a corner of the Isolation Base Then place one Isolation Foot under the Isolation Base into the location that is approximately under that...

Page 14: ...se is level in all directions front to back and side to side Check Level Isolation Base If your turntable requires levelling insert the medium sized Wrench into one of the holes in the Foot on the sid...

Page 15: ...e Second Arm Tower mounts over the back left corner of the Chassis Plinth Arm Tower Location You will mount the Second Arm Tower by sliding the notched portion of the Arm Tower over the Chassis Plinth...

Page 16: ...evel the the turntable s Chassis 4 1 Place the Turntable Chassis Placing the Chassis is similar to how you placed the Isolation Base Step 2 Start by placing the three Coasters onto the Isolation Base...

Page 17: ...ll place under the Chassis Feet Please refer to Step 2 2 for detailed procedures Placing Isolation Assemblies under the Chassis Feet 4 3 Level the Turntable Chassis As with the Isolation Base the addi...

Page 18: ...or non North American customers under the Feet of the Chassis during the setup process to avoid damaging the shelf J Sikora Coasters Note where the points of the Feet of the Isolation Base are located...

Page 19: ...to each Coaster Position Isolation Assemblies by Feet Next lift a corner of the Isolation Base Then place one Isolation Foot under the Isolation Base into the location that is approximately under tha...

Page 20: ...tter to determine if your table is level in all directions front to back and side to side Check Level If your turntable requires levelling insert the medium sized Wrench into one of the holes in the f...

Page 21: ...oths Vigorously stir the oil in the jar until it has a uniform consistency It should be fairly thick and there should be no lumps at the bottom jar Note how the liquid clings to the Brush Bearing Oil...

Page 22: ...ng while wearing gloves and the Bearing Oil will permanently stain the gloves Place Small Ball Bearing Play Video of Adding and Oiling Bearing or View setup videos on the product s Web Page https nota...

Page 23: ...nd Initial MAX In this step you will install the Platter 7 1 Align the Platter Carefully align the opening in the middle of the Platter with the Bearing It is important that you avoid touching the Bea...

Page 24: ...epeat the above process Gently Lower Platter 8 Place the Glass Mat Initial MAX and Add On Option for Initial In this step you will install the Platter s Mat 8 1 Place the Aluminum Disc The Initial MAX...

Page 25: ...e Manual 25 2021 Notable Audio Products www notableaudio com To install the Aluminum Disc place it over the spindle with the indent side down Place Disc 8 2 Place the Glass Mat Next place the Glass Di...

Page 26: ...one Primary Motor and the Inital MAX comes with two identical motors Primary and Secondary You may also purchase the Initial with a second Motor as an option In this step you will install the Primary...

Page 27: ...linth That will not affect the speed of the table as long as the the distance from the platter remains at 7 5 cm Motor Alignment Jig Set Proper Motor Distance 10 Add Secondary Motor Initial MAX and In...

Page 28: ...solation Base to the left of the Platter behind the Motor Controller The Motor must be placed far enough forward so that the second Armboard does not come in contact with the Motor Place Motor and Mot...

Page 29: ...e of the belts and stretch it over the platter and into the lower groove of the Secondary Motor s Pulley Installing First Belt Play Video of Adding Belts or View setup videos on the product s Web Page...

Page 30: ...nd use the other hand to untwist the Belt Keep rotating the Platter and removing any twists until the belt is flat against the Platter Removing Twists in Belt Flat Belt 11 4 Add Second Belt Repeat Ste...

Page 31: ...right of the Platter So you must place the Belts on that Motor first Motor with Pulley Take one of the belts and stretch it over the platter and into the lower groove of the Secondary Motor s Pulley A...

Page 32: ...he platter with one hand and untwist the Belt with the other hand Keep rotating the Platter and removing any twists until the belt is flat against the Platter Removing Twist in Belt Flat Belt 12 4 Add...

Page 33: ...he Belts and stretch it over the platter and into the lower groove of the Pulley Next like with the first two Belts remove any twists in the belt Placing Right Side Belts Play Video of Adding Third an...

Page 34: ...hich you attach your tonearm tonearm not supplied and 3 The two Connection Rods that connect the Arm Pod to the Connection Pod On the side of the Arm Pod there is a Set Screw for securing a tonearm In...

Page 35: ...Video of Adding Armboard or View setup videos on the product s Web Page https notableaudio com initial turntables 13 3 Bolt Armboard to Riser While holding the Armboard with one hand insert a Bolt th...

Page 36: ...ou may add a riser to the arm tower Attach Second Armboard 15 Connect the Motors and Power Supply Initial and Initial MAX In this step you will attach the Power Supply and Motors to the turntable s Co...

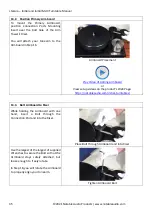
Page 37: ...s 15 2 Connect Power Supply Cable Plug the barrel connector at the end of the Power Supply cable into the Power Jack The location of the Power Supply in the image to the right is only intended to all...

Page 38: ...J Sikora s tonearms as well as a wide vartiety of third party arms including Jelco Kuzma Origin Live and Rega Please work with your dealer to ensure table and arm compitabilty and to determine if you...

Page 39: ...t arm fit directly into the Arm Pod without using any Insert Arm Pod with No Insert 16 2 1 Insert Tonearm Base All J Sikora arms and the Kuzma 4 Point come with an Arm Base into which the tonearm will...

Page 40: ...e bolts that come with the arms With this method the arm can rotate freely within the Arm Pod This provides more flexibility in obtaining the proper geometry for your chosen cartridge Tonearm Rotates...

Page 41: ...three threaded holes in the Arm Pod However because the tonearm will be in a fixed position in the Arm Pod you will have less flexibility in aligning your cartridge Threaded Holes for Attaching Tonear...

Page 42: ...ligned lower the Insert through the opening of the Arm Pod Align and Seat Insert Next insert the tonearm or the tonearm s base if your arm comes with a base Jelco Tonearm Base Now use the smallest of...

Page 43: ...derneath the Arm Pod First place the Insert though the hole of the Arm Pod Place Insert into Arm Pod Next insert your tonearm cables and tonearm through the Arm Pod and secure the arm per your manufac...

Page 44: ...Adjust the Arm Placement Now that you have attached your arm to the Armboard and mounted your cartridge you can position the Armboard to set the proper geometry for your cartridge Your J Sikora turnta...

Page 45: ...the entire arm assembly by moving the Arm Tower along its track on the Chassis Each adjustment mechanism is described below As with most fine turntables this will be an an iterative process of adjust...

Page 46: ...ual 46 2021 Notable Audio Products www notableaudio com Arm Rotated In 18 2 2 Rotate Armboard To rotate the entire Armboard around the Arm tower loosen the Bolt holding the Armboard to the Arm Tower R...

Page 47: ...ts www notableaudio com 18 2 3 Slide Arm Pod To slide the Arm Pod in and out along the Armboard s connection rods loosen the two set screws underneath the Arm Pod Underside of Armboard Sliding Arm Pod...

Page 48: ...s The Arm Tower is mounted via a bolt and washer under the Chassis Slightly loosen the Bolt using the largest of the supplied Wrenches Do NOT fully remove the bolt only loosen it enough to allow the A...

Page 49: ...nearm Position 20 Tighten Bolts and Screws In this step you will tightly secure all of the Set Screws and Bolts to ensure that the table is now ready to be used Use the supplied Wrenches to firmly tig...

Page 50: ...ucts www notableaudio com 22 Check Level You have worked very hard to optimize the setup of your table It s worth a couple more minutes to be sure that your table is level Use the included Bubble Leve...

Page 51: ...ill track the record properly To help flatten the record and improving tracking J Sikora has included a small Clamp O Ring that you can place at the bottom of the spindle The weight of the Record Clam...

Page 52: ...RPM button to power on the table and wait 10 seconds for the turntable to come up to speed and stabilize To increase the speed press the button Likewise press the to decrease the speed Once you have...

Page 53: ...and gently wipe them with a lint free cloth dampened with isopropyl alcohol When the belts lose their tension you will need to replace them You can purchase replacement belts from your J Sikora dealer...

Page 54: ...e responsible for any shipping damage and strongly recommends the purchase of shipping insurance 3 J Sikora reserves the right to inspect any product that is the subject of any warranty claim prior to...

Reviews: