Jabiru Aircraft
Pty Ptd
Aircraft Service Manual
Jabiru J230-C
REVISION
0
Dated : Feb 2006
Issued By: RAS
Page: 38 of 171
L:\files\Technical_manuals\J230_J430\J230.J430_Work_files\J230-C_Tech_Rev_1.doc
Print Date: 14/01/2009 4:41:00 PM
surface. After applying polish, dissipate this charge by rubbing surface with
a slightly damp chamois. This will also remove dust particles which have
collected while wax is hardening.
4.2.6
CRACKS
When a crack appears, drill a hole at the end of the crack to prevent further spreading.
Hole should be approximately 1/16 inch in diameter, depending on length of crack and
thickness of material. An unfluted drill should be used.
4.2.7
REMOVAL
As the windscreen and windows are bonded into the fuselage, it is not possible to remove
them without destroying them. Once windows have been broken out, any screws used in
the original installation should be removed.
4.2.8
INSTALLATION
1.
Ensure all old epoxy resin has been removed from the fuselage sealing strips
(around the window frames).
2.
Check new windscreen for fit. File or grind away any excess material to ensure a
close fit. Do not attempt to cut with any type of saw.
3.
Wet the window frame joggle with raw epoxy resin. Apply a bead of Epoxy & Flock
around the outer edge of the windscreen.
4.
Place windscreen accurately over the sealing strips and locate with one screw top
and bottom.
5.
Fit other screws.
6.
Take care not to crack windscreen when installing. DO NOT over tighten screws –
cracking will result.
4.3
CABIN DOORS
4.3.1
REMOVAL AND INSTALLATION
Removal of doors is achieved by removing the hinge bolts or removing the machined
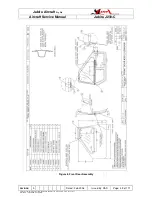
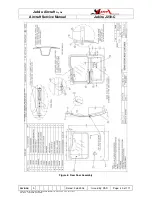
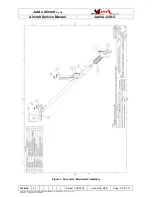
screws that attach the hinges to the door frame. Refer to Figure 5 and Figure 6 below.

