background image

3

Connecting to Your Telephone

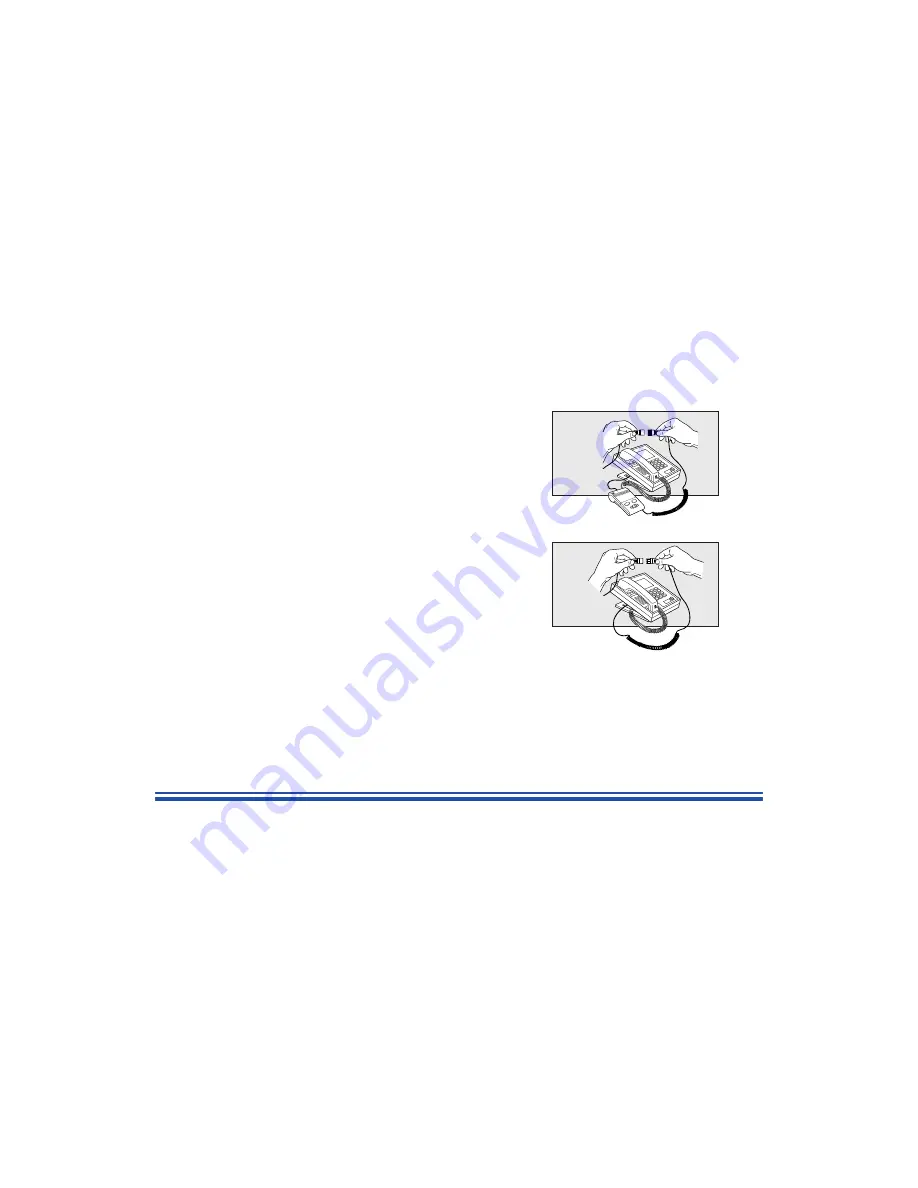
An amplifier is often needed to connect the headset to the telephone or
telephone system. For these applications, the headset is equipped with a Quick
Disconnect plug which mates to a Quick Disconnect jack on the amplifier.
Follow the instructions supplied with the amplifier to connect the headset and
amplifier to your telephone or telephone system (see Figure 8).
Some telephones do not require amplification. For these applications the
headset is equipped with a cable with a modular plug on the end. The
modular connector plugs directly into a headset port (modular jack) on the
telephone or console. The modular plug cable also has a mated Quick
Disconnect assembly (see Figure 9).
Disconnecting at the Quick Disconnect allows you to move around without
having to remove your headset. If you are on a call, disconnecting at the Quick
Disconnect effectively puts the other party on hold until you return.

Maintenance

The foam covers on the receiver and microphone can be washed in mild soap
and water. Replacement covers are available from your GN Netcom distributor. 

Figure 9
Unamplified Configuration

Figure 8
Amplified Configuration

hea

dse

t

Netc

om

volu

me

mut

e

off

on

off

low

high

on

Summary of Contents for GN Contour LX-G

Page 1: ...User Guide CONTOUR LX G ...

Page 2: ... user s guide If after reviewing this guide you have any questions concerning the Contour LX G headset please call your distributor or contact GN Netcom Inc Customer Service at 800 826 4656 Contour LX G Components 1 Noise Canceling Microphone 2 Flexible Microphone Boom Arm 3 Earhook 4 Adjustable Lobe Hinge 5 Eartip ConnectorTube 6 Clothing Clip 7 Quick Disconnect 8 Foam EarTiplets 9 Latex Eartips ...

Page 3: ...eady to wear Wearing To wear the Contour LX G headset pivot the earhook behind your ear so that the saddle of the hook rests on the top of your ear With your thumb close the ear lobe hinge until it is snug secure and comfortable to wear but not tight on your ear see Figure 3 Finally insert the eartip into your ear canal Refer to the Microphone Positioning section for additional information Changin...

Page 4: ...tly positioned in front of your mouth One hand should grasp and steady the receiver end of the boom The other hand can then flex the boom see Figure 6 CAUTION Never forcefully rotate the microphone boom past its stop point in the receiver assembly Clothing Clip The clothing clip should be fastened for comfortable wearing see Figure 7 It is designed to prevent the weight of the cord from dislodging...

Page 5: ... modular plug on the end The modular connector plugs directly into a headset port modular jack on the telephone or console The modular plug cable also has a mated Quick Disconnect assembly see Figure 9 Disconnecting at the Quick Disconnect allows you to move around without having to remove your headset If you are on a call disconnecting at the Quick Disconnect effectively puts the other party on h...

Page 6: ...verings anti static sprays can be helpful Remove the headset before turning the computer on or off GN Netcom Inc Profile headsets meet all OSHA UL FCC and CSA standards FCC Notice to Users Upon request only you must notify your telephone utility company telco of your intention to install or permanently remove an FCC Part 68 registered device or system Include the FCC Registration Number and the Ri...

Page 7: ...rized service agency for all such work To Obtain Service For customer service and technical support call GN Netcom Inc at 1 800 826 4656 If it becomes necessary to send a unit in for repair it is not necessary to call for a Return Material Authorization RMA number as one will be assigned upon receipt of the package at the factory Ship the product in a suitable shipping container fully insured and ...

Page 8: ...6 77 Northeastern Blvd Nashua NH 03062 USA 1 800 826 4656 www gnnetcom com 181 1455 A Printed in USA March 1999 ...

Reviews: