iMeter
2.4 Setting up a sensor
In this section we will now go through the basic set up of a sensor. We will focus on
the Jacarta temperature sensor; however this basic set up process is applicable to all
of our sensors. If you require information on specific functions of a particular sensor
then please contact us on
a) Hardware connection
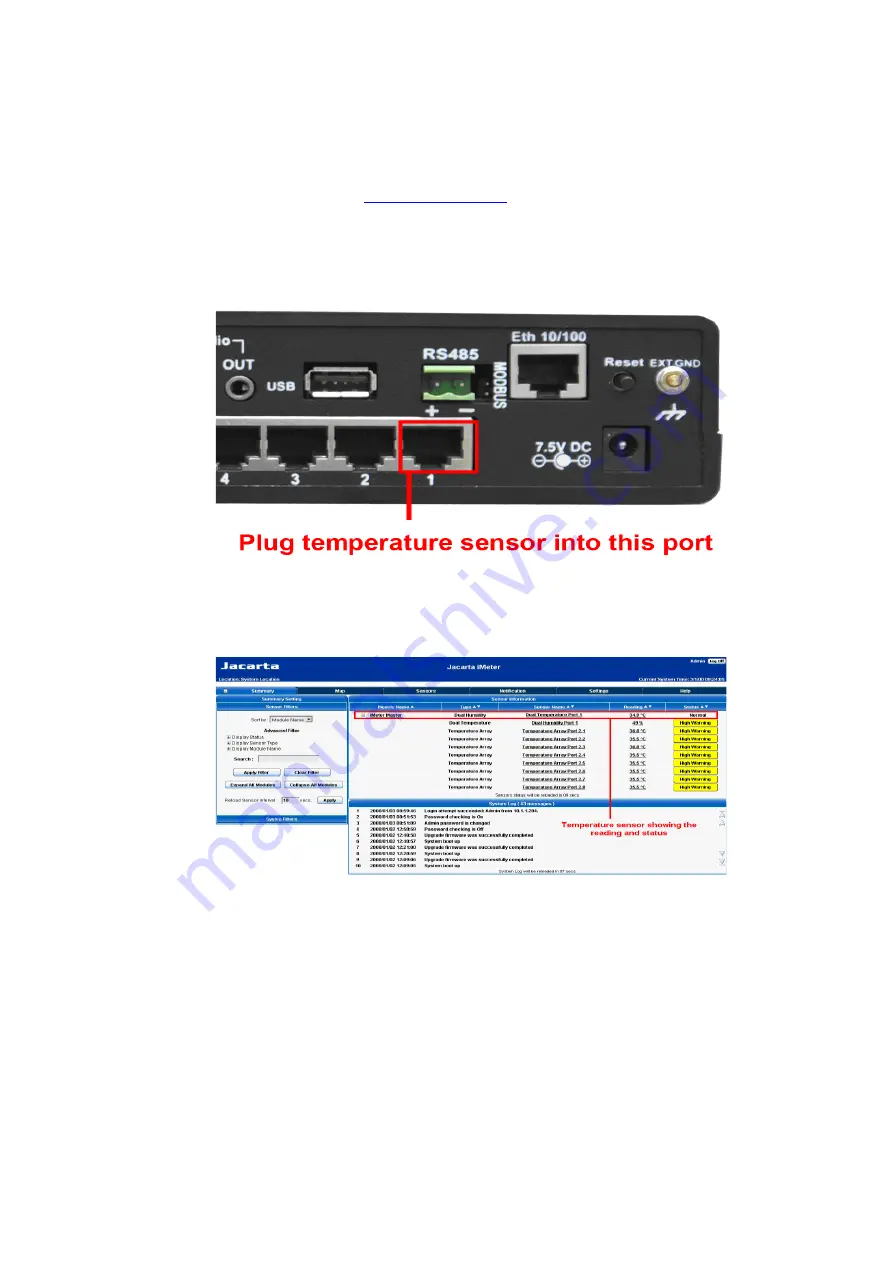
Plug the sensor into one of the RJ45 sensor ports on the rear panel of the unit. In this
example we will use port 1.
b) Auto detection
Now point a browser to the IP address of the unit (default, 192.168.0.100). The
summary page will be displayed first;
The temperature sensor should be auto detected and listed, along with its current
reading and status. If this is not shown please see refer to the FAQ.
This summary page allows you to quickly see which sensors are connected, their
status and view the system log. We will now go through some of the tools the web
based interface provides for getting feedback from the sensors.
c) Sensor configuration
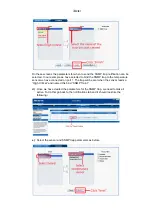
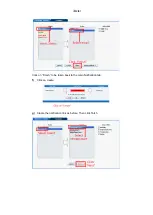
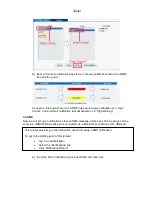
Now click on the temperature sensors name (indicated in previous screen shot). This
will bring up to the following page, the sensors page;
Summary of Contents for iMeter Master
Page 2: ...iMeter ...
Page 40: ...iMeter LED patterns in Normal mode then LED patterns in Safe mode ...
Page 41: ...iMeter then ...


