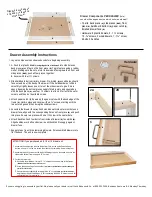
Cabinet Components:
•7 Parts: base
(A)
, 2 frames
(B)
, 2 sides
(C&D)
, hardboard
backing
(E)
, top
(F)
•Bag of Cabinet Hardware: 4 wood dowels, 8 plastic dowels,
3 - 1⅛" screws, 12 - 1½" screws, 16 - ⅝" screws
(12 for #880116)
•Bag of Bottom Hardware: 4 wood dowels, 3 - 1⅛" screws
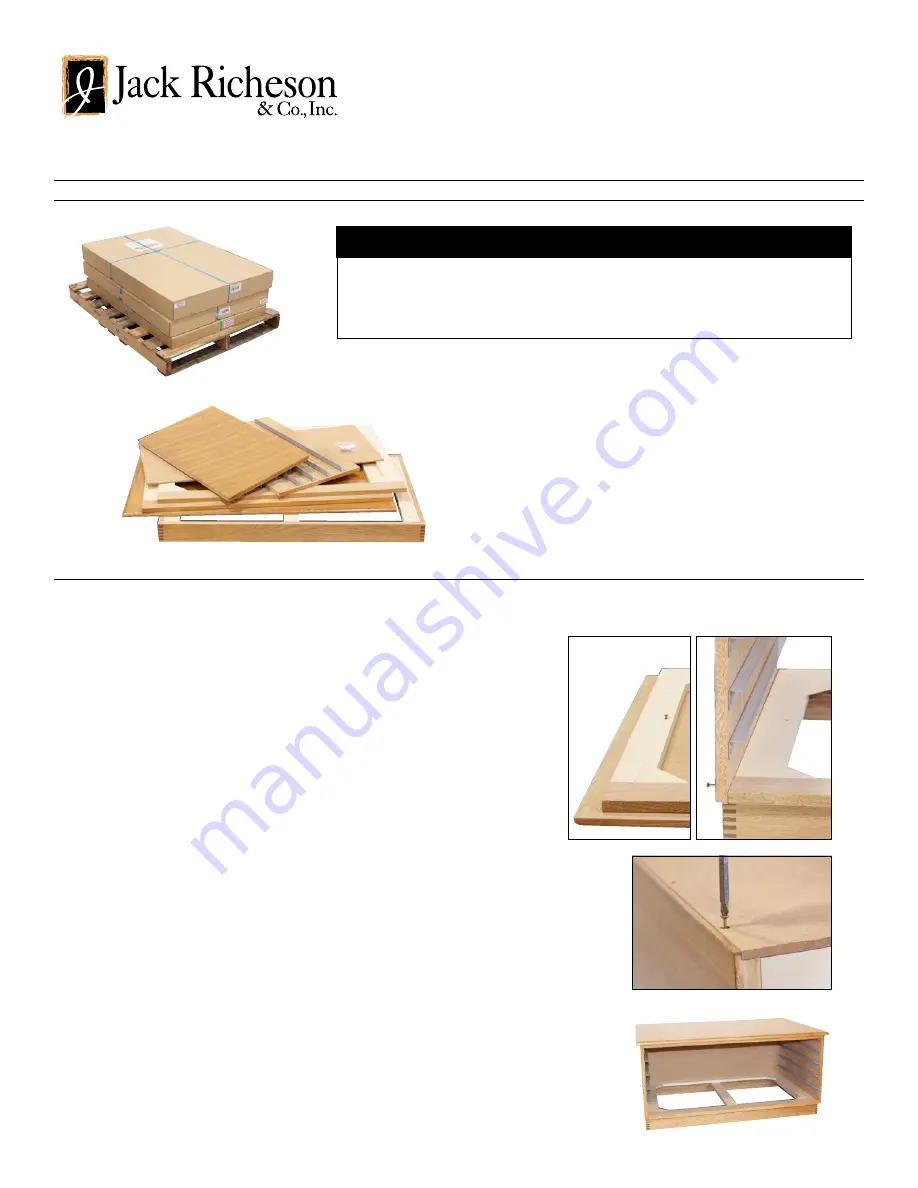
1.
Before beginning unit assembly, the flat file top needs to be pre-drilled. Flip top
(F)
finished side down on floor and push four wood dowels into the holes. Make sure fin-
ished edge of one rectangular frame
(B)
and the finished side of top are on the same
side and push frame onto dowels. Use a rubber mallet to tap into place. Secure with
three 1⅛" screws.
(It is critical to use the correct screw length to avoid causing damage to the flat file
top.)
Set assembled top aside.
2.
Put Base
(A)
on floor with finished side towards you and slats side up. Push four wood-
en dowels into holes in slats. Push remaining frame
(B)
(with finished side towards you)
onto
dowels. Use a rubber mallet to tap into place. Secure with three 1⅛" screws.
3.
Attach sides
(C&D)
: Make sure the finished edge is facing you and the metal drawer
brackets are in a "7" position, not an "L" positions. Push four plastic dowels
(using ridged
side of the dowel)
into the cooresponding holes
(C or D)
and tap into place with a rubber
mallet. Hold one side
(C or D)
flush with the rectangular frame, push bottom dowels
into place and secure with three 1½" screws. Repeat with the other side.
4.
Attach the assembled top
(B&F)
to the base.
(Top will be quite heavy. Assistance recommended for
this step.)
: Make sure the finished side is facing you and gently maneuver the frame into
the slot between sides.
(If it will not fit properly, slightly loosen screws on the bottom of one side to
give more space.)
Once properly aligned, attach sides to top frame using six 1½" screws.
5.
Gently tip unit on face
(or leave as is, if desired)
. Place hardboard backing
(E)
(with reccessed
screw holes facing out)
into the notched area on back and secure using sixteen
⅝
" screws
(12 screws, if assembling 3 drawer unit)
. If the backing is hard to put in, slightly loosen screws
on top and bottom of one side and retighten after the backing is in place.
6.
Carefully tip the unit back onto the base. Once drawers are put in, the unit will be quite
heavy. It is recommended to put the cabinet in the desired location before putting in
the drawers. Once drawers are added, the flat file is complete and ready to use.
Cabinet Assembly Instructions
HOW TO ASSEMBLE THE
Richeson Flat Files
#880116 - #880120
Imported Easels by Jack Richeson & Co., Inc. - Kimberly, WI - Phone: 1-800-233-2404 - www.richesonart.com
2/22
Separate components into a drawer group and a cabinet group and keep the corre-
sponding hardware with each.
For cabinet assembly, it is recommended to dry fit the base and top first. Then, for
best results and maximum stability, secure all wood dowels with wood glue.
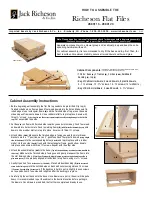
Note: Please, open box, remove all pieces and check for damages before beginning assembly.
(Extra wood framing was used to protect flat file components and can be discarded.)
#880117 shown
A
B
C
D
E
F
5
C/D
E
1
F
B
3
A
B
C
Please Note: Flat File parts are not labeled; letters below were
created for instructional purposes only.


