4
/
8
After entering the F interface, press
to change the parameter number, press
to
show the corresponding parameter value, and then press
to change the parameter
value; If the parameter value is modified, press
to save, shows "oK" (as shown in
Figure 6-4), and return to the current serial number display interface. If the parameter
value is not modified, directly return to the current serial number display interface. In
the setting interface, the motor operation will exit to the standby interface.
6.1 Speed controller model modification
Taking speed controller model selection as an example, long press
and
(for
around 3S) in the standby interface to enter the parameter setting F interface (as
shown in Fig. 6-1), and then short press
to change the serial number to B to display
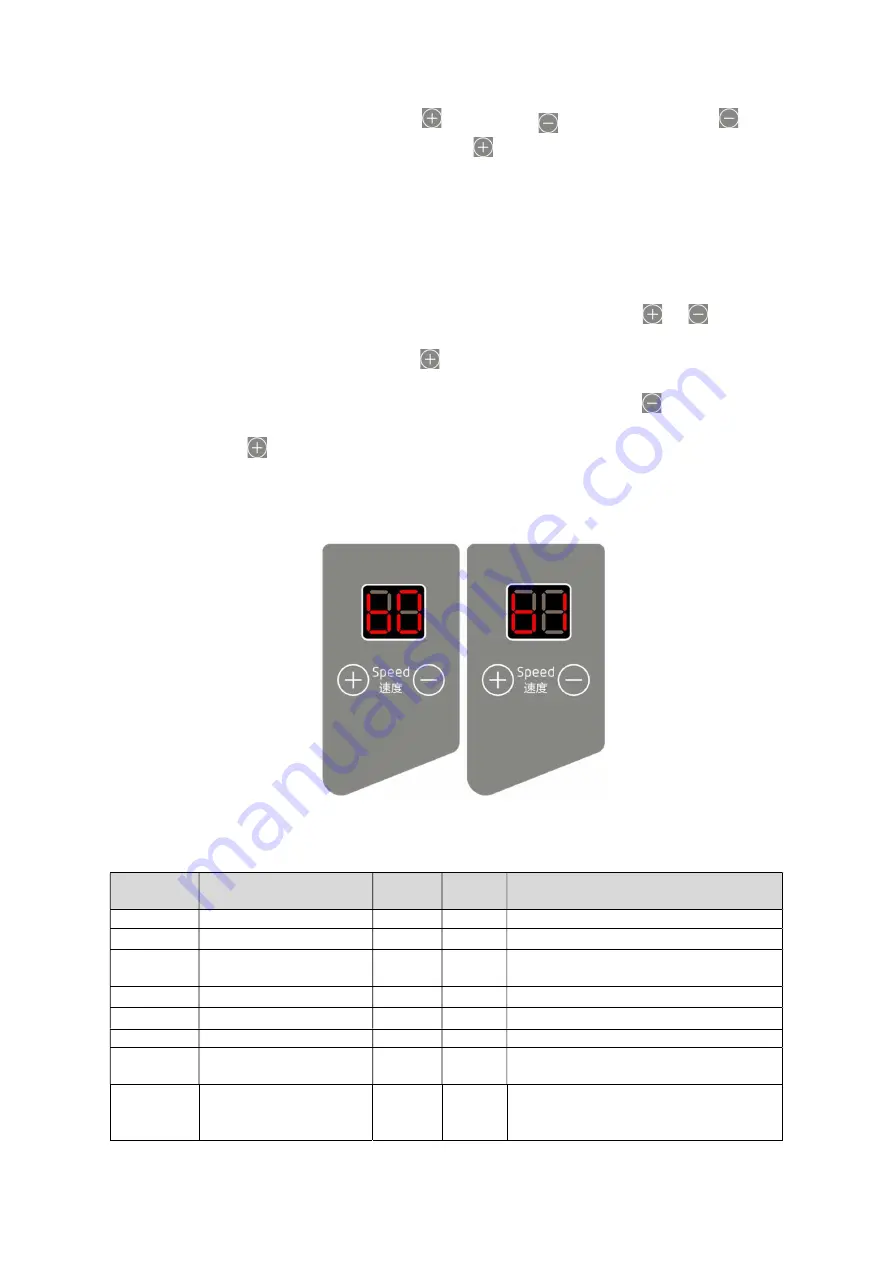
the default parameter value 0 (as shown in Fig. 6-2, corresponding to the flat sewing
computer model). If you want to modify the parameters, you can press
to change the
parameter value to 1 (as shown in Fig. 6-3, corresponding to ZB simple type), and
then short press
to save. After "oK" is displayed, the parameters are modified
successfully. Then return to the standby interface, power off and replace the governor.
When the power on panel shows no error, the governor is replaced. If there is an error,
please check whether the speed controller model matches or not.
Figure 6-2 b0 Figure 6-3 b1
F interface parameters number show as the following sheet
Parameter
number
Definition
Setting
range
Defaul
t value
Note
L
Max sewing speed
05 - 50
40
Increase/decrease by 500rpm
M
Needle position switch
0 - 1
1
0
:
Off 1
:
On
d
Complementary
stitch
function switch
0 - 2
1
0
:
Off 1
:
Half stitch 2
:
One stitch
G
Safety switch
0 - 1
1
0
:
Off 1
:
On
H
Dormancy time
0 - 6
3
Unit
:
10min 0: Off
C
Acceleration
0 - 9
5
The higher value, the faster acceleration
n
Point stitch
0 - 9
6
The larger value, the larger point stitch
interval
V
Speed display enable
0 - 1
0
0
:
Off 1
:
On


