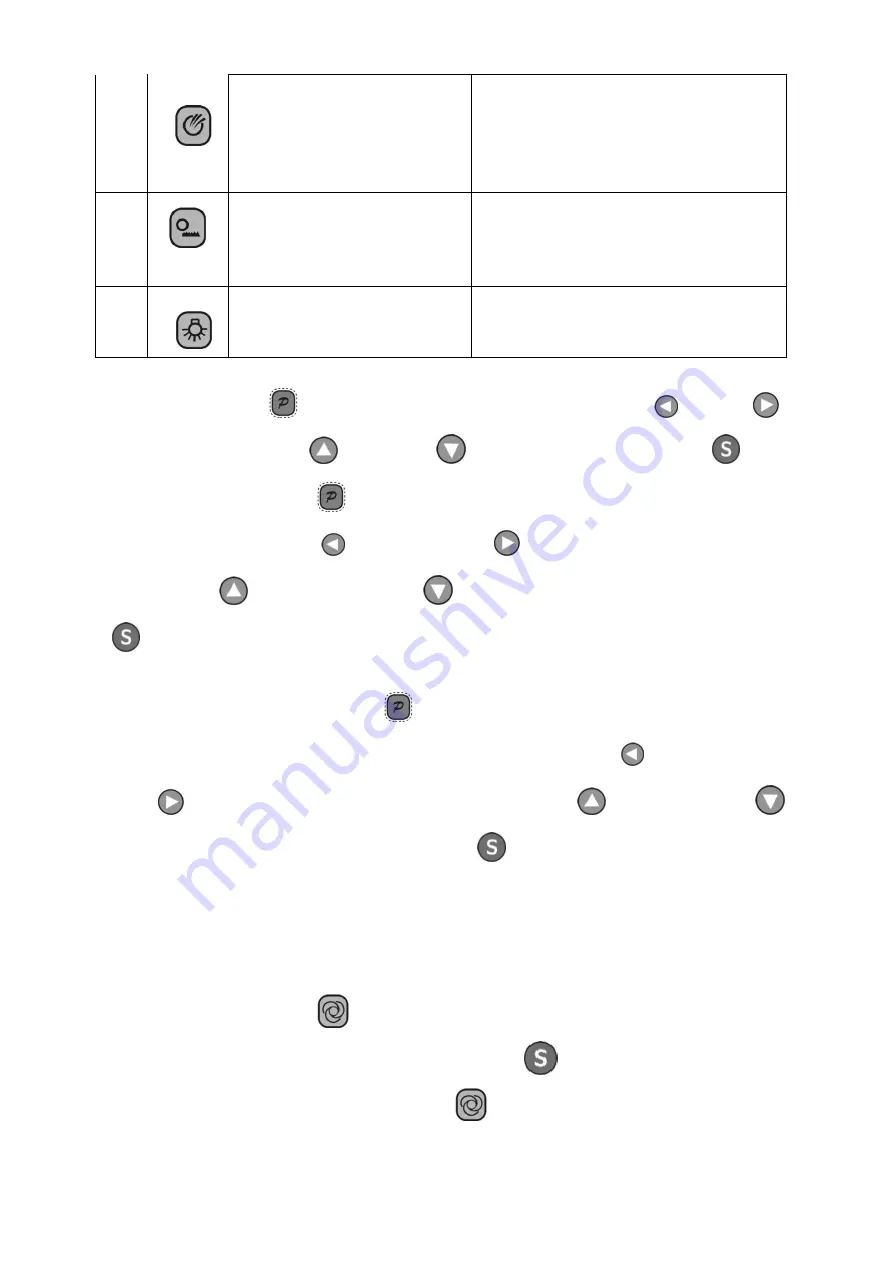
background image

11


剪线吸气模式调整键


trimming


suction


mode


adjustment


key


(modo


de


recorte


de


succion,


tecla


de


ajuste)


12


拉布模式调整键


cloth


feed


mode


adjustment


key


(tecla


de


ajuste


de


alimentacion


diente)


13


LED

亮度调整键


LED


brightness


adjustment


key


(tecla


ajuste


del


birllo)


二、用户区参数的修改

USER


PARAMETER


MODIFICATION


USUARIO


MODIFICACION


DE


PARAMETROS


当用户按住

P

键(

)


4

秒时,进入了用户参数调整模式:通过左移键

(

)

和右移键

(

)

修改相应的参数,按上移键(

)和下移键(

)修改相应的参数值,按确认键(

)确认。


After


the


user


press


the


P


key


)


for


4


seconds,


it


will


enter


into


user


parameter


modification


mode:


:

To


press


the


left


shift


key


(

)


and


right


shift


key


(

)to


select


the


parameters,


to


press


the


upper


shift


key


and


shift


down


key


to


change


the


value,


then


press


the


confirm


key


to


confirm


the


modification.


despues


de


que


el


usuario


pulse


la


tecla


P

)

durante


4


segundos,


entrará


en


el


modo


de


modificación


de


parámetros


de


usuario

:


presionar


la


tecla


de


desplazamiento


a


la


izquierda


(

)

y


la


tecla


de


la


derecha


(

)

para


seleccionar


los


parametros,


pulsar


la


tecla


superior

y


la


tecla


inferior)


para


cambiar


el


valor


y,


pulse


la


tecla


de


confirmacion


para


confirmar


la


modificación


三、用户区参数的修改


FULL


AUTOMATIC


/


SEMI

AUTOMATIC


TOTALMENTE


AUTOMATICO


/


SEMI


AUTOMATICO


当用户按下模式转换键(

)时,进入全自动

/

半自动模式的修改状态,不断按键时,模式

循环以下两种状态:全自动、半自动。设置完,按确认键(

)进行确认保存。


After


the


user


press


the


mode


conversion


key

,


it


will


enter


into


full


automatic/semi

automatic


mode.


To


press


the


key


again


and


again,


two


modes


will


be


in


a


continuous


Summary of Contents for JK-1000Q6

Page 1: ......

Page 2: ...DE LA SUCCION DE CORTE THREAD TRIMMING MODE SETTING CONFIGURACION CORTE DEL HILO CLOTH FEEDING MODE SETTING CONFIGURACION DEL ALIMENTADOR TRANSPORTE ROTATE SPEED SETTING PROGRAMACION DE VELOCIDAD TECH...

Page 3: ...quierda 3 speed setting key velocidad ajuste de clave 4 upper shift key tecla superior 5 confirm key tecla de confirmacion 6 shift down key tecla descendente 7 right shift key tecla derecha 8 sensor s...

Page 4: ...shift down key to change the value then press the confirm key to confirm the modification despues de que el usuario pulse la tecla P durante 4 segundos entrar en el modo de modificaci n de par metros...

Page 5: ...odes will be in a continuous loop ON and OFF After setting press the confirm key to save the modification Cuando el usuario presiona la tecla de modo de sensor modificaci n puede cambiar las funciones...

Page 6: ...piraci n y OFF Despu s del ajuste pulse la tecla de confirmaci n Para guarda la modificaci n TRIMMING MODE SETTING MODO DE CONFIGURACION DEL CORTE When the user press the trimming mode key he can modi...

Page 7: ...s upper shift key once the speed will increase 100rpm Press shift down key once the speed will decrease 100rpm After setting press the confirm key to save the modification Pulse la tecla de ajuste de...

Page 8: ...lay will show P26 Press the confirm key to exit the system will be reset to factory defaults Cuando el usuario pulsa la tecla de desplazamiento a la izquierda y la tecla lado derecha al mismo tiempo l...

Page 9: ...4P port Outlet Diagram control electrico motor motor encoder Encoder speed control box velocidad de caja 14P 14P function port function de puerto 7 6 5 4 220V power supply suministro de energia 3 syn...

Page 10: ...dles otherwise the motor will be automatically shut down El sensor trasero receptor 2 debe ser activado antes de que el sensor delantero receptor 1 finalizando el ajuste de las agujas de lo contrario...

Page 11: ...ela 5 automatic semi automatic mode selection modo de seleccion automatic semi automatic 0 1 1 0 semi automatic semi automatic 1 automatic automatic 6 auto sensing switch interruptor detencion automat...

Page 12: ...telas cuando est a la mitad accionar de nuevo el pedal 0 2 2 0 lifting when half heal back treadle or full heal back treadle 1 down 2 lifting when full heal back treadle 14 manual control suction cont...

Page 13: ...de puntada antes del corte 1 50 15 28 the delayed stitches number of later trimming Numero de puntadas retardadas despues del corte 1 50 12 29 the stitches number before the first suction open n mero...

Page 14: ...de puntadas de retraso antes de que la m quina se detiene 1 99 10 36 the response time of first sensor el tiempo de repuesta del primer sensor 100 990 300 37 the sensitivity of first sensor la sensibi...

Page 15: ...me tiempo de corte 10 990 40 46 suction when continuous feed succion cuando esta en funcionamiento continua 0 2 1 47 manually operate switch Operar manualmente el interruptor 0 1 0 48 needle goes up a...

Page 16: ...ed neumatico 61 impulses number per circle n mero de impulsos por c rculo 600 3000 1440 62 rotate direction direccion de rotacion 0 1 0 0 corotation 1 reversal 63 language idioma 0 1 1 0 English 1 Chi...

Page 17: ...convertidor Module driver output and the front output will close all Waiting for the power to open reset please check the front is jammed or locator motor drive signal is abnormal or not M dulo de sal...

Page 18: ...al o no E12 The power is turned on forget to insert locator se enciende y se gira la c mara se olvide de insertar localizador Automatic into the positioner mode of operation and the tangent sweeping l...

Page 19: ...he presser foot mechanism whether to return to the correct position the sewing table safety switch is damaged the outlet is abnormal Compruebe el mecanismo del pr nsatela si volver a la posici n corre...

Page 20: ......

Page 21: ......

Reviews: