1 7
Acoustic kit
(optional for PLUS réf: E6D035-NF)
Vibration absorber pads
to affix to side supports
(6 pads for the supports)
Fixing bracket
Insulation roll
(x1)
(x7)
(x2)
2
3
4
5
6
1
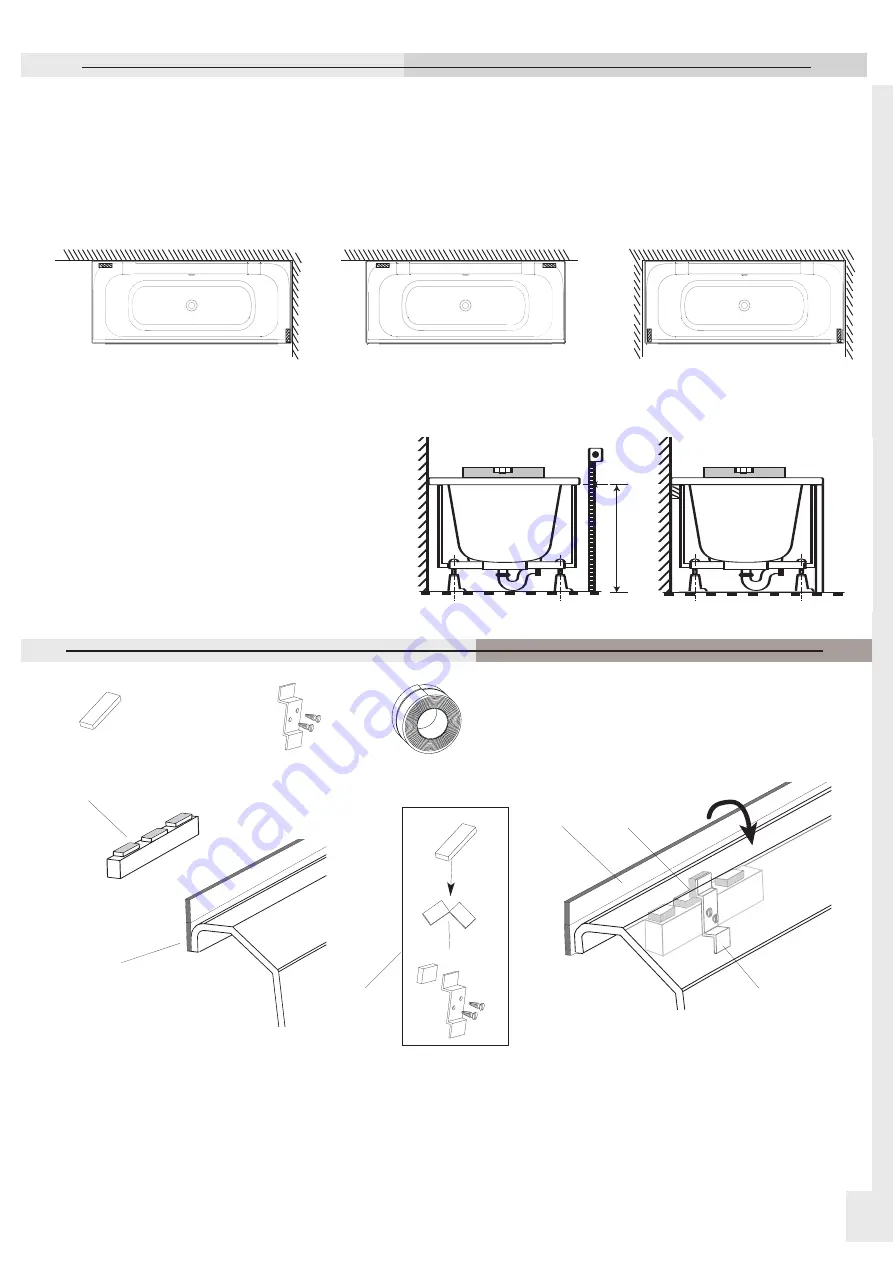
1. Lay three vibration absorber pads
on each peripheral support.
2. Position self-adhesive side of insula-
ting strip along bath return on the
wall side.
5. Screw in fixing brackets
6. Fold other part of the strip over bath
rim (this part will be removed after the
tiling is in place; cf panel/wall finish,
page 20).
3. Cut off remaining pad
into two sections.
4. Position one half-pad
behind each fixing
bracket.
Installing the bathtub
Warning
- Disconnect the bathtub from the mains
before installation.
- Never fix the anti-vibration feet to the floor.
Installing a Class E type bath (see “General installation instructions”). Bath surrounded by four low walls or positioned
against one or several walls, with the other sides positioned against low walls.
- Regardless of your installation layout, the bath should never touch the walls or the ground in order to avoid causing
noise, vibrations or relative motion.
- Allowance should be 5 mm along the perimeter of the bath and 5 mm along the height.
- Move the bath into final position.
- Adjust the pads to position the bath perfectly level.
Install two lateral supports (not supplied) to walls, depending on your layout
x


