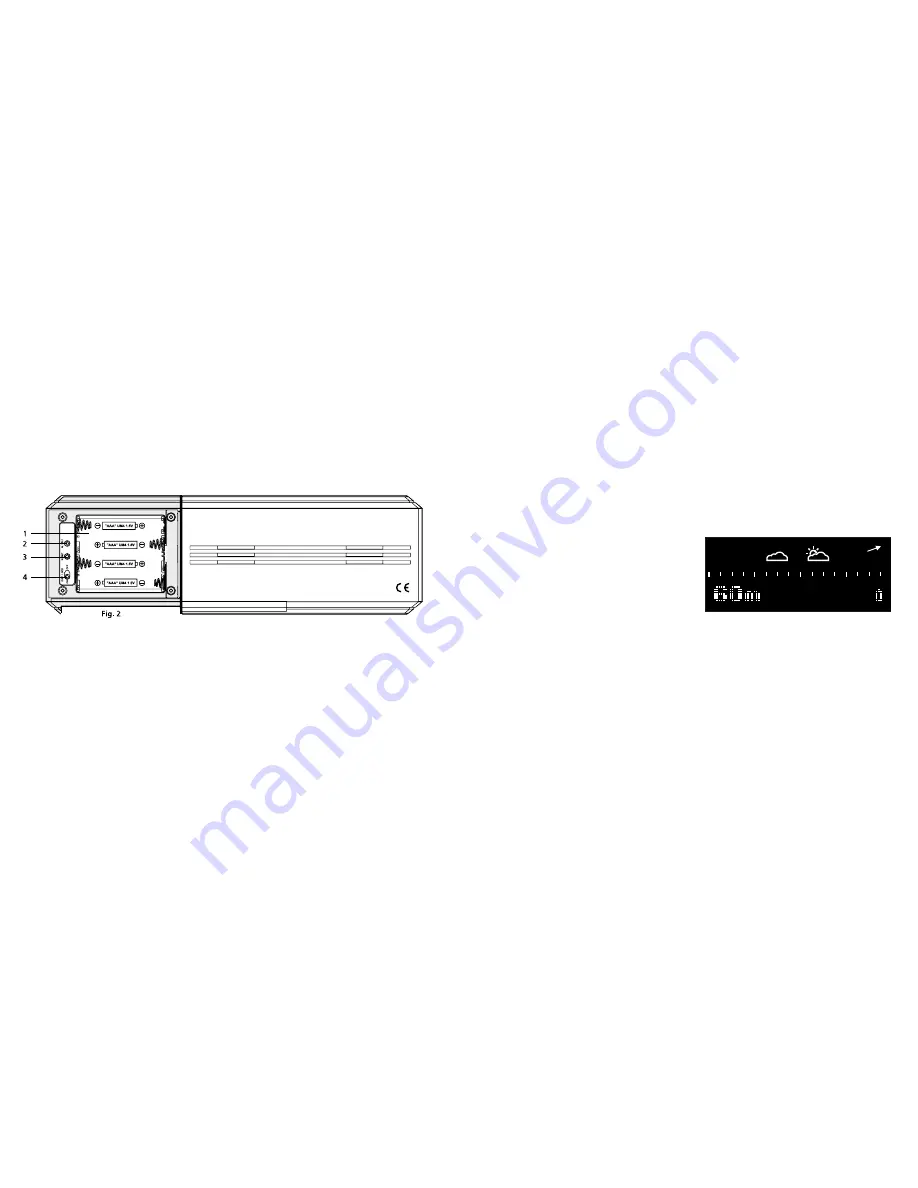
20
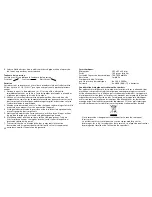
Back view
1. Battery compartment
2. ALT SET: Set the altitude
. RESET: Reset the unit to default settings
4. DISPLAY LOCK (ON / OFF): Select / deselect display screen
(bar chart / digits) as default
Getting started
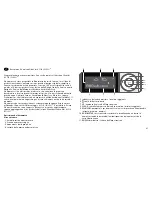
To set up the barometer
1. Remove the battery compartment lid.
2. Insert the batteries, matching the poles (+/-), see Fig. 2. On initial set-up,
simply remove the plastic strip in the battery compartment.
. Press RESET after each battery change.
About altitude setting
1. To obtain the local barometric pressure reading, the altitude setting must
be set to zero.
2. To obtain the barometric pressure reading at Sea Level, the altitude setting
must be set to the local altitude (maximum altitude for function : 2000 m.).
This value, based on sea level, is actually used in weather charts worldwide
and is to be recommended.
. Note! Under extreme pressure conditions the unit might have problems
showing the sea level pressure if placed at maximum altitude (2000 m).
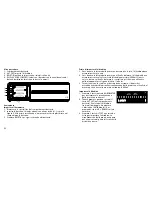
Setting the altitude
1. Press the centre button BAROMETER
to transform the display into actual
digits.
2. Press and hold the ALT SET button
(in the battery compartment) for two
seconds. The altitude setting is flashing
(display in metres).
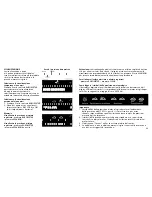
Increase/decrease the altitude in
increments of 10 metres by pressing UP
or DOWN on the front.
. Press the ALT SET button a second time
to set the altitude. The pressure display
appears for a few seconds before it
returns to bar chart mode.


