OPERATION 7
en-42
7.4
STARTING THE ENGINE ____________________________________________________
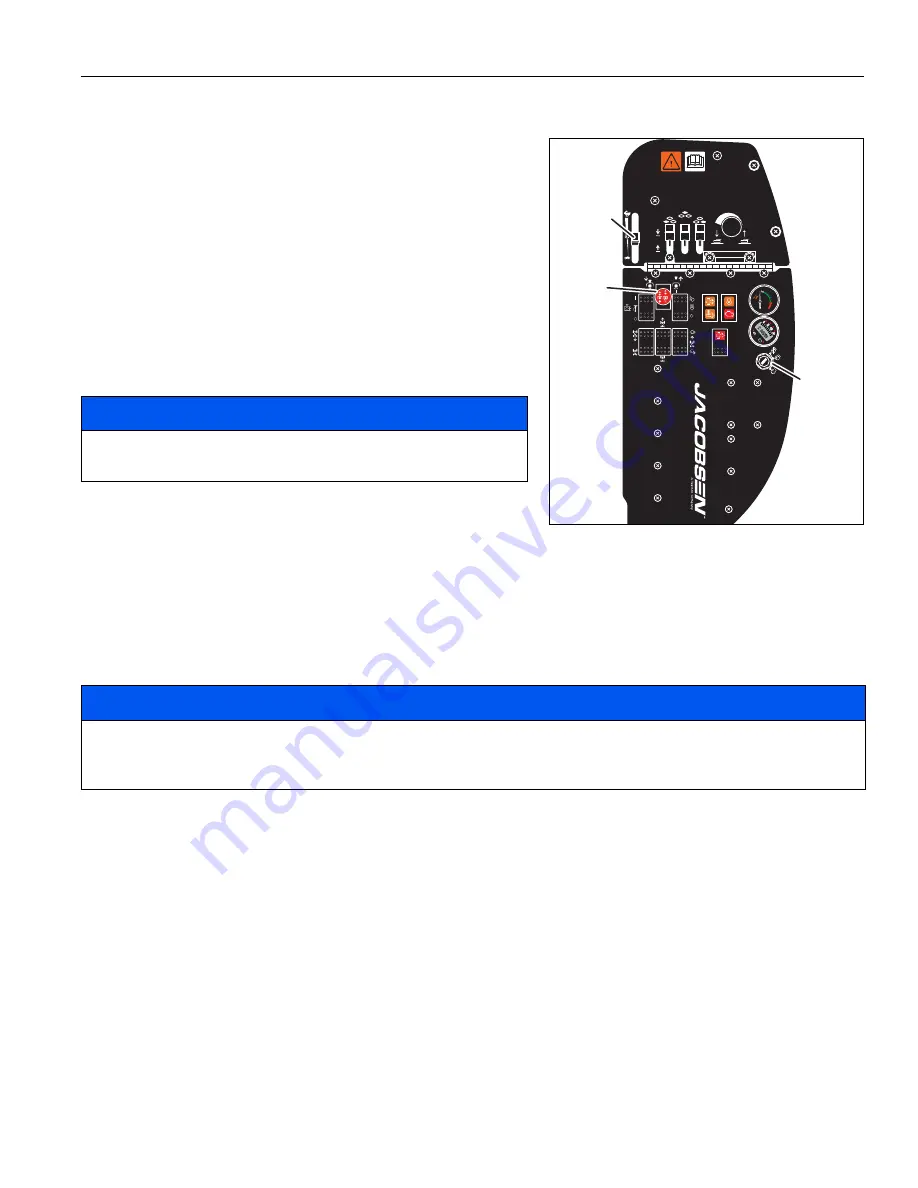
Start the engine with the operator in the seat, the PTO switch in the
OFF position and the parking brake engaged. Remove your foot from
the traction pedal. Always wear the seat belt.
Set the throttle lever to half throttle.
Turn the ignition switch to the RUN
position. The warning lights on the
combination gauge and the control panel will illuminate for a few
seconds. Make sure that the warning lights are illuminated.
When the glow plug light turns off, immediately turn the ignition switch
to the START position. Release the key when the engine starts. Allow
30 seconds between start tries to allow the starter motor to become
cool.
When the engine starts, all of the warning lights will turn off. Allow the
engine to become warm before you operate the engine at full throttle.
7.5
TO STOP THE ENGINE _____________________________________________________
To stop and park the mower in normal conditions:
1.
Turn the PTO switch to the OFF position. Drive the mower to a flat and level area to park the mower.
2.
Remove your foot from the traction pedal.
3.
Lower the front and rear cutting units to the ground. Engage the parking brake.
4.
Allow the engine to operate at low idle without load for 4 to 5 minutes.
5.
Turn the ignition switch to the OFF position and remove the key before you leave the operator seat.
If an emergency occurs and you must park the mower in the area of operation, follow the guidelines set by the grounds
manager. If the mower is parked on a slope, chock or block the wheels.
NOTICE
Do not hold the ignition switch in the START position for more
than 10 seconds.
NOTICE
When you do not operate the engine at no load before you stop the engine, permanent damage to the turbocharger
can occur. Run the engine at no load and the throttle at 50% for 4 to 5 minutes to allow the turbocharger to become
cool before you stop the engine.
P
E
F
Throttle
Lever
PTO
Switch
Ignition
Switch
Summary of Contents for HR-9016 Turbo
Page 13: ...SPECIFICATIONS 4 en 12 K L D B A P P N C J H M E G...
Page 28: ...5 DECALS en 27...
Page 90: ...13 NOTES en 89 13Notes...
Page 91: ...NOTES 13 en 90...


