3 ADJUSTMENTS
8
3
ADJUSTMENTS
3.1 GENERAL _______________________________________________________________________________
1. Adjustments and maintenance should always be performed by a
qualified technician. If proper adjustment cannot be made,
contact an authorized Jacobsen Dealer.
2. Replace, do not adjust, worn or damaged components.
3. Long hair, jewelry, or loose fitting clothing may get tangled in
moving parts.
4. Do not change governor settings or overspeed the engine.
3.2
BALL JOINTS ____________________________________________________________________________
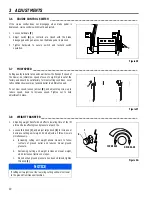
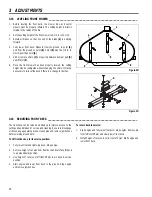
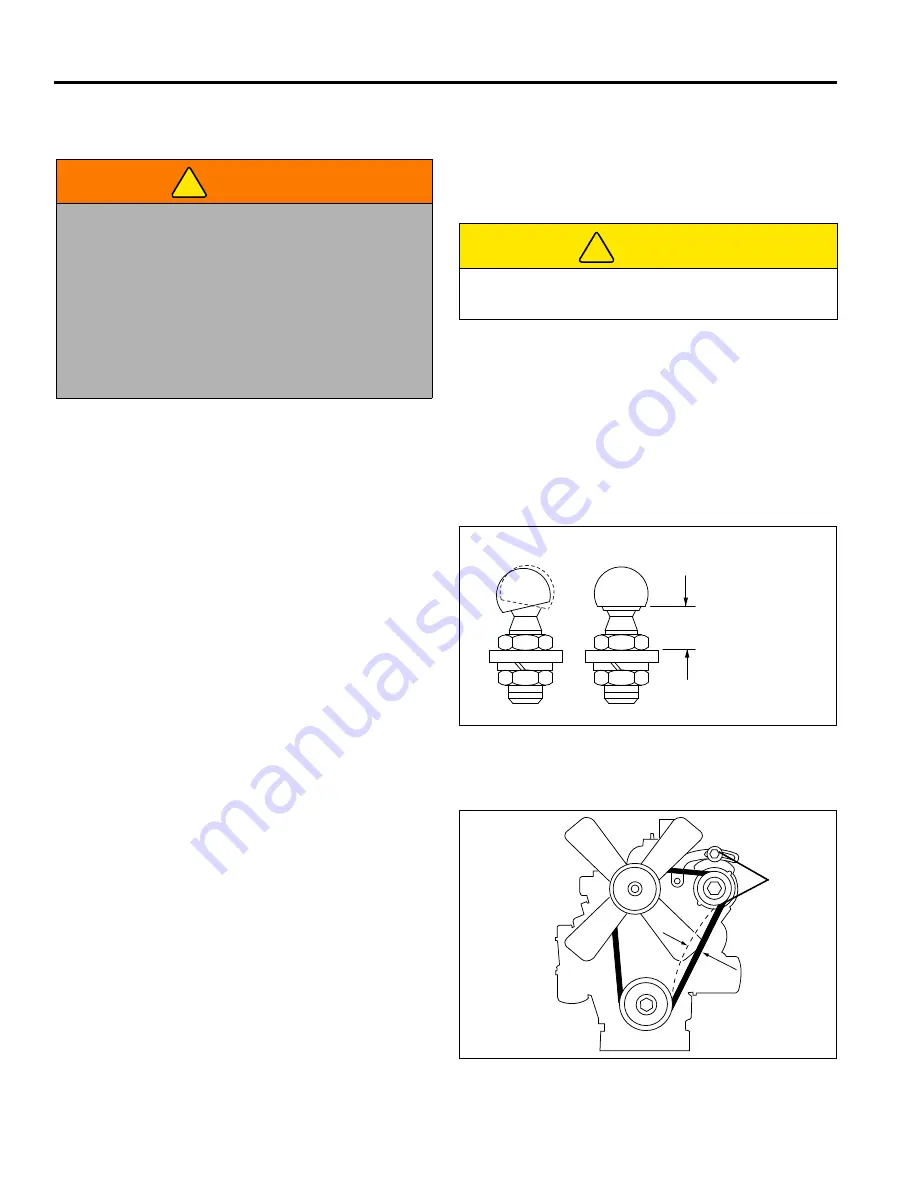
When adjusting ball joints, be sure cut-out in ball joint is parallel to the
mounting bracket, then secure in place.
Figure 3A
3.3
ENGINE ALTERNATOR BELT _______________________________________________________________
1. Inspect and adjust new alternator belt after the first 10 hours of
operation. Check and adjust every 100 hours thereafter.
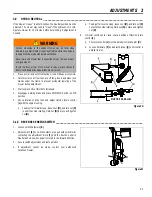
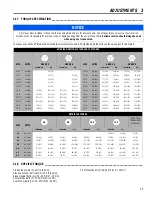
2. Adjust the alternator pulley so the belt deflects 9/32 to 11/32 in.
(7 - 9 mm) with 22 lb. (10 kg) push at midpoint between pulleys.
Refer to your engine manual.
3. To adjust, loosen alternator mounting bolts
(A)
, and adjust
alternator until the proper belt tension is achieved.
Figure 3B
3.4
BRAKE PEDAL ___________________________________________________________________________
WARNING
To prevent injury, lower implements to the ground, disengage all
drives, engage parking brake, stop engine, and remove key from
ignition switch before making any adjustments or performing
maintenance.
Make sure the mower is parked on a solid and level surface.
Never work on a mower that is supported only by the jack. Always
use jack stands.
If only the front or rear of the mower is raised, place chocks in
front of and behind the wheels that are not raised.
!
CAUTION
Be careful to prevent entrapment of the hands and fingers
between moving and fixed components of the machine.
!
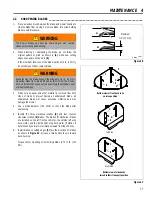
INCORRECT
CORRECT
Must be parallel
after assembly
within 1/4 in.
(6 mm) per foot.
A
Summary of Contents for R-311
Page 29: ...NOTES 7 29 7 NOTES ...
Page 31: ......
Page 59: ...POZNÁMKY 7 29 7 POZNÁMKY ...
Page 94: ...64 2 3 5 6 7 8 9 10 12 11 13 14 16 18 19 20 21 4 17 15 1 R 311 18 1 Engine Serial No All ...
Page 171: ......


