SET-UP 4
GB-11
2.
Install any special rollers or reel attachments
following instructions included with them.
3.
Set bedknife-to-reel adjustment.
[Section 5.11, 5.12]
4.
Adjust cutting height to customer specifications.
[Section 5.13]
5.
Install reels on tractor. Refer to flash attach
procedure.
[Section 5.15]
6.
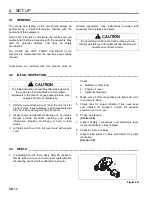
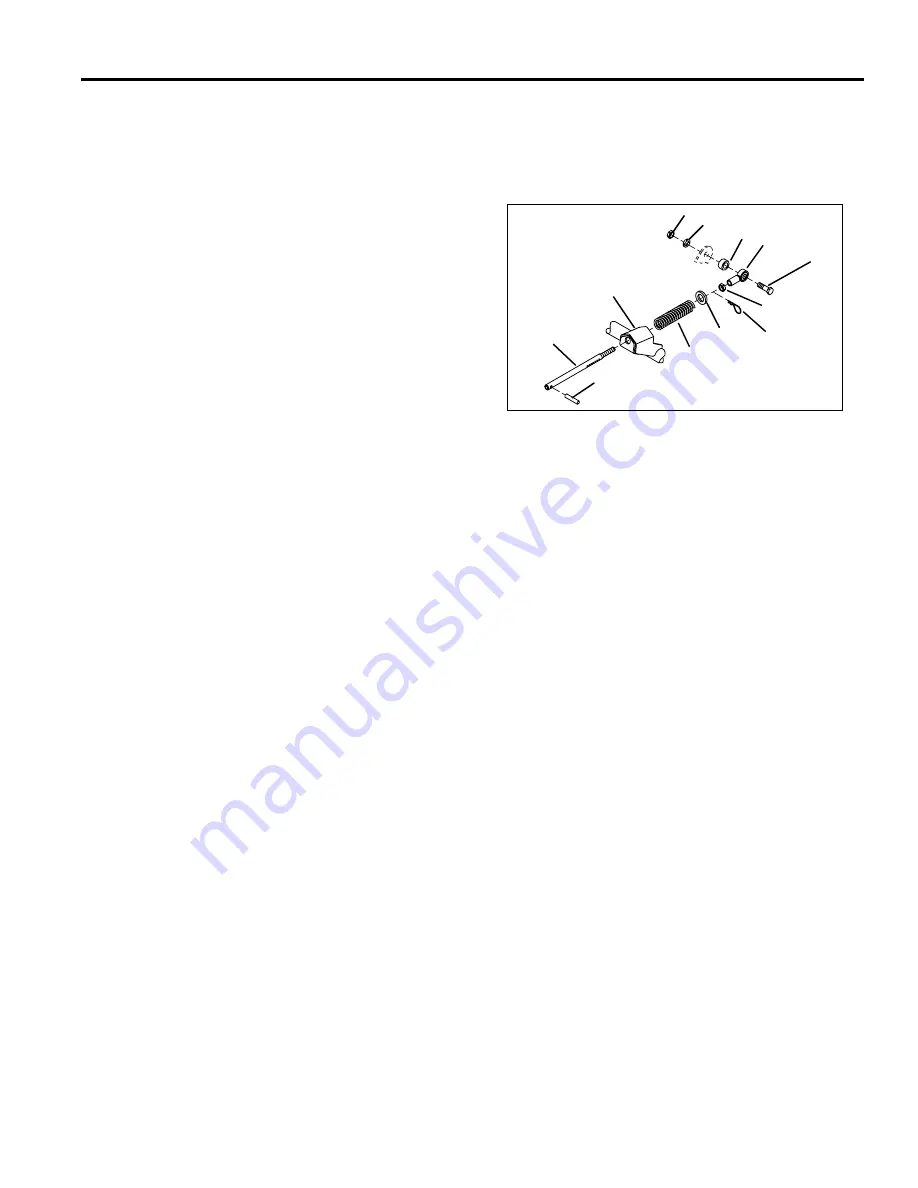
Assemble the down pressure springs to each reel.
a. Insert roll pin (A) into hole at the end of down
pressure tube (B).
b. Slide tube through hole in lift yoke.
c. Assemble spring (C), washer (D), 3/8-24 hex jam
nut (E) and rod end (F) to tube (B) as shown.
d. Secure down pressure assembly to the reel frame
using one 3/8-16 x 1-3/4” screw (G), spacer (H),
lockwasher (J) and 3/8-16 hex nut (K).
e. Insert hair pin (L) and adjust down pressure
[Section 5.16].
Figure 4B
4.4
OPERATING CHECKS ______________________________________________________
After the initial inspection and installation of reels and
accessories test the tractor and implements for proper
operation.
1.
Test the Interlock system.
[Section 4.5 ].
2.
Start tractor and check that switches, pedals and
controls operate as described.
[Section 3.2]
3.
Check that warning lights and alarm are working.
4.
Check that brake pedal does not have more than
one inch free travel before engaging brake disc.
[Section 5.7]
5.
Operate traction pedal and check that tractor
operates smoothly in both directions. Check that
tractor stops when traction pedal is released. If
necessary, adjust traction linkage.
[Section 5.4 and 5.5]
6.
Check adjustment of mow speed stop.
[Section 5.6]
7.
After installing reels check operation of reel lift
lever.
[Section 3.2]
8.
Check operation of reel switch. Forward and
reverse.
[Section 3.2]
9.
Check operation of backlap switch.
[Section 3.2]
After operation, stop tractor and inspect again for oil or hydraulic leaks.
A
B
C
D
E
F
G
H
J
K
Lift Yoke
L


