B
MAINTENANCE
Read all of SAFETY and this section before attempting any procedure. Pay particular attention to Notices, Cautions, Warnings and Dangers.
45
Owner’s Guide
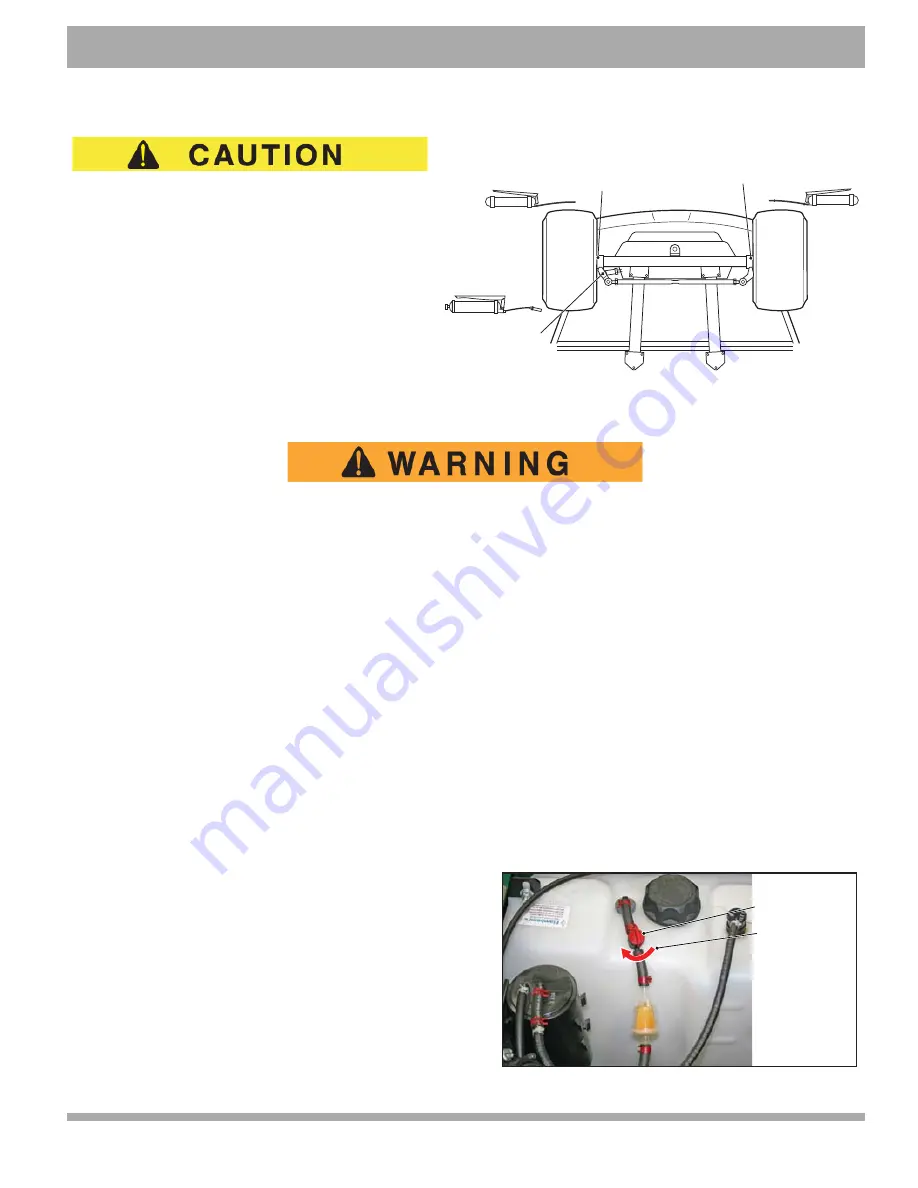
LUBRICATION
Do not use more than three pumps of grease in a
grease fitting at any one time. Excess grease can
cause grease seals to fail, or grease spreading
into areas that could damage components.
Putting more than three pumps of grease in a grease
fitting could damage grease seals and cause prema-
ture bearing failure.
PROLONGED STORAGE
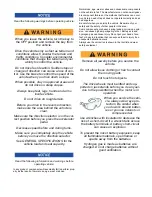
Do not handle fuel in an area that is not adequately ventilated. Do not smoke near the fuel tank or
refuel near open flame or electrical items which could produce a spark.
Store the vehicle in a clean, dry area. Do not store in an area with a stove, furnace, water heater,
or other appliance that uses a pilot light, or has a device that can create a spark.
When refueling, inspect the fuel cap for leaks or breaks that could result in fuel spillage.
Always wear safety glasses while refueling to prevent possible eye injury from gasoline or gaso-
line vapor.
Keep hands, clothing and jewelry away from moving parts. Use care not to contact hot objects.
Raise the rear of the vehicle and support on jack stands before attempting to run the engine.
Preparing the engine for a prolonged storage period (30 days or more) requires a few simple steps to prevent a build-up
of varnish and gum in the carburetor, and corrosion in the engine.
1.
Turn the key switch to OFF position, and leave the forward/reverse switch in the NEUTRAL position during storage.
2.
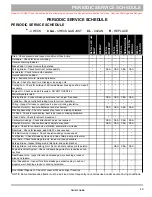
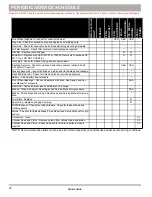
Perform all required routine maintenance per the Periodic Service Schedule.
3.
Inflate the tires to recommended pressure (psi) stated on sidewall of tires.
4.
Place the forward/reverse handle in the NEUTRAL position engage the neutral lock.
5.
Turn the fuel shut-off valve to the closed (OFF) position.
6.
With proper ventilation, run engine until the remaining fuel
in carburetor and fuel lines is depleted and the engine
stalls.
7.
Return the neutral lock to the OPERATE position.
8.
Loosen (do not remove) the carburetor drain screw. Drain
any fuel remaining in bowl into an approved container and
pour the fuel collected into the vehicle fuel tank. Add Sea
Foam (4 oz. for a full tank of fuel) to stabilize fuel and
install the tank cap securely.
9.
Tighten the carburetor drain screw.
Lubrication Points
King Pin
King Pin
View from Underside of Vehicle
Rack
Ball
Joint
Fuel Shut-off
Valve
Turn to “OFF”
Position

