24
24
Q
Plumbing connections
Refer to the pre-installation card for the following connections:
- drain
NOTE:
it is possible to reduce the time required to drain the spa by
connection the drain pipe as shown in the pre-installation diagram.
- overflow
NOTE:
this connection
is obligatory for indoors installation.
X
Connect to the water mains to fill the spa
(as per standard EN 1717).
X
Install the locking system of the cover (
4
).
Electric connections and safety
Q
General warnings
The installer is responsible for choosing wires with characteris-
tics and nominal section that are suitable for the specific current
input of the spa (see pre-installation instructions).
The cable path, choice of materials and most suitable installation
solutions are left to the professional knowledge and experience of the
installer; it is his responsibility to guarantee and certify the installation.
X
Proceed with the connection to the terminal board as indi-
cated in the following diagrams (
3,
3a
)
NOTE:
if power is provided with a double line (380-415V 2N), be-
fore making the connection you must remove the indicated jump-
ers, located near the power supply terminal block.
X
To ensure the degree of protection against water as required
by standards, a cable clamp has been installed to make connec-
tion the electrical system easier.
X
The installer must connect the phase wire to the correct ter-
minal and the neutral wire to terminal
N
(in the order indicated).
He must also connect the earth wire to the terminal identified
by the symbol , taking care not to damage the components
inside. When installation is complete, the cable clamp and the
cover of the box must be hermetically closed.
JACUZZI EUROPE S.p.A. denies all responsibility:
If installation is carried out by personnel unqualified and/or unau-
thorised to certify the work carried out.
If current norms and legal provisions regarding the electric systems
of buildings in the country in which installation is carried out are
not complied with.
If the instructions for installation and maintenance contained in
this manual are not followed.
If unsuitable and/or uncertified materials are used for installation.
If the spas are not installed in compliance with the above provi-
sions.
If incorrect operations are performed that reduce the level of protec-
tion of the electrical equipment against water jets, modify the protec-
tion against electrocution due to direct or indirect contact, or produce
abnormal conditions of insulation, current leakage or overheating.
If any components or parts of the appliance are altered in relation
to the original state when supplied, releasing the Manufacturer
from any liability.
If the appliance is repaired by unauthorised personnel or if spare
parts are used other than the original ones supplied by Jacuzzi Eu-
rope S.p.A.
Check of operation
First start-up
X
Remove the thermal cover from the spa and remove the front
and side panels, if present
(refer to the corresponding chapter)
.
X
Check that the filter cartridge is present in its container and
that the various components are properly installed
(see the chap-
ter on maintenance of the filter cartridge).
X
Check that the drain valve on the base (and the ball valves, if
installed) are closed
(refer to the pre-installation instructions en-
closed with the product).
NOTE:
the pipe that connects the overflow to the drain must always
be left open (refer to the pre-installation instructions).
X
Check that all the hydromassage intakes are open.
X
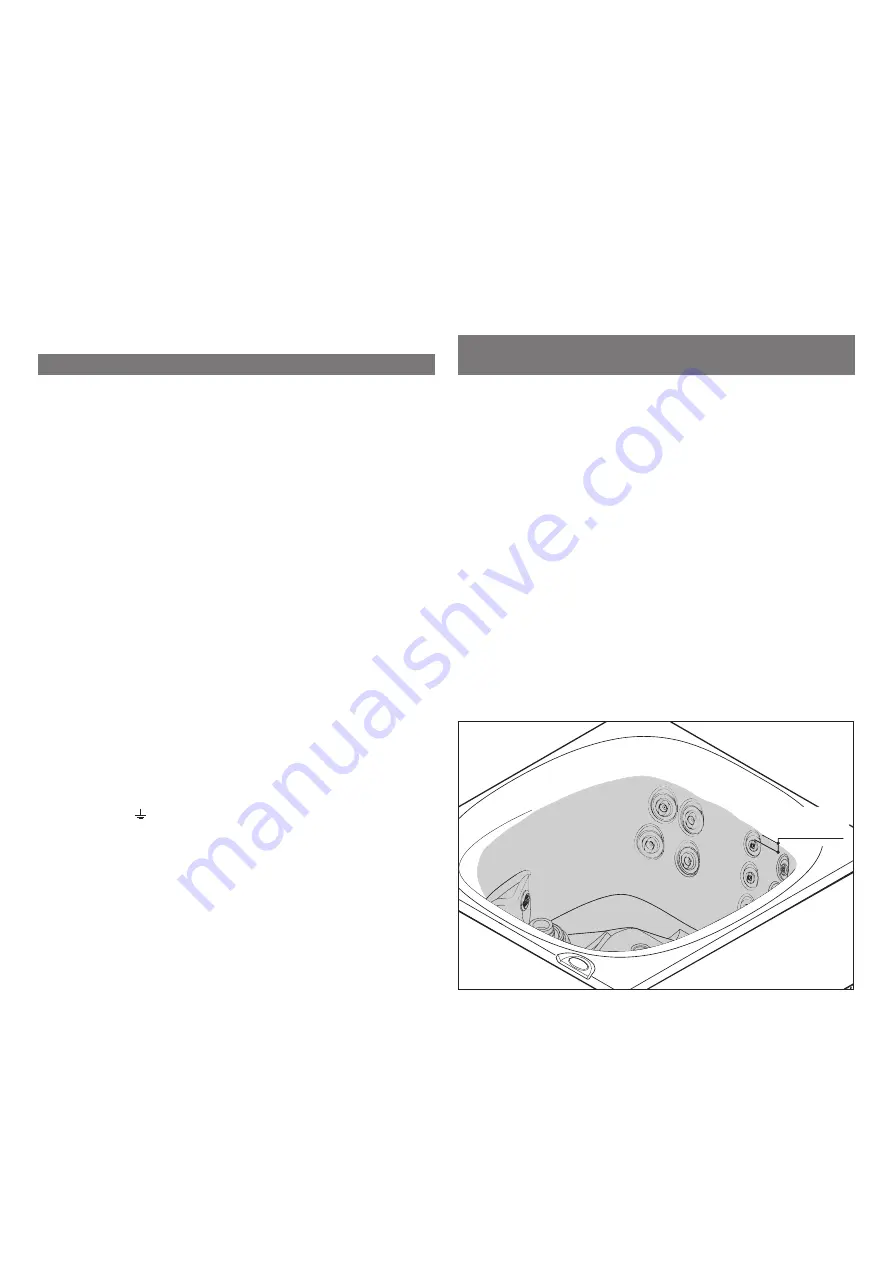
Fill the spa so that the highest nozzles (back) are covered.
4-5 cm
Il riempimento verrà fatto con il sistema deciso preventivamente
Filling will be performed as decided beforehand by the customer
(see pre-installation sheet, “Preparation for installation” chapter).
If you use the hose for garden work, let water run for a while
before filling the spa. This will eliminate stagnant water in the
hose along with any bacteria that may cause irritations.
X
Turn on the all-pole circuit breaker located on the power sup-
ply line
(see the chapter on connections and electrical safety)
.
Summary of Contents for city spa
Page 2: ......
Page 3: ...3 2 3 4 1 1 ...
Page 4: ...4 3 2 4 A B D C 1 1 M8 5 2 ...


