10
PLEASE READ THE INSTRUCTIONS CAREFULLY BEFORE
INSTALLING.
Check for any defects: once the product has been installed,
the guarantee is no longer valid in the event of damage
caused by knocks or abrasion.
INFO
Mynima 80 Sphere
(80x80),
Mynima 90
(90x90) and
Mynima
120
(120x75) shower enclosures can be installed with or without
wall-mounted glass panels, and can be equipped with a seat. They
can also be equipped with (mod.
TT
) or without (mod.
TB
) a steam
bath and glass top (see the glass panel unit diagrams).
I
The shower enclosure must be installed in a corner on finished
and tiled (or water-proof) walls, but without skirting and/or pro-
jecting parts.
Assembling and installing the shower enclosure must be car-
ried out (in strict compliance with the manufacturer's instruc-
tions) by two people. Given the considerable weight of the com-
ponents to be handled, it is advisable to wear protective gloves.
I
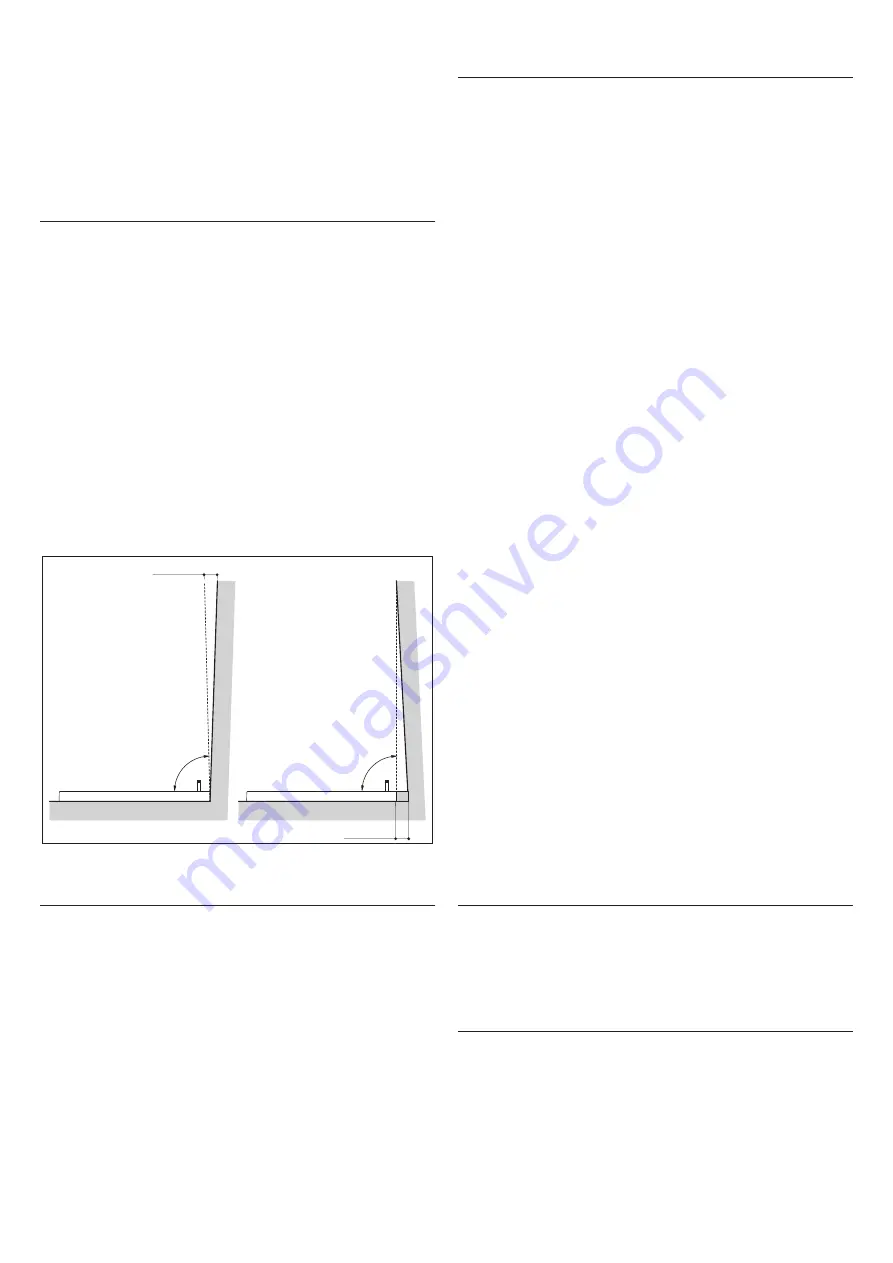
To assemble the various components in the correct way, the
walls of the installation corner must be straight. Wall compen-
sators let you recover crookedness by up to 10 mm.
Before starting...
Before proceeding with installation, check that all the relevant pre-
installation operations have been carried out; see the attached
technical card for this.
몇
If the water supply system is equipped with an instant wa-
ter heater, check that this is powerful enough. For gas mod-
els, we recommend that you use models with variable pow-
er in relation to the volume of water drawn off. Do not use
hot water accumulators without pressure.
몇
In areas of very hard water it is necessary to install a scale-
remover in the water system, to prevent and/or reduce the
formation of scale.
Installing the shower tray
Remove the shower tray from its packaging
only mod. TT and TB with seat (with floor level connections)
I
(
i
1 detail 1
) Connect the drainage column to the prepared
drain pipe, and carefully apply silicone to the connections (
detail 2
).
I
(
only for models TT;
i
1 detail 3
) After fastening the small
pipe to the drainage column connector, pass it through the hole
shown; then position the shower tray on the floor (
detail 4
).
only TB model without seat (with wall connectors)
I
(
i
1A detail 1
) Connect the drainage column to the prepared
drain pipe, and carefully apply silicone to the connections (
detail
2
); then position the shower tray on the floor (
detail 3
).
(
i
1B-1C
)
Should the area under the shower tray not
be finished (rough floor) and therefore be lower than the
edges of the perimeter, the shower tray may be subject
to breakage due to the weight of the users. The area mu-
st be levelled with high-resistance mortar (or a similar
material) in order to ensure a uniform resting surface.
I
(
i
2 detail 1
) Fasten the ring nut to the drainage column and
test for water tightness.
IMPORTANT: it is advisable to check that there are
no leaks from the drain, as it will no longer be pos-
sible to check when it has been assembled. For ex-
ample, place the shower tray on spacers (in order
to check) and pour one or more buckets of water
into the shower tray.
I
(
i
2 detail 2
) Check that the shower tray is flat, if necessary
adjust it at the edge (
detail 3
).
I
(
i
2 detail 4
) Fasten the shower tray to the floor using suit-
able a substance.
I
(
i
2 detail 5
) Apply silicone between the shower tray and
the walls, as shown.
If the gap that is created between the show-
er tray and the walls is considerable, the Service Centres can
supply suitable profiles to cover the silicone.
N.B. Only models with wall-mounted glass panels
To make assembly operations easier, it is possible at this point
to attach compensator “A” (see
i
13
and “Installing the wall-
mounted glass panels” chapter - "Installing compensator “A”).
Installing the compensator-fixture panel
Before proceeding with the following assembly phases, it is advis-
able to protect the shower tray from any knocks and/or abrasion.
I
(
i
3 detail 1
) Making sure that the compensator is perfectly cen-
tred on the base of the shower tray, mark the position on the wall.
10mm
10mm
90
°
90
°


