(II)
8
12)
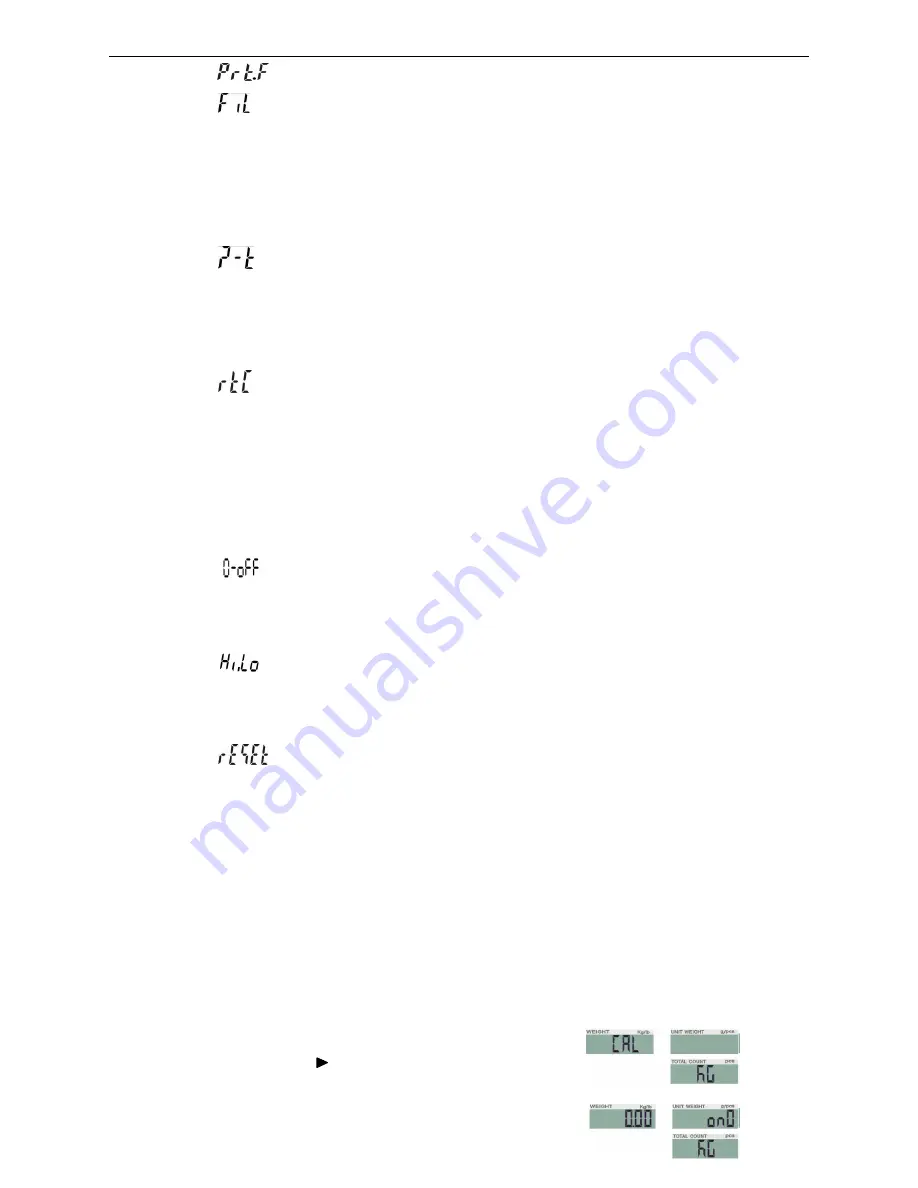
SET11
printing format setting: prt01~prt03
13)
SET12
filtering setting:
1
,
2
,
3
,
4
1
:
Suitable in very stable environment with the quickest weighing
2
:
Suitable in the common environment
3
:
Suitable in a bit shaking environment
4
:
Suitable in the very shaking environment with the slowest weighing
14)
SET13
zeroing or taring setting:
stable, auto, always
stable
:
Taring or zeroing works when stable only
always
:
Taring or zeroing works no matter it is stable or not
auto
:
Press key TARE or ZERO when unstable, but it works when stable.
15)
SET14
time setting (optional):
on, off
RTC
setting: press key
G N/SET
to enter RTC setting and set to
on.
Press key
G N/SET
again to enter the RTC window. Press key
G N/SET
to enter the figure
changing and key
/MR
or
TARE/
to shift the figures. Press key
M-/HI
or
PRINT/LO
to modify the value (or via numeric keys). Press key
M+/SAVE
to save and
shift the windows.
16)
SET15
weight memory parameter:
on, off
On:
display the last weight when powering on again
Off:
do not display the last weight when powering on again
17)
SET16
the kinds of checking:
Qty.ck, Wt.ck
Qty.ck:
start amount checking
Wt.ck:
start weighing checking
18)
SET17
parameter initialization
press key
G N/SET
then key
M+/SAVE
to start initialization. It is finished when
displaying OK.
6. Single and Multi-point Calibration
Note:
Before calibration, please set the capacity first. The unit used in calibration is the one
that has been set before. During the calibration procedure, LONG press
ZERO/ESC
to
return to normal weighing mode without saving.
Here we take 3kg/10g as an example
1. Press and hold
TARE/
while powering on.
Do not release it till the window displays
“
CAL”
2. With no load on the weighing pan,
Summary of Contents for JCL-3K
Page 23: ...II 22 2 ERP System...


