background image


changing  and  key 

/MR 

or 

PRINT/LO 

to modify the value (or via numeric keys). Press key 

shift the windows. 

16) 

SET15  


weight  memory  parameter: 

On: 

display the last weight when powering on

Off: 

do not display the last weight when powering on again

17) 

SET16 


the kinds of checking:

Qty.ck: 

start amount checking

Wt.ck: 

start weighing checking 

18)

SET17  


parameter

press  key 

G  N/SET 

then  key 

displaying OK. 


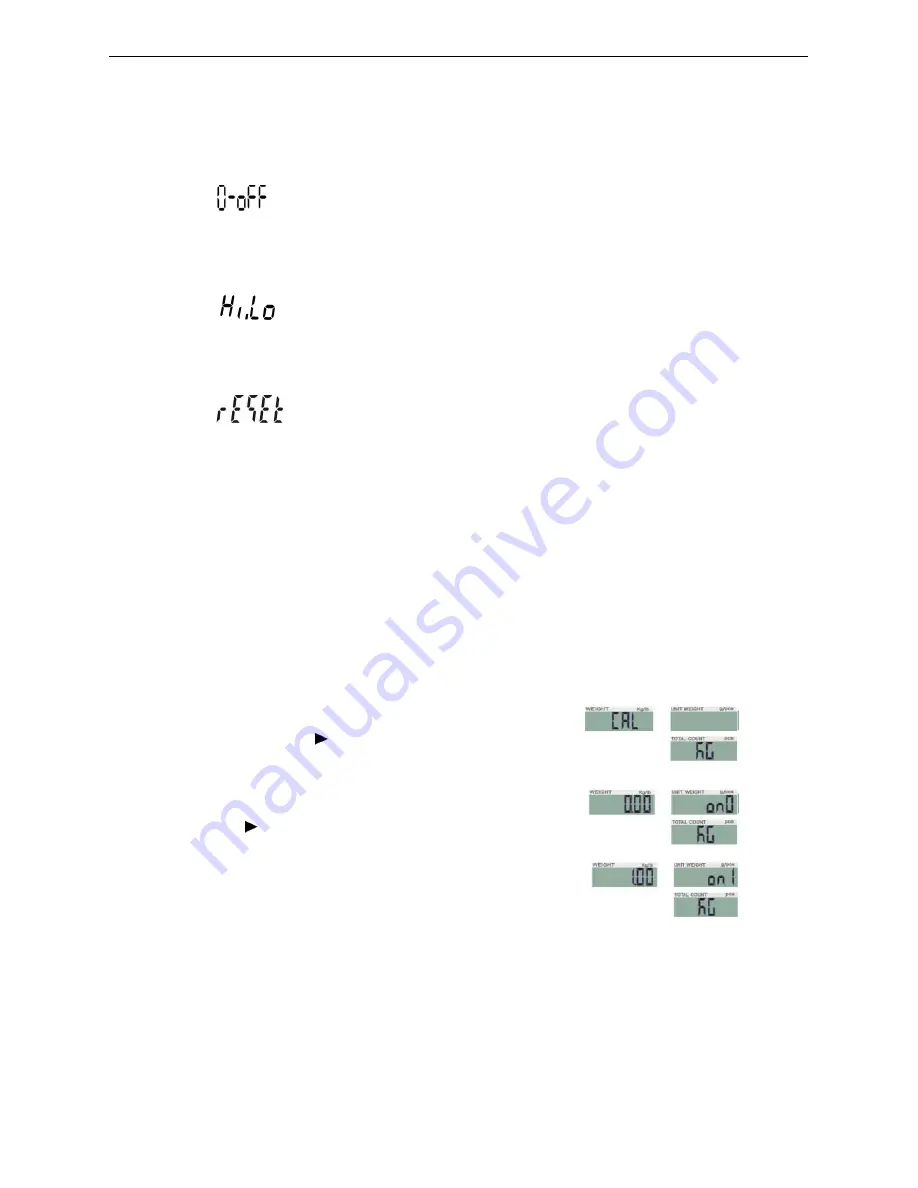
6. Single and Multi-point Calibration

Note: 

Before calibration, please set the capacity first. The unit used in calibration is the one 

that  has  been  set  before.  During  the  calibration  procedure,  LONG  press 

return to normal weighing mode without saving.

Here we take 3kg/10g as an example

1. 


Press and hold 

TARE/ 

while powering on. 

not release it till the window displa

2. 

With no load on the weighing 

press 

TARE/ 

to start zero point calibration.

3. 

Wait till the window displays the first calibration


Note: 

The first calibration value is default. If the value 

has been changed, the default value is 1/3 of full load.


If you need to change the value, do as the following: Press key 

value setting. Press key 

/MR 

M-/HI 

or 

PRINT/LO 

to modify the value (or via numeric keys). Press

(II) 

or 

TARE/


to  shift  the  figures.  Press  key 

to modify the value (or via numeric keys). Press key 

M+/SAVE 

weight memory  parameter: 

on

off 

display the last weight when powering on again 

do not display the last weight when powering on again 

the kinds of checking: 

Qty.ck

Wt.ck 

checking 

start weighing checking 

parameter initialization 

then  key 

M+/SAVE 

to  start  initialization.  It  is  finished  when 

Calibration 

Before calibration, please set the capacity first. The unit used in calibration is the one 

that  has  been  set  before.  During  the  calibration  procedure,  LONG  press 

ZERO/ESC 

return to normal weighing mode without saving. 

/10g as an example 

while powering on. Do 

isplays 

CAL” 

 pan, 

to start zero point calibration. 

till the window displays the first calibration value. 

The first calibration value is default. If the value 

has been changed, the default value is 1/3 of full load. 

If you need to change the value, do as the following: Press key 

G N/SET 

/MR 

or 

TARE/


to move leftwards or rightwards.  

to modify the value (or via numeric keys). Press  key

to  shift  the  figures.  Press  key 

M-/HI 

or 

M+/SAVE 

to save and 

to  start  initialization.  It  is  finished  when 

Before calibration, please set the capacity first. The unit used in calibration is the one 

ZERO/ESC 

to 

G N/SET 

to enter the 

leftwards or rightwards.  Press  key 

key 

Summary of Contents for JCL Series

Page 1: ...cking function 7 3 1 Upper Lower Weight Limit 7 3 2 Upper Lower Quantity Limit Checking 7 4 Basic Counting 7 4 1 Entering a Known Unit Weight and Unit 7 4 2 Sample Counting and ACAL 7 5 Accumulation Accumulation Display and 7 6 Initialization of the Scale to Printer Optional 7 7 The Control from PC to Scale II Content Product Features point Calibration Upper Lower Weight Limit Checking Limit Check...

Page 2: ...8 Serial Interface 8 1 RS 232 Connector 9 Troubleshooting and Error II Error Message 16 16 ...

Page 3: ... other liquids Service should be performed by authorized personnel only 3 Before Using the Product 3 1 Unpacking and Checking Open the package and check the instrument for transport damage Immediately inform your dealer if you have complaints or if parts are missing The package should contain Scale body User manual Stainless steel and plastic weighing pans Wire power cord 3 2 Installing Components...

Page 4: ...r socket 9 Transport protection screw 10 Plug buckle 4 1 Specifications General Features Specifications Model JCL 1 5K JCL 3K JCL 6K JCL 7 5K JCL 15K JCL 30K Capacity kg 1 5 3 6 7 5 15 30 Weighing units Kg g lb Display 3 backlit LCD displays 6 5 6 Digits Pan size 294X228X13 5mm Scale dimensions 341X294X104mm Power supply AC 110V 220V AC 10 or rechargeable battery 6V 4A ...

Page 5: ...g status Accumulation of weight and quantity max 99 Single point and linear calibration Auto shut off for power saving 1 Low battery indication 2 Tare or Preset Tare indication 3 Center of Zero indicatio 4 Charge Lamp A D covered by aluminium plate prevent PCB from static and moisture tracking Automatic counting accuracy improvement ACAI for enhanced counting accuracy function Weighing platter eas...

Page 6: ...parameter item is selected when setting buzz points at PRESET TARE when Tare value ht minus Tare Symbol points at NET w ymbol appears at the top of STAB at ACAI when the average unit weight is when scale is in accumulation mode own unit weight mode Symbol points entered unit weight is lower than 4 5 of scale division Unit weight is too small for ensuring ple counting mode Symbol points at calculat...

Page 7: ...saving 9 MR key Recalls and displays the total Accumulation data weight total count and number of weightments and the first 10 records in details Circle the choices in the setting Make the blinking spot shift leftwards when inputting the figures 10 PRINT LO key Press the key to print when printing manually is selected Set the LO value Enable the blinking figure decrease one when inputting the figu...

Page 8: ...weight window the battery power lamp turns green from red when the recharging Disconnect the scale from power supply when it A full charged battery can operate the scale for approximately 65 hrs with backlight 80hrs Note Battery is to replaced only by an authorized service dealer Risk of explosion can occur if replaced with the wrong type or connected improperly key while powering on key in the we...

Page 9: ...nd amounts are within the checking range and the stable symbol appears Off it starts checking weight when the weight and amounts are within the checking range 8 SET07 beep setting Hi ok Lo out no beep Hi There will be a warning sound when the material quantity is more than the upper limit and the weight of the material is more than 20 divisions Ok There will be a warning sound when the quantity of...

Page 10: ...by pressing keys 12 SET11 printing format setting prt01 prt03 13 SET12 filtering setting 1 2 3 4 1 Suitable in very stable environment with the quickest weighing 2 Suitable in the common environment 3 Suitable in a bit shaking environment 4 Suitable in the very shaking environment with the slowest weighing 14 SET13 zeroing or taring setting stable auto always stable Taring or zeroing works when st...

Page 11: ...e or via numeric keys Press II or TARE to shift the figures Press key to modify the value or via numeric keys Press key M SAVE weight memory parameter on off display the last weight when powering on again do not display the last weight when powering on again the kinds of checking Qty ck Wt ck checking start weighing checking parameter initialization then key M SAVE to start initialization It is fi...

Page 12: ...and press or ZERO ESC II Put the corresponding weight on the weighing pan to complete the first point calibration After the first point calibration the window can display the weight value If no need for the other point calibration move to Step 6 to finish the calibration procedure Add another weight 500g to the current weight The window otal weights value Press TARE to complete Repeat this step to...

Page 13: ...firm and save Press key mode without saving II for three seconds it enters to preset tare setting tare value setting Press key MR or TARE to shift and key to modify the value or via numeric keys to save and return to weighing mode Place the items into the container and the weight of container will be tared cancel tare action clear the pan and press TARE or ZERO ESC Enter the tare value by pressing...

Page 14: ...n is smaller than lower limit Note the item on the weighing pan should be more than or equal to 20e 7 3 2 Upper Lower Quantity Limit Checking Upper Quantity Limit 1 Long press key M HI under the weighing mode The number leftmost is blinking 2 Press key MR or TARE to shift and key M HI or PRINT LO to modify the value or via numeric keys 3 Press key G N SET to start or close weighing checking 4 Pres...

Page 15: ...ion appears when the item on the weighing pan is greater than the upper limit OK indication appears when the item on the weighing pan is between upper and lower limits LO indication appears when the item on the weighing pan is smaller than lower limit Note the item on the weighing pan should be more than or equal to 20e Entering a Known Unit Weight and Unit weight Memory Under the weighing mode us...

Page 16: ...creasing the reference weight without the need to count additional parts Ahigher reference a risk of inconsistent piece weights or if the reference is close to the minimum ACAI uses an initial averaging unit weight to count additional pieces that are placed on the scale After a few seconds the scale gives a beep as the reference weight is used to recalculate the averaging unit weight The process c...

Page 17: ...the XX total accumulation events XX the single accumulation To clear the total accumulation data or the first 10 accumulation events press key to shift the events and then press key M HI to clear Symbol when the total accumulation data is deleted Initialization of the Scale to Printer Optional key while powering on or long press G N SET key in the weighing mode to enter parameter setting Press key...

Page 18: ...lay RS 232 and relay weight checking functional module onto one circuit board Only when this board is adopted the three functions can be enabled 8 1 RS 232 connector 9 Troubleshooting and Error message Error Message Problem Solution ERR0 Exceed the zero range The item on the pan should be within 2 of full load ERR1 Model setting error Resolution should be within 300 300000 Adjust or reset the capa...

Page 19: ...tenance department ERR5 Overload condition Remove the overload item ERR6 Exceeds the display range ERR8 Lower limit is higher than upper limit Reset the weight limit value ERR9 Exceed tare or pre tare range 0 Tare value full load ERR10 Wrong calibration weights Place the right test weights and the calibration value should be below full load Appendix 1 BIRCH GODEX ZEBRA printing format Prt 01 Prt 0...

Page 20: ...4 01 02 1 000 kg 20 pcs 1 000 kg 03 20 pcs 1 000 kg 20 pcs 03 3 000 kg 60 pcs NOTE The printing sample could be of different kinds of formats When there is specific demand about the format conduct as follows 1 As for BRICH GODEX ZEBRA printers the factory designs the format as planned and email to the user Add the format into the previous format file via computer Then it is successful to add the n...

Page 21: ...are connection and settings 1 Use transmitting serial wire or USB wire to connect scale and pc Note pls install usb driver first if you use usb wire 2 Parameter settings in scale PERI EXCEL external device BAUD 2400 4800 9600 baud rate PRT M KEY STABLE printing model PRT F PRT F01 printing format Enable the function of Use Serial Keys in the computer Set Windows XP as a example 1 Press Start Run a...

Page 22: ...cument and press the Print buotton on the scale The Serial Keys works well if pc exports the weighing data to Text Export weighing data to Excel 1 Open Excel 2 Press Print then Excel will show Date and Weighing data 3 Use Format Cells to beautify Excel ...

Page 23: ...computer Note Start Control Panel User Account Fast User Switching function 2 The data export requires only GND RX TX three lines while some wire include nine lines including usb 9 25pin adapter which may cause abnormal function Note cut other useless line to check if these three lines work well ...

Reviews: