Enclosures for the ADwin-Pro II System
Enclosures for the ADwin-Pro II System
ADwin
4
ADwin-Pro II
Hardware, manual Dec. 2018
4 Enclosures for the
ADwin-Pro II
System
The different sizes for the enclosures depend on the number of slots and the
kind of power supply.
The number of slots is given for Pro II modules. If Pro I modules be used–in
combination with Pro II modules or not–less modules fit into the enclosure.
For the slot area (including power supply slot) the following dimensions apply:
The slots mostly have a width of 5 HP = 1 inch.
Plug-in a module
You plug-in a module into the enclosre like this:
– Switch off the
ADwin
device! A module may sustain damage if you plug
it in or out with the power supply switched on.
– Remove one or more cover plates at the wanted position, until the bear-
ings be seen at the left edge: one upper and one lower bearing.
• Pay attention to the color of the bearings. There are different,
offset bearings for Pro I and Pro II modules:
White bearings: Pro II modules.
Black bearings: Pro II modules.
• The processor module has a fixed position, no other position can
be used.
– Insert the board carefully into both bearings, plug ahead. If positioned
correctly the module cannot be skewed.
– Push the module into the enclosure. At the end the push gets harder
while the module plug slides into the female connector of the back plane.
The module’s front panel should butt against the enclosure.
– Fix the module with the screws at top and bottom of the front panel.
– If there are, close the gaps between plugged-in modules using the cover
plates. There are plates with 2, 3 or 5 HP width.
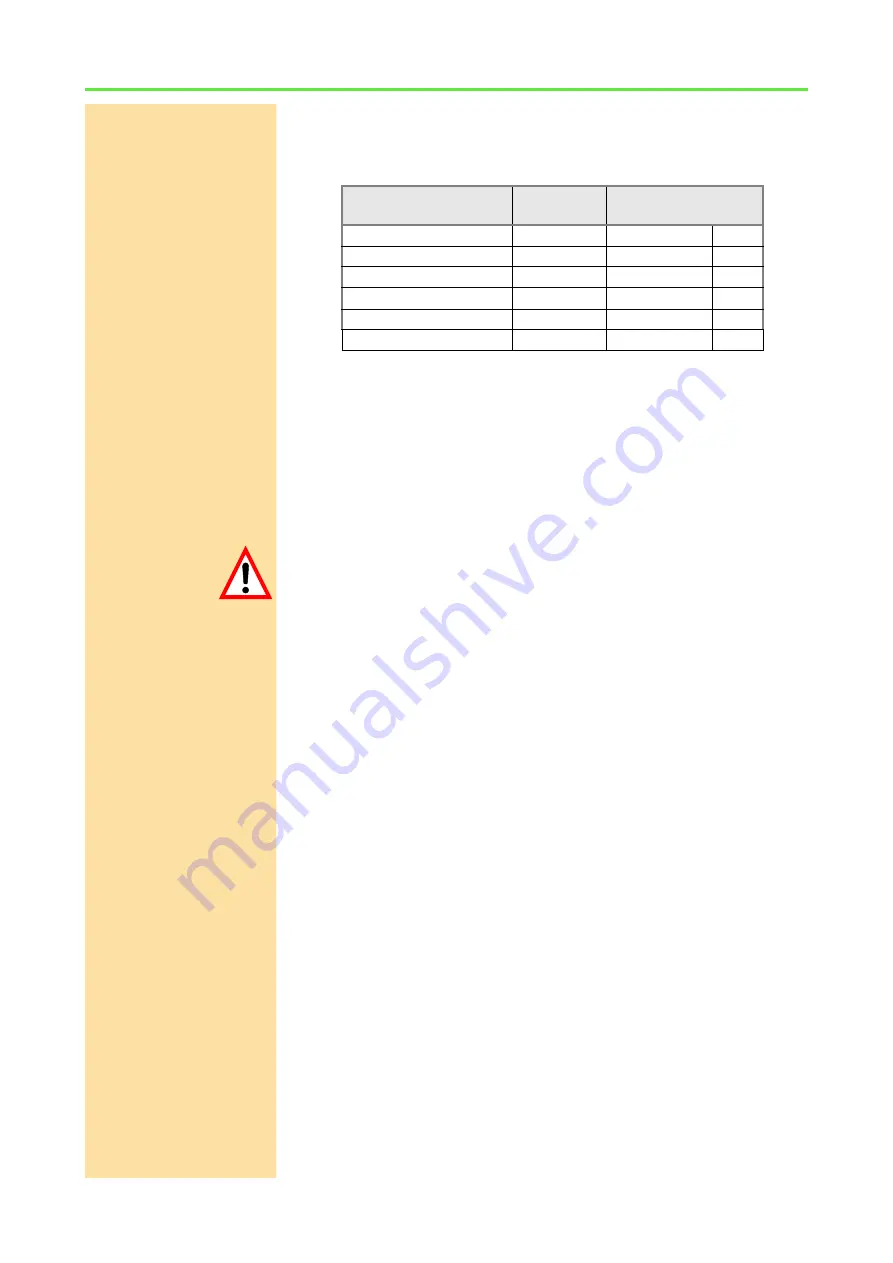
Enclosure
Number of
Slots
Power supply
ADwin-Pro II
16
100V…240V
AC
ADwin-Pro II-DC
16
10V…35V
DC
ADwin-Pro II-BM
15
100V…240V
AC
ADwin-Pro II-light
7
100V…240V
AC
ADwin-Pro II-light-DC
7
10V…35V
DC
ADwin-Pro II-mini
5
10V…36V
DC
1 HP = 1/5 inch = 5.08mm
1 U = 1¾ inch = 44.45mm


