3
Oil flow from the adapter feeds the oil cooler from
the fitting on the left side and returns to the fitting
on the right side, as viewed from the front with
the oil filter adapter fittings at the bottom.
10. Using a 7/16” deep-well socket, remove the
3/8” push-on fitting from the left port of the oil
filter adapter.
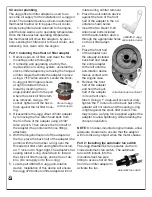
11. Apply Teflon pipe sealant (e.g., Loctite 592) to
the 1/8” male pipe threads on the fitting re-
moved from the oil filter adapter.
12. Install the pipe thread end of the removed
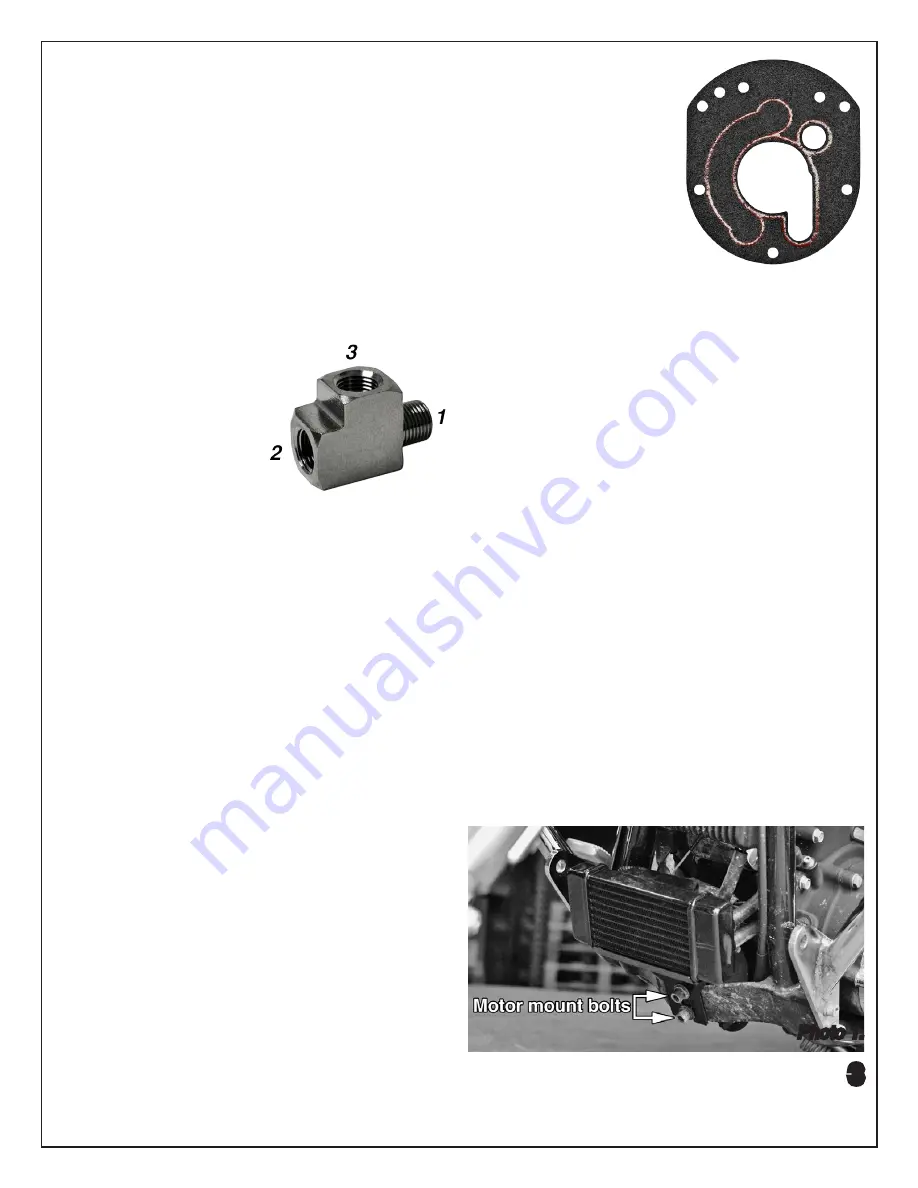
fitting into female port #2 of the street-tee pipe
fitting (shown below).
NOTE: 1/8” pipe threads
should be installed to
finger-tight, and then
tightened an additional
2-to-2.5 turns.
13. Apply Teflon pipe
sealant to the 1/8” male pipe thread on the #1
male port of the street-tee pipe fitting.
14. Install the #1 male port of the street-tee pipe
fitting into the left port of the oil filter adapter.
NOTE: It may be necessary to test fit the front
half of the oil filter adapter to the motorcycle to
determine the proper “clocking” orientation of the
1/8” female pipe port to ensure clearance of any
obstruction. The final clocking position should be
circa 7 o’clock relative to the front face of the oil
filter adapter.
15. Apply Teflon pipe sealant to the 1/8” male pipe
thread on the automatic fan switch.
16. Install the 1/8” male pipe thread end of the
automatic fan switch into the #3 female port of
the street-tee pipe fitting.
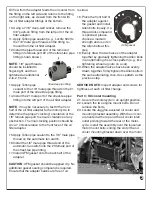
17. Install AFM gasket onto the back half of the
adapter.
CAUTION: AFM gasket should be applied dry. No
additional gasket sealing compound is required.
Ensure that the adapter halves are free of oil
residue.
18. Place the front half of
the adapter against
the gasket and install
Allen bolts loosely. If a
thread lock compound
is optioned, please
choose a medium
strength and use it on
the Allen bolts at this
step.
19. Evenly draw the two halves of the adapter
together by gradually tightening the Allen bolts
in an alternating criss-cross pattern (e.g., like
tightening wheel lug nuts on a car).
20. When the adapter halves have been evenly
drawn together, firmly tighten the Allen bolts in
the same alternating criss-cross pattern as the
previous step.
SERVICE NOTE: Inspect adapter and screws for
tightness at each oil filter change.
Part 3: Oil cooler mounting
21. Secure the motorcycle in an upright position.
22. Loosen the two engine mount bolts. Do not
remove the bolts.
23. Locate the Jagg fan-assisted oil cooler and
mounting bracket assembly. With the oil cool-
er oriented at the top and the oil cooler inlet/
outlet pointing toward the rear of the motor-
cycle, install the assembly over the loosened
motor mount bolts, sliding the slot of the oil
cooler mounting bracket down over the motor
Street-tee pipe fitting
Photo 1.
AFM gasket


