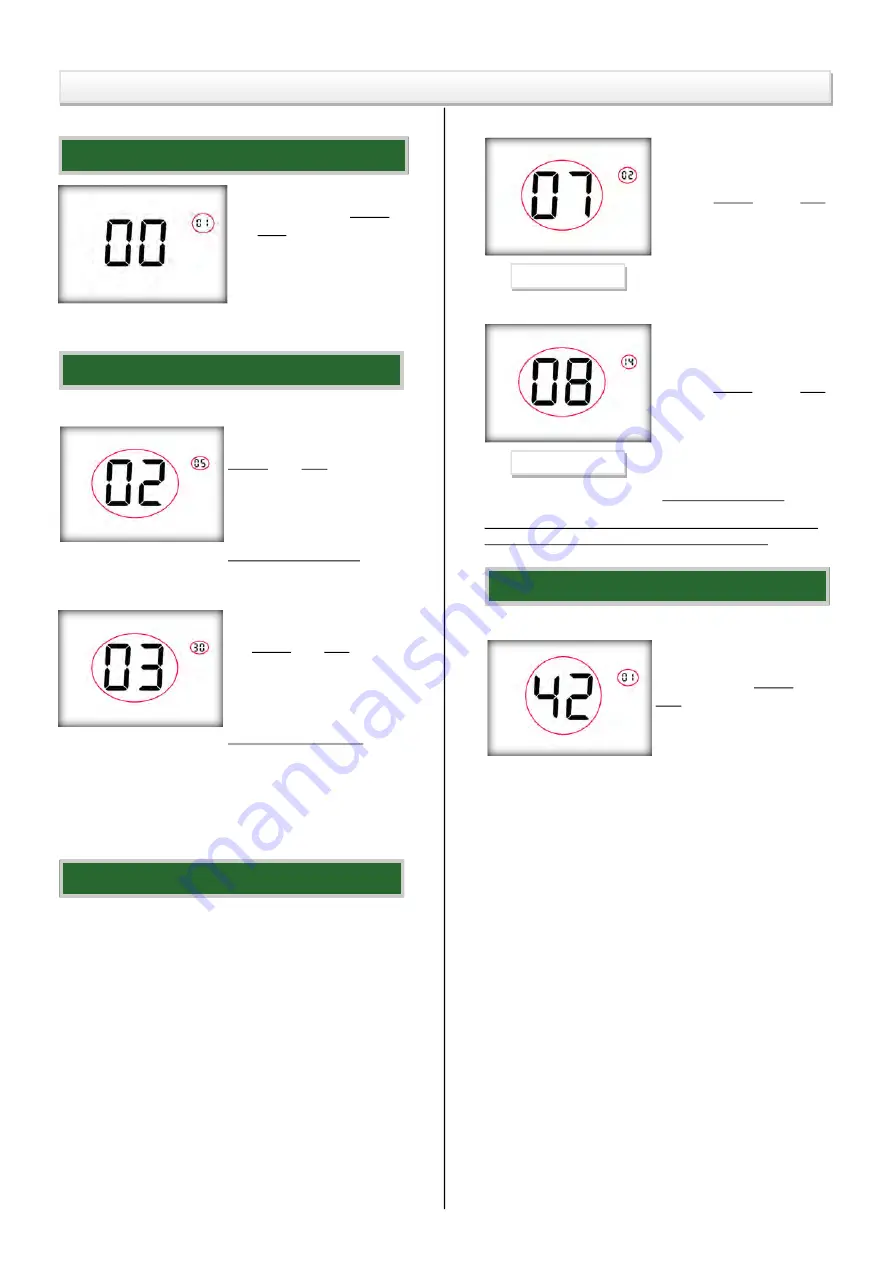
background image

4


Outdoor Control Activate: 
Firstly,  “Main  Parameter” 
must  be  replaced  as 

7

by  the  MODE  and    FAN 
keys. 
Secondly,  “Auxiliary  Para-
meter”  must  be  replaced 
as 

2

,  by  the 

  and 

▼ 

keys. 

Setpoint Setting: 

Firstly,  “Main  Parameter” 
must  be  replaced  as  “

8

”, 

by  the 

MODE

  and   

FAN


keys.


Secondly,  “Auxiliary  Para-
meter” must be selected in 
the range of “

0-20  °C

”, by 

the 

 and 

▼ 

keys.


(Default value : 15 °C) 

Control Activate 

Setpoint 

MANUAL for JAKKA ADVANCED CONTROLLER

9.3 BMS ADDRESS SETTING 

After logging into the servi-
ce menü, using the MODE 
and FAN keys, select the 00. 
parameter. 
Use  the 

  key  to  increase  

the address, use the 

 key 

to decrease the address.   

( Setting range 0-247 )


9.4 SETPOINT LIMIT OPERATIONS 

Minimum 

Limit: 

Firstly, 

“Main  Parameter”  must  be 
replaced  as  “02”,  by  the 
MODE and  FAN keys. 
Secondly, “Auxiliary Parame-
ter”  can  be  selected  in  the 
range  of  5-35  °C,  by  the 

▲ 

and ▼ 

keys. 

(Default value: 05 °C) 

Maximum Limit: 
Firstly,  “Main  Parameter” 
must be replaced as “03”, by 
the MODE and  FAN keys. 
Secondly, “Auxiliary Parame-
ter”  can  be  selected  in  the 
range  of  5-35  °C,  by  the 

▲ 

and ▼ 

keys.  

(Default value : 30 °C) 

Note  1: 

Minimum  Limit  can  not be  greater than  maximum 

limit. 

Note  2: 

Maximum  Limit  can  not  be  lower  than  minimum 

limit. 

Note: If outdoor air temperature value lower than value set 
in the service menu, the heater stages is activated. 

9.5 ELECTRICAL HEATER CONTROL SETTINGS 

Electrical  heater  can  be  controlled  according  to  the 
two different temperature value. 
01 : Controlled Depending on Room Temperature : 
Electrical heater is controlled by the sensor on the 
panel or return air temperature sensor. Control is acti-
ve without any adjustment. ( Default ) 

02 : Controlled Depending on Outdoor Temperature: 
Electrical heater is controlled according to the 
“Outdoor Air Temperature Sensor” connected on the 
main controller. Enter the service menu to activate the 
control according to the outdoor air temperature. 

9.8 FACTORY DEFAULT 

This parameter used to correct changes made by mis-

take. Firstly, “Main Parame-
ter”  must  be  replaced  as 
42”,  by  the  MODE  and  
FAN keys. 
Secondly,  “Auxiliary  Para-
meter” must be replaced as 

01

, by the 

 and 

▼ 

keys.  

When the device returned factory defaults, parameter 
value is set to 

00

” automatically.


(Default value = 0)


Summary of Contents for ADVANCED J8

Page 1: ...Heater Stages Room Tmp Auto Main Digits Supply Air Fan Speed Auto 5 4 3 2 1 Exhaust Air Fan Speed 1 2 3 4 5 Auto Cooling Ventilation Alarm Notification Auxiliary Digits Heating Mode ON OFF On Off Key MODE Mode Key FAN Fan Key SET Increment Decrement Key WARNING Parts that need to be considered in the screenshots are marked with red circle Please notice the scre enshots KEYPAD and PANEL DESCRIPTION...

Page 2: ...ed is selected fans operates according to the Air Qua lity or Carbon Dioxide Sensor value If sensor is not con nected fan speed is decreased to a minimum value Supply Speed Setting Exhaust Speed Setting 7 ALARMS Thermal or DPS alarm infor mation For both fan alarm information must be con nected in series All outputs are switched off except Damper when alarm oc curs Contact must be in the closed po...

Page 3: ...an speed must be set to Auto When these conditions are met the fan speed is controlled accor ding to the air quality or CO2 sensor value 8 SPECIAL CONTROL FUNCTIONS 8 1 AIR QUALITY OR CO2 CONTROL 7 4 AL 04 FIRE CONTACT ALARM NO If contact is in the closed position alarm happens Supply air fan is closed Exhaust air fan run at maximum speed All out puts are closed except Damper The Panel locked Disc...

Page 4: ...selected in the range of 5 35 C by the and keys Default value 30 C Note 1 Minimum Limit can not be greater than maximum limit Note 2 Maximum Limit can not be lower than minimum limit Note If outdoor air temperature value lower than value set in the service menu the heater stages is activated 9 5 ELECTRICAL HEATER CONTROL SETTINGS Electrical heater can be controlled according to the two different t...

Page 5: ...n the box 4 Make the cable connecti ons as shown below to termi nals on the front panel 5 Attach the clip at the top first and then attach the clip at the bottom 10 MOUNTING INFORMATION 2 x 2 x 0 34 0 75mm Shielded Twisted Pair RS485 Data Com munication Cable must be used Note Press the terminal buttons with the help of a fine tipped pen as shown in the figure Don t apply extreme pressure NOTE DON...

Reviews: