TRAX Apollyon Plus II User’s Manual
1-12
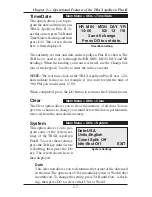
Starting a New Count
We're now ready to start our count.
Before we do so, notice the STAT
option on this screen. The STAT
option lets you review how you
have set up the count.
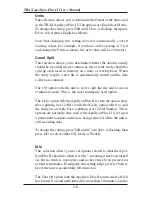
Now, to start our count, press DO with
Start
flashing. The Apollyon Plus
II immediately goes into data recording mode and the count has begun.
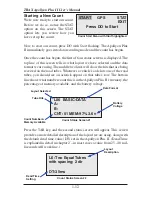
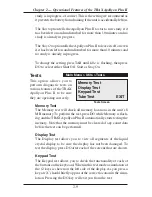
Once the count has begun, the first of four status screens is displayed. The
top line of this screen tells us what layout we have selected and the data
format we are using. The middle two lines will show the hits that are being
received on the road tubes. Whenever a vehicle's axle hits one of the road
tubes, you should see an asterisk appear on that tube's row. The bottom
line shows what number count this is in the Apollyon Plus II's memory, the
percentage of memory available, and the battery voltage.
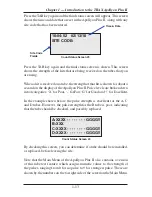
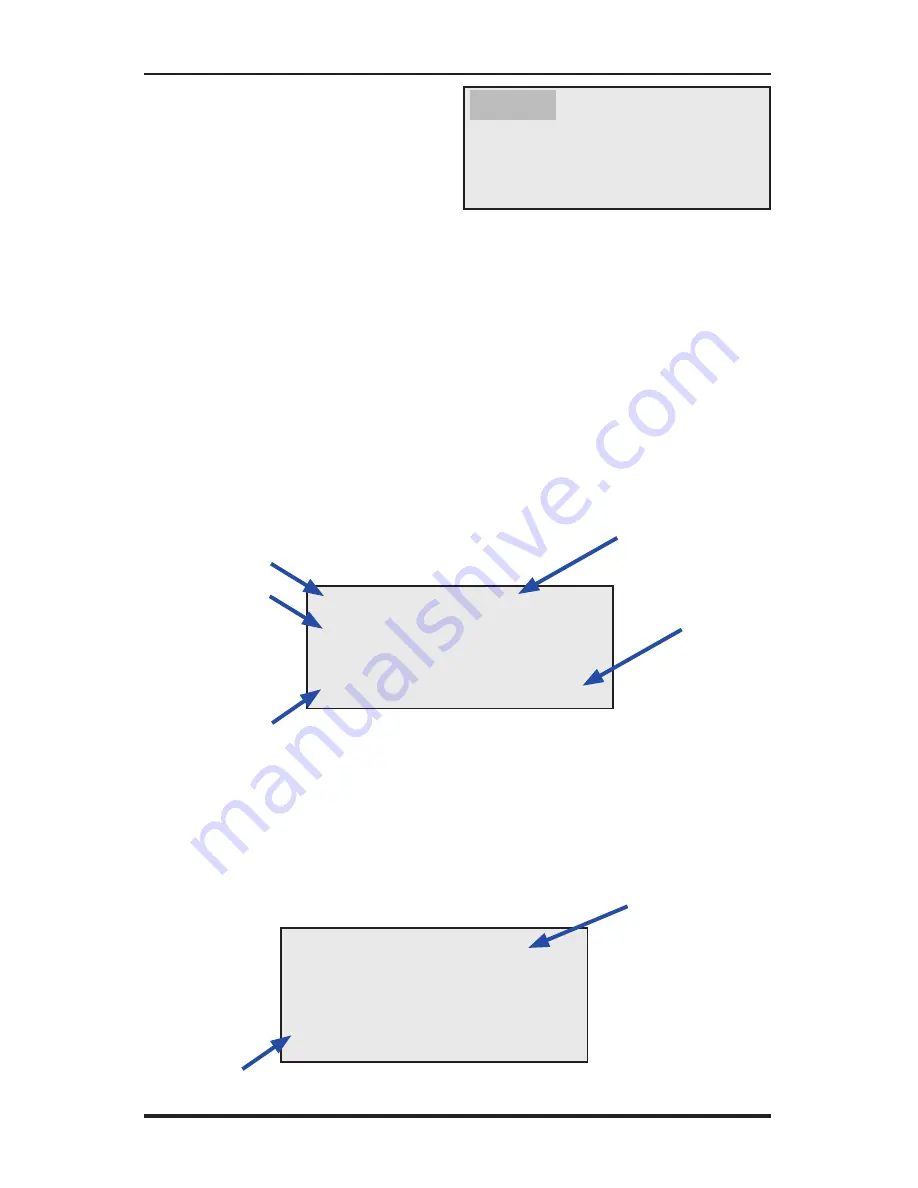
Press the TAB key and the second status screen will appear. This screen
provides a more detailed description of the layout we are using, along with
the default dead time value (DT) set in the Apollyon Plus II. (Dead Time
is explained in detail in chapter 2 – in most cases a value from 25 - 40 mil-
liseconds will work fine.)
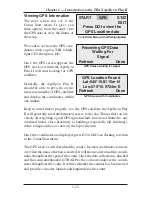
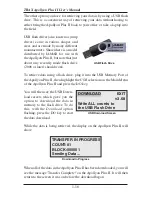
START GPS STAT
EXIT
Press DO to Start
Count Start Menu with
Start
highlighted
L06 BASIC-DATA
A:
B:
CNT: 01 MEM:97% 3.6v
Count Status Screen #1
Layout Selected
Data Format
Battery
Voltage
Count Number &
Memory Available
Tube Hits
L6: Two Equal Tubes
with spacing; 2 dir
DT:35ms
Count Status Screen #2
Dead Time
Setting
Layout
Description
Summary of Contents for TRAX Apollyon Plus II
Page 1: ...i Automatic Traffic Data Recorder User s Manual JAMAR Technologies Inc TRAX Apollyon Plus II ...
Page 24: ...TRAX Apollyon Plus II User s Manual 1 18 ...
Page 46: ...TRAX Apollyon Plus II User s Manual 2 22 ...
Page 47: ...3 1 Chapter 3 Road Tube Installation Chapter 3 Road Tube Installation ...
Page 52: ...TRAX Apollyon Plus II User s Manual 3 6 ...
Page 53: ...4 1 Chapter 4 Road Tube Layouts Chapter 4 Road Tube Layouts ...
Page 70: ...TRAX Apollyon Plus II User s Manual 4 18 ...
Page 71: ...5 1 Chapter 5 Troubleshooting FAQ Chapter 5 Troubleshooting FAQ ...
Page 75: ...A 1 Appendix Appendix ...


