5
DE
- Bedienung
GB
- Operation
FR
- Fonctionnement
IT
- Funzionamento
ES
- Funcionamento
CZ
- Obsluha
PL
- Obsługa
NL
- Bewerking
DE
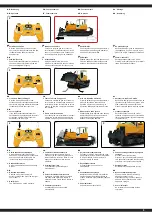
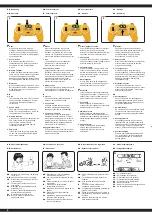
2. Vorwärts/rückwärts
Drücken Sie den Gashebel nach vorne
oder zurück, wird das Modell vorwärts bzw.
rückwärts fahren, dabei leuchten die
Scheinwerfer.
GB
2. Forward / Reverse
Push the throttle stick forward or backward,
the model will drive forward or backward
and the headlights will light up.
FR
2. Marche avant/arriére
Poussez le levier du gaz vers l‘avant ou
vers l’arrière et le modèle fera une marche
avant ou une marche arriére. Pendant que
le véhicule avance, les phares s’allument.
IT
2. Avanti/indietro
Spingere l‘acceleratore in avanti o
indietro e il modello andrà avanti o indietro,
mentre questo manovra i fari sono accesi.
ES
2. Adelante/Atás
Primer la palanca de gas hacia adelante o
hacia atrás, el modelo seguirá adelante o
hacia atrás y los faros brillan.
CZ
2. Vpřed/zpět
Zatlačte páku plynu dopředu nebo dozadu,
model se bude pohybovat dopředu nebo
dozadu a přitom budou svítit světlomety.
PL
2. Do przodu/do tyłu
Naciśnięcie dźwigni gazu do przodu lub do
tyłu spowoduje, że model poruszy się do
przodu lub do tyłu z zapalonymi światłami.
NL
2. Vooruit / achteruit
Zet het gashendel naar voren of naar
achteren, het model zal vooruit of achteruit
rijden. De koplichten branden.
DE
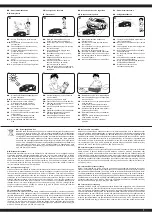
3. Links bzw. Rechts abbiegen
Drücken Sie den Gashebel vor bzw.
zurück und den Richtungshebel nach links
oder rechts, biegt das Modell vorwärts bzw.
rückwärts nach links oder rechts ab
GB
3. Left or right turn
If you push the throttle stick forward or
backward and the direction stick to the left
or right, the model will drive forward or
backward to the left or right.
FR
3. Tourner à droite ou à gauche
Poussez la manette du gaz vers l‘avant ou
vers l’arrière en n’oubliant pas d’actionner
le levier de direction vers la droite ou vers la
gauche. Le véhicule va prendre la direction
commandée.
IT
3. Girare a sinistra o destra
Se si tiene premuto l‘acceleratore, in avanti
o indietro e la leva di direzione a sinistra o
a destra, il modello gira a destra o sinistra
ES
3. Giro a la izquierda o derecha
Primer la palanca de gas hacia adelante o
atrás y la palanca de dirección hacia
izquierda o derecha, el modelo se gira
adelante o atrás hacia izquierda o drecha.
CZ
3. Odbočit vlevo nebo vpravo
Zatlačte páku plynu dopředu nebo dozadu
a směrovou páku doleva nebo doprava,
mixér betonu pojede dopředu nebo
dozadu, doleva nebo doprava.
PL
3. Skręcanie w lewo lub w prawo
Naciśnięcie dźwigni gazu do przodu lub do
tyłu oraz dźwigni kierunkowej w lewo lub w
prawo spowoduje, że model skręci do
przodu lub do tyłu bądź w lewo lub w prawo.
NL
3. Linksaf of rechtsaf
Zet het gashendel naar voren of naar
achteren en het hendel links of rechts dan
rijdt het model linksaf / rechtsaf naar voren
of naar achteren.
DE
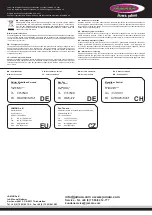
4. Schild heben/senken/abkippen
Starten Sie das Modell. Drücken Sie
oben an der Fernsteuerung die linke Taste,
hebt sich das Schild. Drücken Sie die
rechte Taste, senkt sich das Schild
.
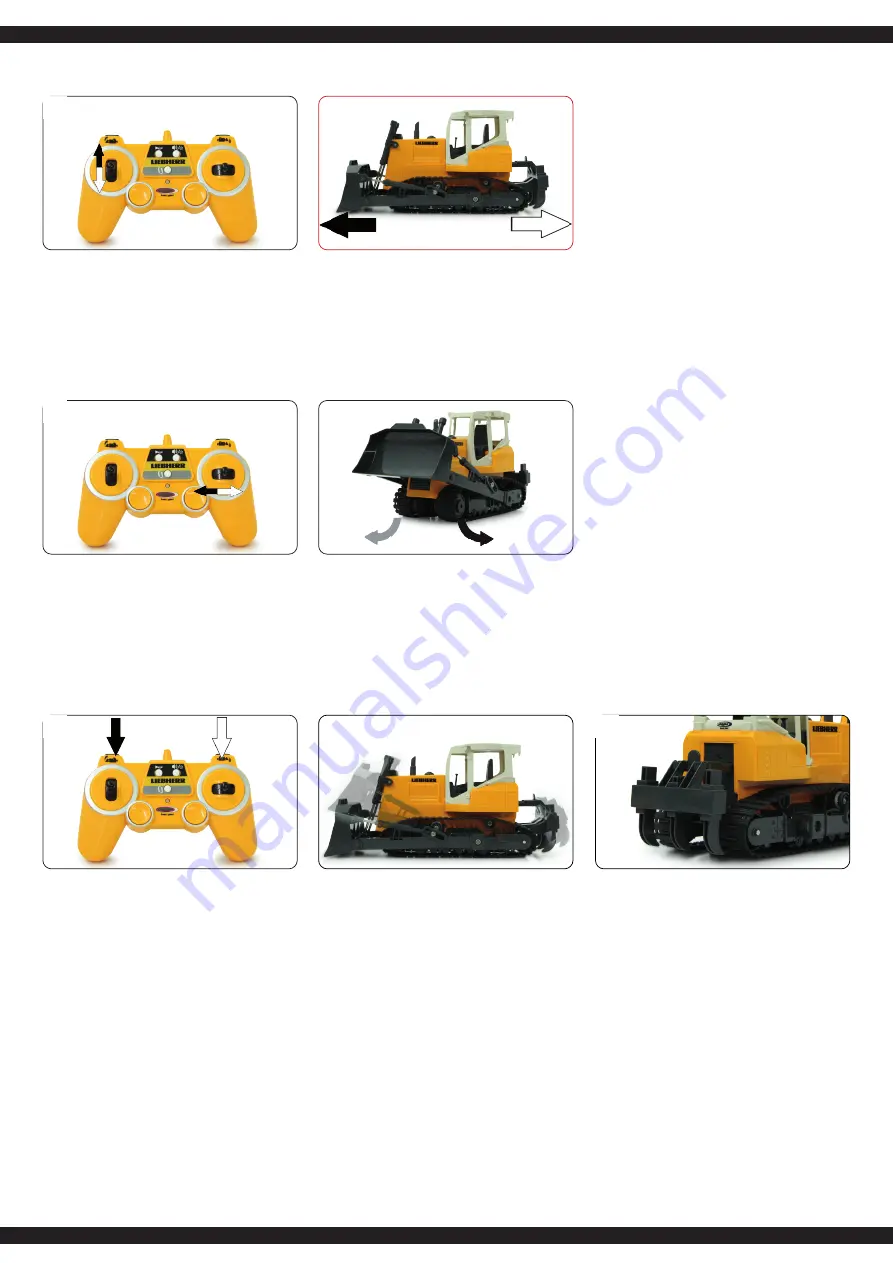
5. Heckaufreißer hinten
Der Heckaufreißer kann manuell bewegt
werden.
GB
4. Raise/lower/tilt Blade
Start the model. Pres the top left
button to lift the blade, press the top right
one to lower it.
5. Rear Ripper
The Ripper can be moved manually.
FR
4. Lame élever/abaisser/basculer
Mettez en marche le modèle. Quand
vous appuyez sur la touche gauche de la
radiocommande, la Lame s‘élève. Si vous
appuyez sur la touche droite, la Lame
s‘abaisse.
5. Scarificateur arrière
Le Scarificateur peut être déplacé
manuellement.
IT
4. Pala sollevare/ribassare/inclinare
Accendere il modello. Premere il tasto in
alto alla sinistra della radio, la pala si
solleva. Premere il tasto destra, la pala si
ribassa.
5. Coltivatore posteriore
Il coltivatore può essere spostato
manualmente
ES
4. Hoja levantar/rebajar/inclinar
Encender el modelo. Pulse el botón en la
parte superior de la emisora en la izquierda,
la Hoja se levanta. Pulse el botón a la
derecha, la Hoja se rebaja.
5. Escarificador trasero
El Escarificador se puede mover
manualmente
CZ
4. Zvednout/spustit/vyklopit
Nastartujte model. Stlačíte-li levé tlačítko
nahoře na dálkovém ovládání, lopata se
zvedne. Stiskněte-li pravé tlačítko, lopata se
spustí.
5. Zadní kultivátor
Kultivátor lze pohybovat ručně
PL
4. Podnoszenie/opuszczanie/wychylanie
czerpaka
Uruchom model. Naciśnij lewy
przycisk u góry na zdalnym sterowaniu w
celu ponoszenia czerpaka. Naciśnij prawy
przycisk w celu opuszczenia czerpaka.
5. Kultywator tylny
Kultywator można przesuwać ręcznie
NL
4. Bucket heffen/dalen/optillen
Start het model. Druk de linker knop
aan de bovenkant van de
afstandsbediening in om de kiepbak te
heffen. Druk de rechter knop in om de
kiepbak te verlagen.
5. Achter cultivator
De cultivator kan handmatig worden
verplaatst.
2
3
4
5


