21
DE - Binden von Sender und Modell
Sollte der Bindeprozess durch Störungen unterbrochen werden,
beginnen Sie den Vorgang von Neuem.
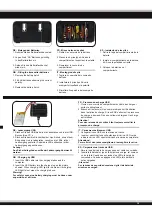
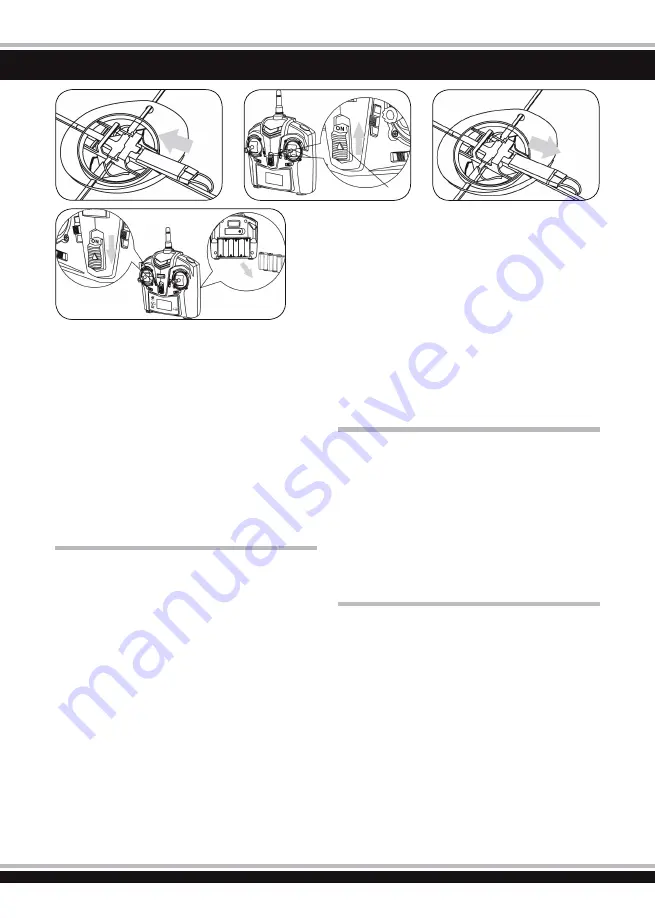
1. Platzieren Sie das Modell auf einer geraden Oberfl äche.
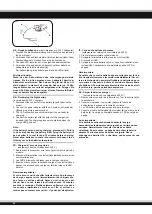
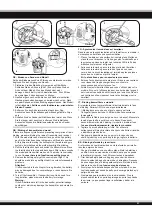
Schieben Sie den Akku ein (Bild 1) und verbinden Sie den
Akku mit dem Modell . Nun das Modell nicht mehr
bewegen, damit der Gyro sich einstellen kann. Die LEDs an
den jeweiligen Enden beginnen zu blinken.
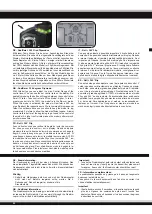
2. Gashebel ganz nach unten ziehen und Sender einschalten.
Gashebel nach oben bewegen und wieder nach unten. Nach
ein paar Sekunden ist das Binding abgeschlossen. Das Modell
ist betriebsbereit.
Sollte es nicht funktionieren, wiederholen
Sie den Prozess.
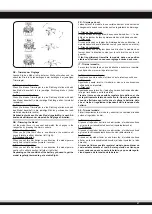
3. Entfernen Sie den Akku immer direkt nach dem Flug.
Ansonsten kann Tiefenentladung oder Brandgefahr die Folge
sein
.
4. Schalten Sie den Sender bei Nichtbenutzen immer aus. Wenn
Sie ihn länger nicht benutzen, entfernen Sie die Batterien.
Ansonsten können die Batterien auslaufen und den Sender
beschädigen.
GB - Binding of transmitter and model
If there are frequency interference preventing completion of radio
binding, please re-binding the radio of transmitter and receiver.
1. With the model places on level surface, push the lipo battery
pack in the direction shown in diagram until fi xed into position.
At this time avoid moving the helicopter so the radio and gyro
system can initialize and the motherboard light is blinking.
2. Pull the throttle stick back and switch the transmitter on. Move
the throttle stick to the top and back down. After a few seconds
the model and transmitter are bound. The model is now ready
to use.
In case there is no function, repeat the process.
3. Remove the battery safely at the conclusion of fl ight. This
should be made into a post fl ight habit to avoid unforeseeable
problems.
Attention!
If left connected in the helicopter for long duration, the battery
may be damaged due to over-discharge, or even become fi re
hazards.
4. Turn off the transmitter,. If transmitter is not to be used for a
long duration, please remove the battery for storage.
Warning:
If the AA batteries are left in the transmitter, potential leakage
could occur which may damage the transmitter, and create fi re
hazard.
FR - Synchroniser le modèle avec l‘émetteur.
Dans le cas où la synchronisation entre l’émetteur et le modèle, il
est nécessaire de refaire une synchronisation.
1. Placez l’modèle sur une surface horizontale plane. Mettez en
place l’accu et branchez-le. Ne bougez plus l’modéle afi n que
le gyroscope puisse se régler. Les lumières LED à la fi n des
branches commencent à clignoter.
2. Actionnez le levier du gaz vers le bas et allumez l’émetteur.
Actionnez le levier du gaz vers le haut puis du nouveau
vers le bas. La synchronisation est terminée après quelques
secondes. Le modèle est prêt à l’emploi.
Si il ne fonctionne pas, renouvelez le processus.
3. Enlevez l’accu directement après le vol. Dans le cas contraire
vous risquez de trop décharger l’accu avec comme
conséquence que celui-ci prenne feu.
4. Arrêtez toujours l’émetteur dès que vous n’utilisez plus votre
modèle. Si vous le l’utilisez plus pour une durée plus longue il
est vivement conseillé de sortir les piles ou les accus. Dans le
cas contraire celles-ci peuvent couler et endommager votre
émetteur.
IT - Binding trasmettitore e modello
È importante di non toccare/sfi orare l’elicottero durante la fase
del binding. Altrimenti il Gyro non si può inizializzare
1. Il Binding deve avvenire su un tavolo oppure per terra.
Collegare il pacco batteria. I LED del modello cominciano a
lampeggiare.
2. Accendere la Radio (leva del gas a zero, in basso). Muovere la
leva del gas in alto e poi di nuovo in basso. Dopo pochi
secondi è memorizzato il binding. Il modello è pronto all’uso.
In caso di malfunzionamento, ripetete la procedura.
3. Togliere il pacco batteria dopo il volo. Per evitare la
sottoscarica, altrimenti rischiate che il pacco batteria si riscalda
e addirittura prende fuoco.
4. Spegnere la trasmittente dopo ogni volo. In caso che non
usate il prodotto per un periodo più lungo, togliere le batterie.
ES - Binding del modelo y la emisora.
Si el proceso de combinar ambos se viera afectado por interfe-
rencias, empieze de nuevo.
1. Ponga el modelo en una superfi cie plana. Meta la batería en
su sitio. Ahora no mueva mas el modelo, para que se pueda
inicializar el giróscopo. Los LEDs comienzan a parpadear.
2. Tirar hacia abajola palanca de gas y encender la emisora.
Mover la palanca de gas hacia arriba y hacia abajo. Después
de unos segundos, el binding esta completo. El modelo está
listo para su uso.
Si no funciona,repita el proceso.
3. Siempre quite la batería después de haber volado. En caso
contrario puede ser causa de daño por descarga profunda y/o
peligro de incendio.
4. Siempre apague la emisora si no la esta usando. Si no la
piensa usar durante un periodo prolongado, quite las pilas de
la emisora, ya que pueden llegar a sulfatarse y dañar a la
emisora.
ON/OFF
1
4
2
3


