4
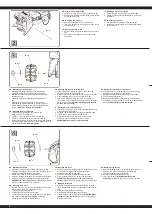
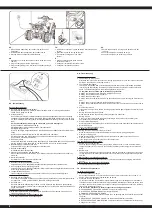
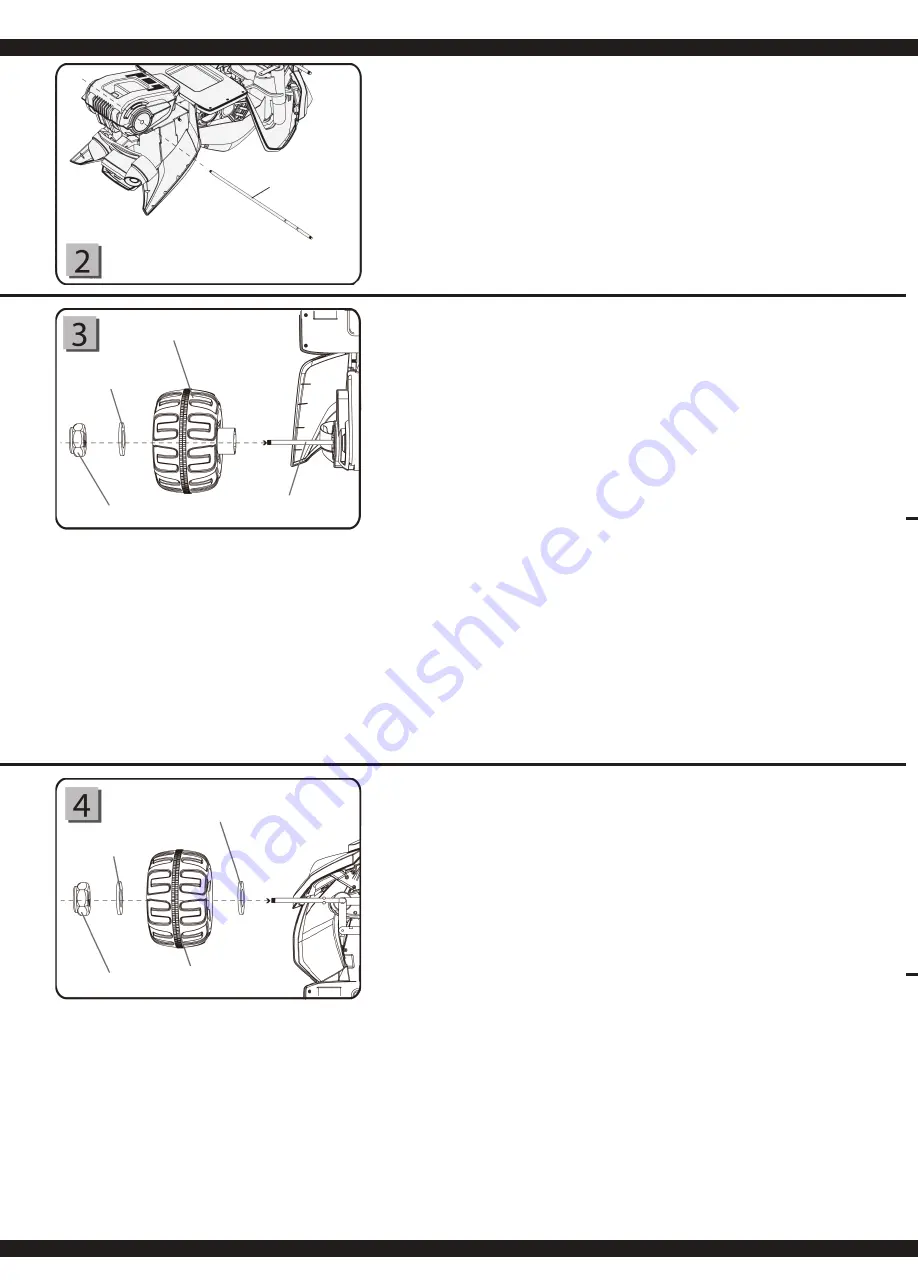
DE - Montieren der Hinterachse
● Entfernen Sie alle Teile von der hinteren Achse (
8
).
● Schieben Sie die hintere Achse (
8
) durch das hintere
Loch in der Karosserie.
GB - Mounting the rear axle
● Remove all the parts from the rear axle (
8
).
● Insert the real axle (
8
) through the hole in the rear of
the vehicle body.
FR - Montage de l’axe arrière
● Enlevez toutes les pièces de la platine d’axe arrière
(8).
● Passez l’axe arrière
(8)
par le trou arrière de la
carrosserie.
IT - Montaggio del asse posteriore
● Rimuovere tutte le parte del asse posteriore
(8)
.
● Spingere l´assa posteriore
(8)
attraverso il buco della
carrozzeria.
ES - Montar el eje trasero
● Eliminar todas las piezas de el eje trasero
(8).
● Deslice el eje trasero
(8)
a través del agujero trasero
en la carrocería.
No. 8
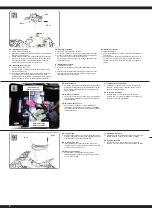
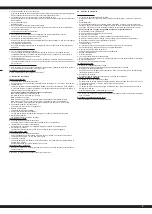
DE - Montieren der Antriebsräder
● Befestigen Sie das Antriebsrad (
2
) an der hinteren
Achse (
8
). Passen Sie es der Getriebeaufnahme an.
● Schieben Sie eine Unterlegscheibe (Ø12) (
11
) auf die
hintere Achse (
8
).
● Fixieren Sie mit einer selbstsperrenden Mutter (Ø10)
(
9
).
● Wiederholen Sie diesen Vorgang um das andere
Antriebsrad an der hintern Achse zu montieren. Ziehen
Sie die selbstsperrenden Muttern (
9
) auf beiden Seiten
fest an.
VORSICHT! Nicht zu fest anziehen.
GB - Mounting the driving wheels
● Fit the driving wheel (
2
) onto the rear axle (
8
).
Make it match with the gear box.
● Fit a Ø 12 mm (
11
) washer onto the rear axle (
8
).
● Fit a Ø 10 mm locknut (
9
) to the end of rear axle (
8
).
● Repeat this procedure to assemble the other diving wheel to
rear axel. Tighten the locknuts (
9
) on both sides of rear axle
with two spanners.
DO NOT over-tighten.
FR - Montage des roues d’entraînements
● Fixez le pignon d’entraînement
(2)
sur l’axe arrière
(8)
.
Adaptez-le au système d’entrainement.
● Mettez en place une rondelle (Ø12)
(11)
sur l’axe arrière
(8)
.
● Fixer l’ensemble avec un écrou sécurisé (Ø10)
(9)
.
● Effectuez la même opération sur l’autre roue motrice sur
l’axe arrière. Serrez correctement les deux écrous sécurisés
(9)
sur les deux côtés.
ATTENTION! N’appliquez pas trop
de force lors du serrage.
IT - Montaggio ruote di trascinamento
● Fissare la ruota motrice
(2)
sull’asse posteriore
(8)
. Adattare
l´inserimento del ingranaggio.
● Spingere una rondella (Ø12)
(11)
sull´asse posteriore
(8)
.
● Fissare con un dado autobloccante (Ø10)
(9)
.
● Ripetere questo processo per l´altra ruota sull´asse
posteriore. Tirare il dado
(9)
su tutte due le parti.
ATENZIONE! Non stringere eccessivamente.
ES - Montaje de la rueda de accionamento
● Fijar la rueda de accionamento
(2)
en el eje trasero
(8)
.
Adaptarlo en la grabación de engranajes.
● Deslice una arandela (Ø12)
(11)
en el eje trasero
(8).
● Fijar las tuercas (Ø10)
(9).
● Repitir este procedimiento para montar la otra rueda de
accionamento en el eje trasero. Tirar las turca
(9)
en ambos
laddos.
ATENCIÓN! No apriete demasiado.
No. 2
No. 11
No. 9
No. 8
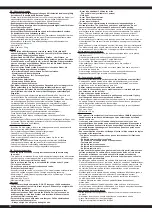
DE - Montieren der Räder
● Entfernen Sie die selbstsperrende Mutter (Ø10) (
9
) und
Unterlegscheibe (Ø12) (
11
) von der vorderen Achse. Legen
Sie eine Unterlegscheibe (Ø12) (
11
) bereit.
● Ziehen Sie ein Rad (
3
) auf die vordere Achse.
● Jetzt die Unterlegscheibe (Ø12) (
11
) auf die Achse schieben.
● Fixieren Sie mit einer selbstsperrenden Mutter (Ø12) (
9
).
VORSICHT! Nicht zu fest anziehen.
Wiederholen Sie diese
Schritte um das andere Rad zu montieren.
GB - Mounting the wheels
● Remove a Ø10 locknut (
9
) and a Ø12 washer (
11
) from the
front axle. And leave over a Ø12 washer (
11
).
● Fit a wheel (
3
) onto the front axle.
● Fit a Ø12 washer (
11
) onto the front axle.
● Fit a Ø12 locknut (
9
) to the end of the front axle. And tighten
with a spanner,
DO NOT over-tighten.
Repeat this
procedure to assemble the other wheel(s).
FR - Montage des roues
● Enlevez l’écrou sécurisé (Ø10)
(9)
et la rondelle (Ø12)
(11)
de l’axe avant. Préparez une rondelle (Ø12)
(11)
.
● Placez une roue
(3)
sur l’axe avant.
● Placez maintenant la rondelle (Ø12)
(11)
sur l’axe.
● Fixez l’ensemble avec un écrou sécurisé (Ø12)
(9)
.
ATTENTION! N’appliquez pas trop de force lors du
serrage.
Effectuez les mêmes opérations avec l’autre roue.
IT - Motaggio delle ruote
● Rimuovere il dado autobloccante (Ø10)
(9)
e la rondella
(Ø12)
(11)
del´asse anteriore. Preparare una rondella (Ø12)
(11)
.
● Tirare una ruota
(3)
sull´asse anteriore.
● Ora spingere la rondella (Ø12)
(11)
sull´asse.
● Fissare il dado autobloccante (Ø12)
(9)
.
ATENZIONE! Non
stringere eccessivamente.
Ripetere questi passaggi per
montare l´altre ruote.
ES - Montaje de las ruedas
● Quitar la tuerca (Ø10)
(9)
y las arandelas (Ø12)
(11)
de el
eje delantero. Poner una arandela listo (Ø12)
(11).
● Tirar una rueda
(3)
en el eje delantero.
● Deslice la arandela (Ø12)
(11)
en el eje.
● Fijar la tuerca (Ø12)
(9)
.
ATENCIÓN! No apriete
demasiado.
Repite este paso para montar la otra rueda.
No. 11
No. 9
No. 3
No. 11


