5
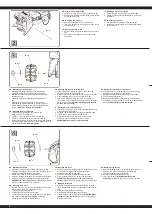
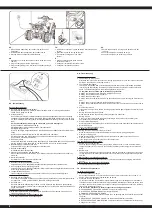
DE - Wichtige Ergänzung zur Rädermontage, vorne / hinten
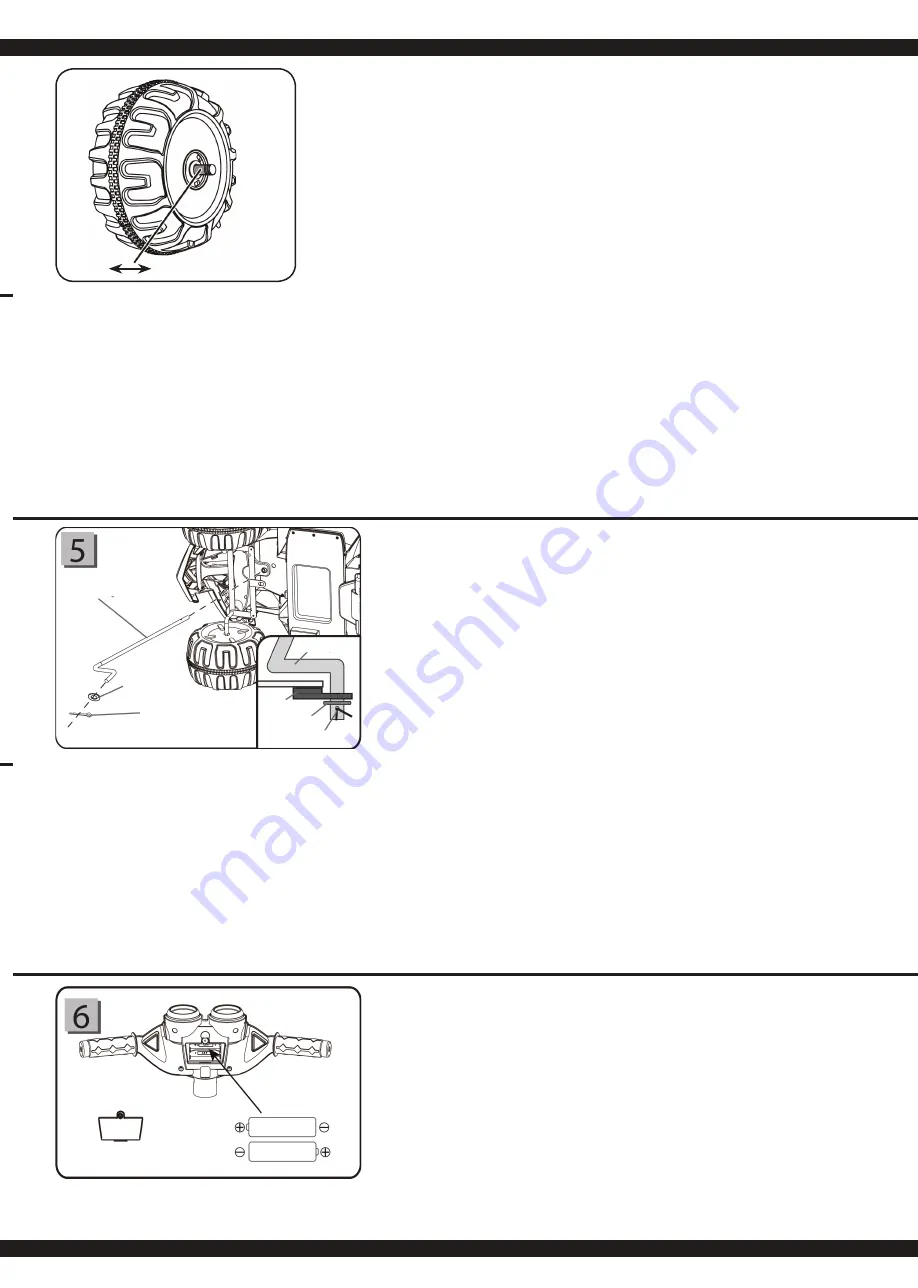
Nach der Montage eines Rads an den Achsen, überprüfen Sie
bitte das Spiel am Gewinde (siehe Bild). Sollte der Spalt zu groß
sein, fügen Sie bitte zwei oder drei Unterlegscheiben hinzu.
Nach dem Anziehen der Mutter, überprüfen Sie, dass das Rad
reibungslos laufen kann. Dies ist sehr wichtig, sollte das Rad
nicht reibungslos laufen, wird der Motor beschädigt! In diesem
Fall entfernen Sie wieder ein oder zwei Unterlegscheiben.
GB - Important supplement to front / rear wheel assembly
After assembling any wheel to the axles, please check the gap
between the screw thread and the collapsible (refer to below
picture), if the gap is too big, please add two or three washers
inside the wheel, But after tightening the nut outside the wheel,
please turn the wheel by your fi nger to check if the wheel can
run smoothly, this is very important, because if the wheel can run
smoothly, it is ok, but if the nut press the wheel and the wheel
can’t run smoothly, the motor will be broken easily! Then you
need to decrease one or two washers to make sure the wheel
can run smoothly!
FR - Remarque importante pour la mise en place des roues,
avant / arrière
Après le montage d’une roue sur son axe, vérifi ez le jeu au ni-
veau du fi letage (voir image). Si la fente devait être trop impor-
tante, ajoutez deux ou trois rondelles. Après serrage de l’écrou,
vérifi ez que la roue puisse tournée librement. Cela est très im-
portant, si celle-ci ne devait pas tournez sans contraintes le mo-
teur pourrait être endommagé! Dans ce cas enlevez à nouveau
une ou deux rondelles.
IT - Importante integrazione per il montaggio delle ruote,
anteriore/posteriore
Dopo il montaggio della ruota sull´asse, controllare il gioco al
fi letto (vedi foto). Se la distanza e troppo grande, aggiungere
due o tre rondelle. Dopo il serraggio del dado, controllare se la
ruota funziona senza problemi. Questo e molto importante, se la
ruota non funziona correttamente, il motore viene danneggiato!
In questo caso togliere una o due rondelle.
ES - Adición importante para el montaje de la ruedas,
delante/trasero
Después de el montaje de la rueda en el eje, comprueba el juego
de la rosca (ver foto). Si la distanica es demasiado grande, aña-
de dos o tres arandelas. Después de apretar la tuerca, compru-
eba si la rueda funciona sin problemas. Esto es muy importante,
si la rueda no funciona bien, el motor podría dañar se! En este
caso, basta quitar una o dos arandelas.
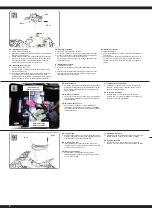
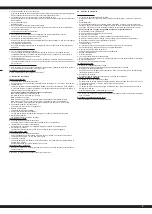
DE - Montage der Lenksäule
● Drehen Sie die Karosse (
1
) auf die Seite.
● Schieben Sie das gerade Stück der Lenkachse (
6
) nach
oben durch das Loch in der Karosserie (
1
).
● Schieben Sie das gebogene Ende der Lenkachse (
6
) durch
das Loch in der vorderen Achsplatte (
7
). Jetzt eine Unterleg-
scheibe (Ø10) (
19
) auf die Achse (
6
) schieben und einen
Splint (1
7
) in das Loch der Lenkachse (
6
) einsetzen. Mit Hilfe
einer Zange verbiegen Sie das Ende des Splints.
GB - Steering shaft assembly
● Turn the vehicle body (
1
) on its side.
● Insert the straight end of the steering shaft (
6
) up through the
hole in the vehicle body (
1
).
● Insert the bent end of the steering shaft (
6
) through the hole
in the front axle plate (
7
). Fit a Ø10 washer (
19
) onto the
steering shaft, and insert a split pin
(17)
through the hole in
the steering shaft. Bend the ends of the split pin back using a
pair of pliers.
FR - Montage de la console de direction
● Tournez la carrosserie
(1)
sur le côté.
● Engagez la partie droite de l’axe directionnel
(6)
vers le haut
dans le trou de la carrosserie
(1).
● Engagez la partie courbée de l’axe directionnel
(6)
dans le
trou de la platine d’axe avant
(7)
. Placez maintenant une
rondelle (Ø10)
(19)
sur l’axe
(6)
puis mettez une goupille
(17)
dans le trou de l’axe directionnel
(6)
. A l’aide d’une pince
tordez le bout de la goupille.
IT - Montaggio della colonna di guida
● Girare la carrozzeria
(1)
sul lato.
● Spingere il pezzo diritto del asse volante
(6)
sul alto nel buco
della carrozzeria
(1)
.
● Spingere la parte fi nale piegato della asse volante
(6)
nell
buco della piastra asse anteriore
(7)
. Spingere una rondella
(Ø10)
(19)
sull asse
(6)
e un coppiglia
(17)
nel buco dell’ asse
volante
(6)
. Con l´aiuto di una pinza puo piegare la coppiaglia
ES - Montaje de la columna de dirección
● Girar la carrocería
(1)
en el lado.
● Deslice la pieza recta del eje de dirección
(6)
hacia arriba a
través del agujero en la crrocería
(1).
● Deslice la parte fi nal acodado del eje de dirección
(6)
a
través del agujero en la placa de eje delantero
(7).
Ahora
deslice una arandela (Ø10)
(19)
en el eje (6) y pasador
(17)
en agujero en el eje de dirección
(6).
Con el ayudo de una
pinza deformar el fi nal del pasador.
No. 19
No. 6
No. 6
No. 7
No. 19
No. 17
No. 17
No. 1
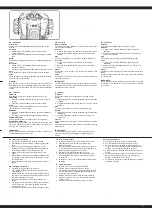
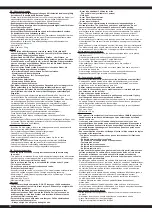
DE - Einlegen der Batterien
● Mit einem Schraubendreher lösen Sie die Schraube
der Batterieabdeckung am Lenkrad und öffnen sie.
● Legen Sie zwei AA (LR6) Alkaline Batterien (nicht
enthalten) ein.
● Befestigen Sie wieder die Batterieabdeckung
GB - Fitting the Batteries
● Remove the screw in the battery cover on the back of
the handle bar with a screwdriver and lift to open.
● Insert two “AA” (LR6) alkaline batteries (not included)
into the handle bar.
● Replace the battery cover.
FR - Mise en place de la batterie
● Dévissez la vis du couvercle du compartiment de l’accu
au niveau du volant et ouvrez celui-ci.
● Mettez en place les deux piles alcalines AA (LR6) (pas
compris dans le kit).
● Fixez à nouveau le couvercle du compartiment
IT - Inserimento delle batterie
● Con un cacciavite svitare le vite del coperchio della
batteria al volante e aprirlo.
● Inserire due AA (LR6) batterie Alkaline Batterien (no
inclusi)
● Rimontare il coperchio della batteria.
ES - Inserir la baterías
● Con un destornillador puedes afl ojar los tornillos de
la tapa de batería en el volante.
● Inserir dos AA (LR6) baterías Alkaline (no incluido).
● Colocar la tapa de la batería.


