6
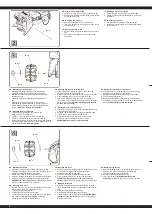
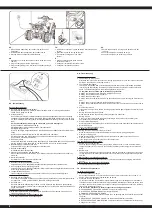
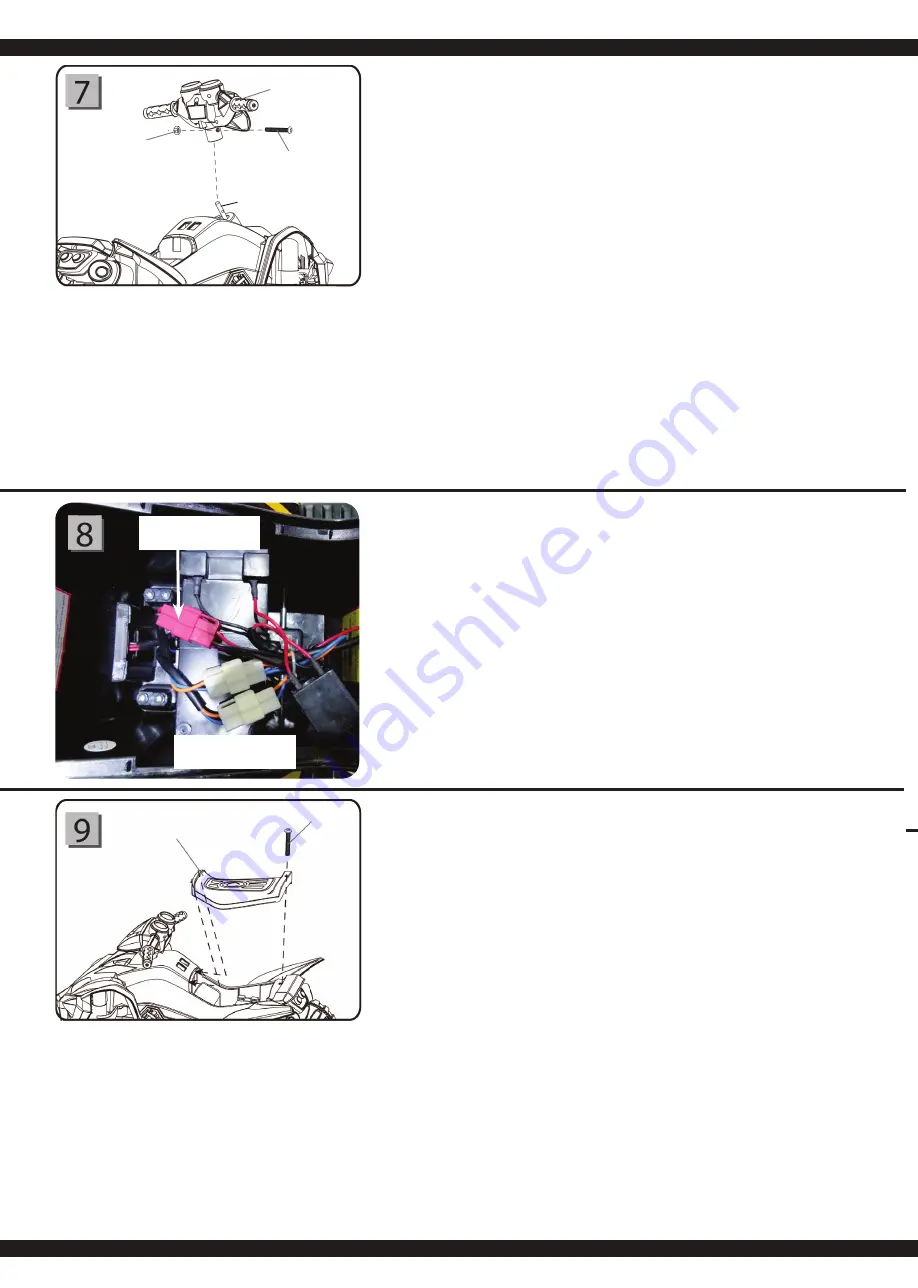
DE - Montage des Lenkers
● Stellen Sie das Fahrzeug auf.
● Entfernen Sie die M5 x 35 Gewindeschraube (
13
) und Mutter
(Ø5) (
10
) vom Lenker (
4
).
● Setzen Sie den Lenker (
4
) auf die Lenkwelle (
6
). Zentrieren
Sie das Loch im Lenker mit dem Loch in der Lenkwelle (
6
).
Schrauben Sie die M5 x 35 Gewindeschraube (
13
) und
Mutter (Ø5) (
10
) in das vorher zentrierte Loch.
GB - Mounting the handle bar
● Turn the vehicle body over.
● Remove the M5 x 35 machine screw (
13
) and Ø5 nut (
10
)
from the handle bar (
4
).
● Insert the handle bar (
4
) to the end of the steering shaft (
6
).
Line up the holes in the handle bar with the hole in the
steering shaft. Tighten the M5 x 35 machine screw (
13
) and
Ø5 nut (
10
) back in the same location with a screwdriver.
FR - Montage du guidon
● Remettez votre voiture sur les roues.
● Enlevez la vis M5 x 35
(13)
et l’écrou (Ø5)
(10)
du volant
(4)
.
● Placez le volant
(4)
sur l’axe directionnel
(6)
. Centrez le trou
du volant avec le trou dans l’axe directionnel.
Revissez la vis M5 x 35
(13)
et l’écrou (Ø5)
(10)
après l’avoir
passé dans le trou.
IT - Montaggio del volante
● Posizionare il veicolo.
● Rimuovere le viti M5 x 35
(13)
e dadi (Ø5)
(10)
del volante
(4)
.
● Metere il volante
(4)
sul asse volante
(6)
. Centrare il buco con
il buco del asse volante. Vitare le vite M5 x 35
(13)
e dadi
(Ø5)
(10)
nell buco precedenten.
ES - Montaje del volante
● Levanta el vehículo.
● Quitar los tornillos M5 x 35
(13)
y la tuercas (Ø5)
(10)
de el
volante
(4).
● Ponga el volante
(4)
en el eje de dirección
(6).
Colocar el
agujero con el agujero en el eje de dirección. Atornillar los
tornillos M5 x 35
(13)
y la tuercas (Ø5)
(10)
en el agujero
central.
No. 4
No. 10
No. 13
No. 6
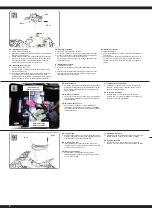
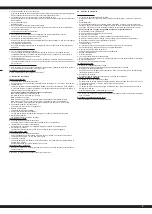
DE - Akkuanschluß
● Verbinden Sie alle Steckverbindungen wie abgebildet.
Stecken Sie nur passende Steckverbindungen ineinan-
der. Die Motoranschlüsse können untereinander ge-
tauscht werden.
GB - Battery connection
● Connect all connectors as shown. Only plug matching
connectors into eachother. The motor connectors are
interchangeable.
FR - Branchement de l’accu
● Branchez les connecteurs comme indiqué dans
l’illustration. Ne branchez que les prises compatibles.
Le branchement de l’alimentation du moteur peut être
interverti entre eux.
IT - Collegamento della batteria
● Collegare i connettori come mostrato. Inserire sollo
connettori corrispondenti. I collegamenti del motore
possono essere scambiati.
ES - Conexion de batería
● Conecte todos los conectores como se muestra.
Conecte solo los conectores adapto. Las conexiones
del motor se pueden intercambiar.
Stromanschluß
Power connection
Motoranschlüsse
Motor connection
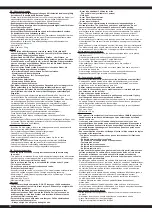
DE - Sitzmontage
● Schieben Sie die „Nase“ vom Sitz (
5
) in die dafür vorge-
sehenen Schlitze im Fahrzeug und befestigen den Sitz
mit einer M5 x 12 Gewindeschraube (
20
).
GB - Assembly the seat
● Insert the tabs on the seat (
5
) into the slots in the
vehicle body, and tighten a M5x12 machine screw (
20
)
to secure it with a screwdriver
FR - Montage des sièges
● Placez le „Nez“ du siège
(5)
dans la fente de
l’emplacement de réception du siège et fi xez le avec
une vis M5 x 12
(20)
.
IT - Montaggio del sedile
● Spingere il naso del sedile
(5)
nella fessura prevista del
veicolo e fi ssare il sedile con le vite M5 x 12
(20)
.
ES - Montaje del asieto
● Deslice el nariz del asiento
(5)
en las ranuras del
vehículo y fi jar el asiento con los tornillos M5 x 12
(20).
No. 5
No. 20


