AI4100 Portable AEI Reader
60
March 2, 2015
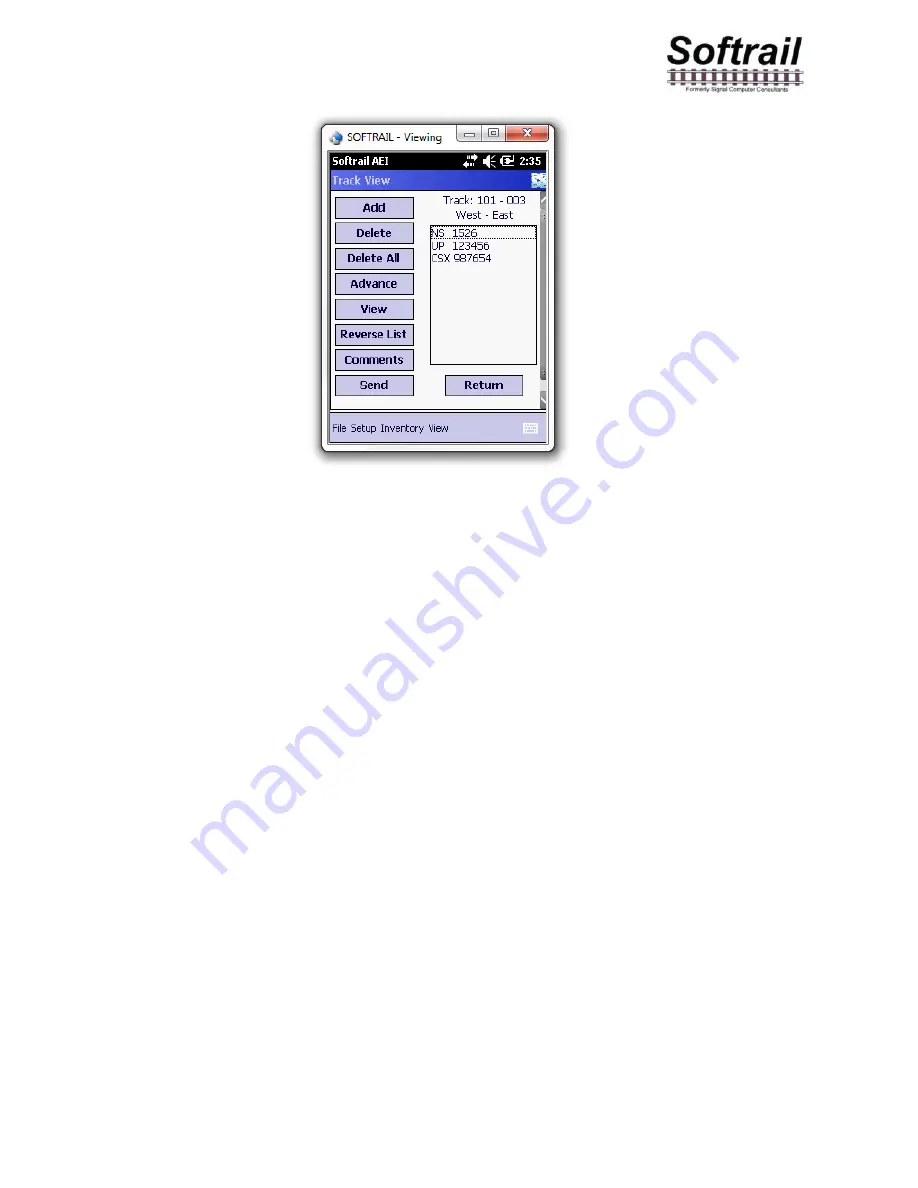
Figure 63 - Track View Dialog
The Track View dialog allows the user to add a vehicle, delete a vehicle, or delete all rail
vehicles on a track.
6.1.1. Add Rail Vehicle
To add a rail vehicle, first select the location in the consist where you want the vehicle to be
added by tapping on the vehicle in the list that will be behind the vehicle to be added. If you
want, for example, to add a vehicle between NS 1526 and CSX 987654 in the list shown in
Figure 63, tap on CSX 987654 and then tap the Add button. The Manual Entry dialog shown
in Figure 17 will then be displayed.
6.1.2. Delete Rail Vehicle
To delete a vehicle, tap on the vehicle to be deleted, and then tap on the Delete button.
The Delete All button will delete all rail vehicles on a track.
6.1.3. Change Rail Vehicle Position on Track
The Advance button is used to change the position of a rail vehicle on a track. To change a
position of a rail vehicle, tap on the vehicle you want to move. Each time you tap the
Advance button the vehicle will move up the list one position.
6.1.4. View and Change Rail Vehicle Data
The View button allows the user to view and modify data about a rail vehicle. To use this
function, tap on the rail vehicle and then tap the View button. This will cause the Rail Vehicle
dialog shown in Figure 64 to appear.


