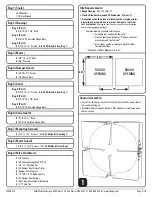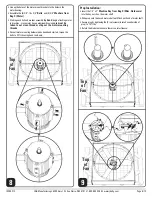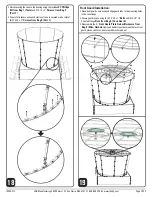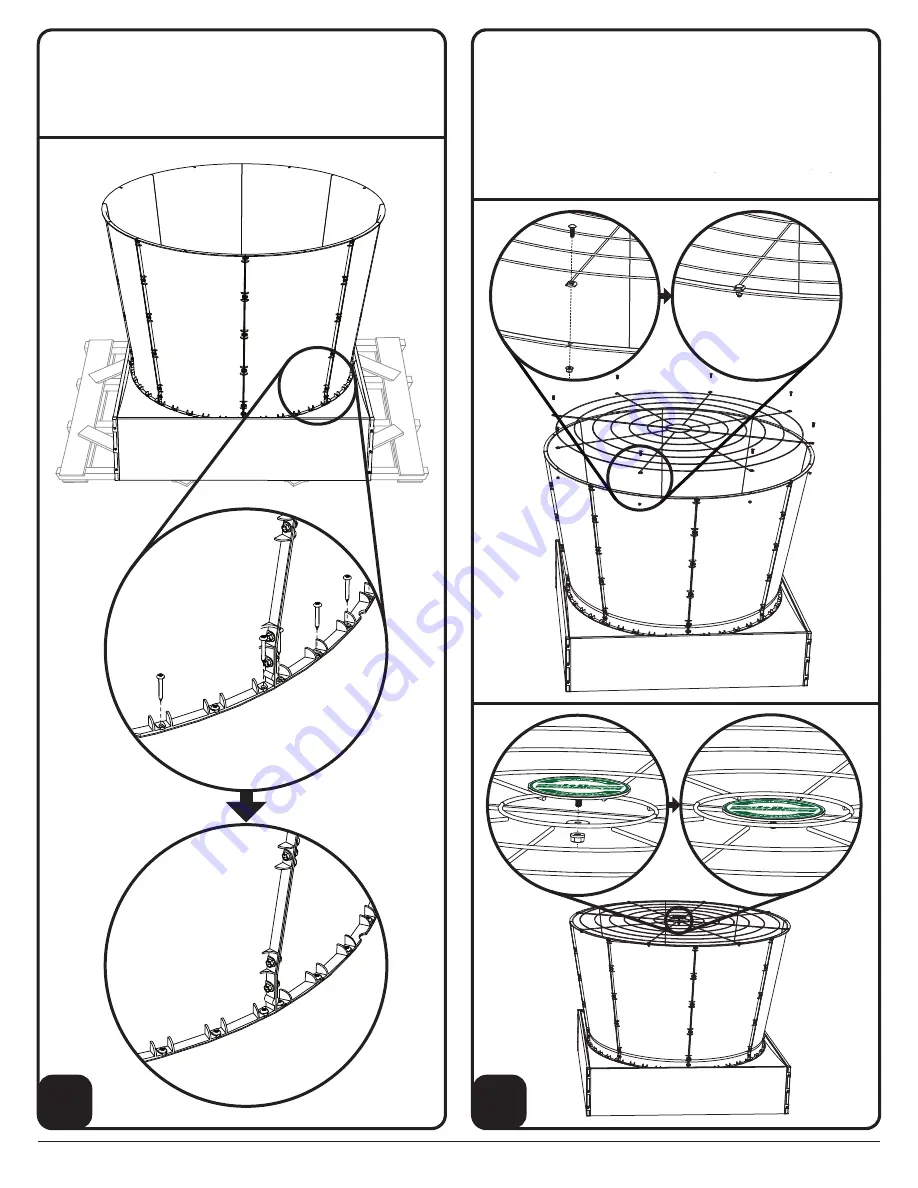
Front Guard Installation:
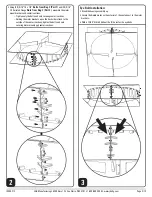
• Place front guards onto cone and align guard tabs to the mounting holes
in the cone flange.
• Secure guard to cone using
(8) 5/16”-18 x 1”
Bolts
and (8) 5/16”-18
Serrated Flange
Nuts from Bag 6 (Cone Guard)
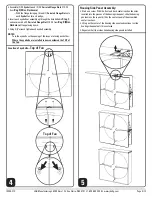
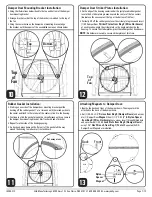
• Disassemble the (1)
Front Guard Plate Hub w/Hardware from
Bag 9 (Misc. Hardware)
, insert hub bolt post between the two front
guard pieces, center, and secure with washer and nut.
19
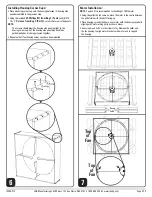
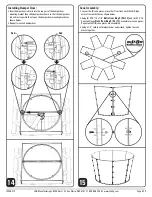
• Finish securing the cone to the housing using the included
#3 Phillips
Bit from Bag 1 (Tools)
and
#14-10 x 2”
Screws from Bag 5
(Part 1)
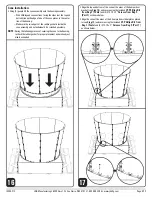
• Cone is fully secure once each section of cone is secured with a total of
(6)
#14-10 x 2”
Screws from Bag 5 (Part 1)
18
IS295-21C J&D Manufacturing • 6200 Hwy 12 • Eau Claire, WI 54701 • 1-800-998-2398 • www.jdmfg.com
Page 10/13


