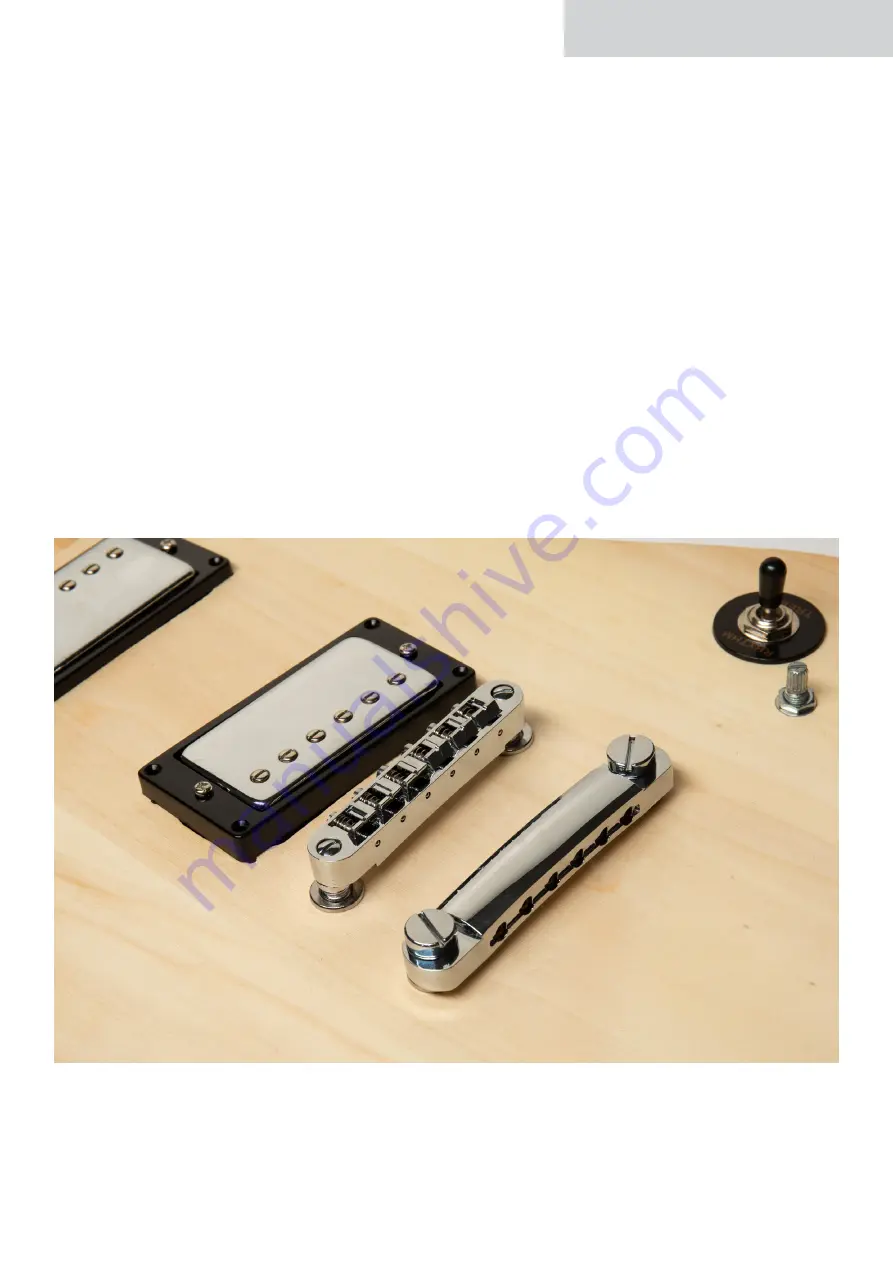
Step 7: Mount Bridge & Stop-bar
Once the electronics are prepared and wired, the bridge and stop bar can be attached. First use a
drill with a 12 mm countersink to widen the pilot holes for the bridge in the body to 12 mm. Then
screw the bridge inserts (
14B
) into the respective drive-in sleeves for the bridge (
14A
) and fasten
the drive-in sleeves into the front drill holes behind the bridge pickup. The sleeves can either be
pressed in or hammered in with a rubber mallet. A normal hammer can also be used for this, but a
piece of wood or similar should be placed between them so as not to damage hardware parts and
the body during assembly!
Note:
If the holes for the drive-in sleeves are too narrow, they can be widened to the appropriate
size with a 12 mm countersink!
Repeat the procedure with the string holder (tailpiece) drive-in sleeves (
15A
) by screwing in the
inserts (
15B
) and hammering them into the two rear drill holes together with the sleeves. Please
note that the connecting cable for the string ground laid in step 4 has contact with the lower drive-in
sleeve!
ENGLISH
1
4


