62
GridVis
®
Collector
www.janitza.de
www.janitza.de
GridVis
®
Collector
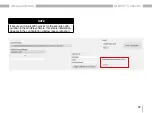
NOTE
Important!
For authentication or encrypted commu-
nication, it is essential that you follow the order of the
instructions!
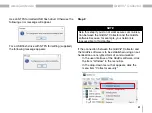
1. Configuring the GridVis
®
Collector in the GridVis soft-
ware (project selection, IP settings, assigning devices,
etc.) – for a description, see „6. 2 Configuring the
GridVis® Collector in the GridVis software“ on page
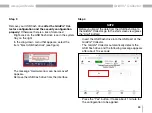
2. Save the configuration on the USB flash drive.
Do not
remove the USB flash drive during configuration!
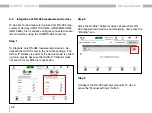
3. The project can only be saved in the security data-
base of the GridVis software and the security settings
can only be made once the configuration of the Grid-
Vis
®
Collector has been saved on the USB flash drive.
A more detailed description can be found in section
6 Secure data communication“ on page 72.
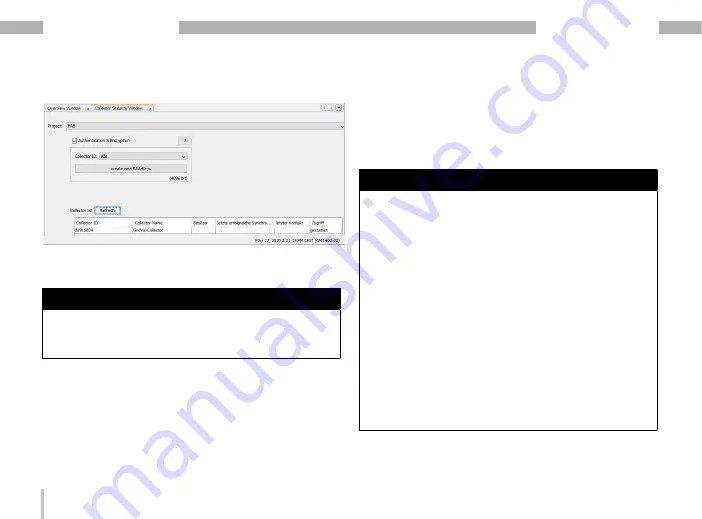
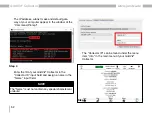
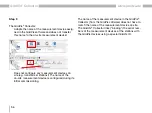
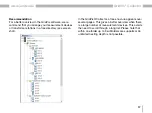
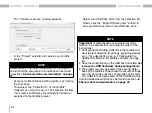
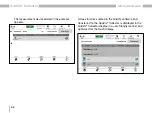
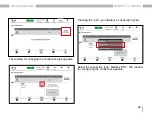
· The "Collector security" window appears.
· In the "Project" selection list, select your GridVis
project.
NOTE
A description of the initial configuration of the collector
security and the secured communication can be found
„6. 6 Secure data communication“ on page
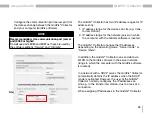
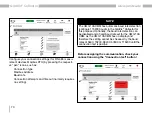
· Activate "Authentication and Encryption" by ticking
the checkbox.
· Then select the "Collector ID" of the GridVis
®
Collector you want to secure. The selection list item
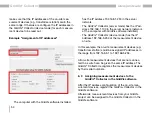
"All" creates an RSA key for all GridVis Collectors
assigned to the GridVis project.
· Select your USB flash drive from the selection list.
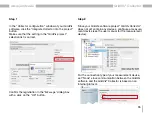
· Finally, click the "Export RSA key sets" button to
save your RSA key pair on the USB flash drive.
Summary of Contents for GridVis Collector
Page 25: ...25 www janitza de GridVis Collector...
Page 29: ...29 www janitza de GridVis Collector 270 mm 247 mm 91 mm Fig Housing of the GridVis Collector...
Page 37: ...37 www janitza de GridVis Collector...
Page 41: ...41 www janitza de GridVis Collector...
Page 45: ...45 www janitza de GridVis Collector...







![Lambrecht Ser[LOG] Operator'S Manual preview](http://thumbs.mh-extra.com/thumbs/lambrecht/ser-log/ser-log_operators-manual_3390951-001.webp)


