84
GridVis
®
Collector
www.janitza.de
www.janitza.de
GridVis
®
Collector
7. 3 Synchronizing measured values with the
GridVis software database
After reading out the measurement devices on site, syn-
chronize the measured values collected in the GridVis
®
Collector with the database of the GridVis software. To
do so, proceed as follows:
Step 1
· Start the GridVis software (as of the "Professional"
edition).
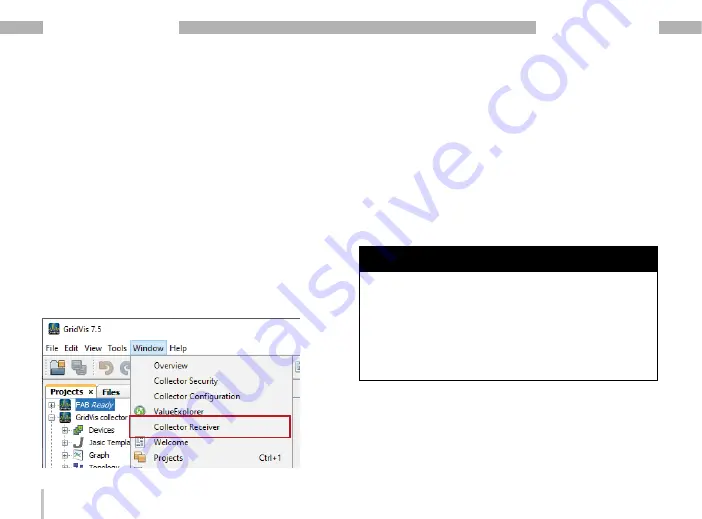
· Click the “Window" drop-down menu in the menu
bar of the GridVis software.
· Then click the "Collector Receiver" menu item.
· The "Collector-Receiver" plug-in starts a communi-
cation channel (service) for data exchange with the
GridVis
®
Collector that runs in the background.
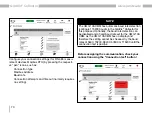
· The “Collector Receiver" window appears.
· In the "Communication port" input field, select the
same communication port as in the GridVis Collector
(see section 6. 2 „Step 5“ on page 52).
· Start the communication channel for the data
exchange (Collector Receiver) between the GridVis
software and the GridVis
®
Collector by clicking the
"Start Server" button.
NOTE
The communication channel for the data exchange (Col-
lector Receiver) in the GridVis software must be started
manually as of the
"Professional"
edition.
As of the GridVis
"Service" edition, the communication
channel for the data exchange (Collector Receiver) can
also be started automatically. The automatic start is
performed by the GridVis system service (for setup and
Summary of Contents for GridVis Collector
Page 25: ...25 www janitza de GridVis Collector...
Page 29: ...29 www janitza de GridVis Collector 270 mm 247 mm 91 mm Fig Housing of the GridVis Collector...
Page 37: ...37 www janitza de GridVis Collector...
Page 41: ...41 www janitza de GridVis Collector...
Page 45: ...45 www janitza de GridVis Collector...


