


63
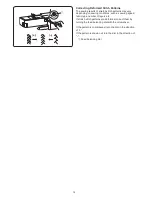
Pattern Combination with a Mirror Image
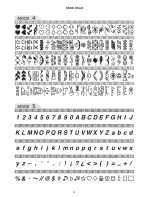
Example:
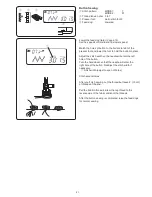
Pattern 73 (mode 3) and its mirror image
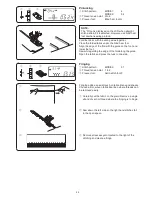
z
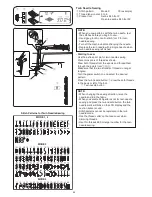
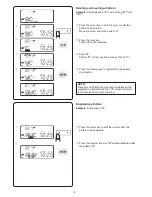
Select pattern 73 in mode 3.
x
Press the memory key.
z
q
x
c
v
b
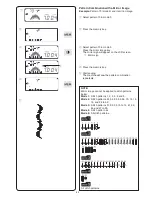
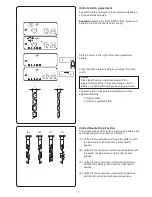
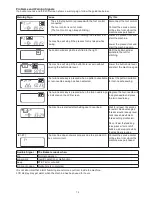
NOTE:
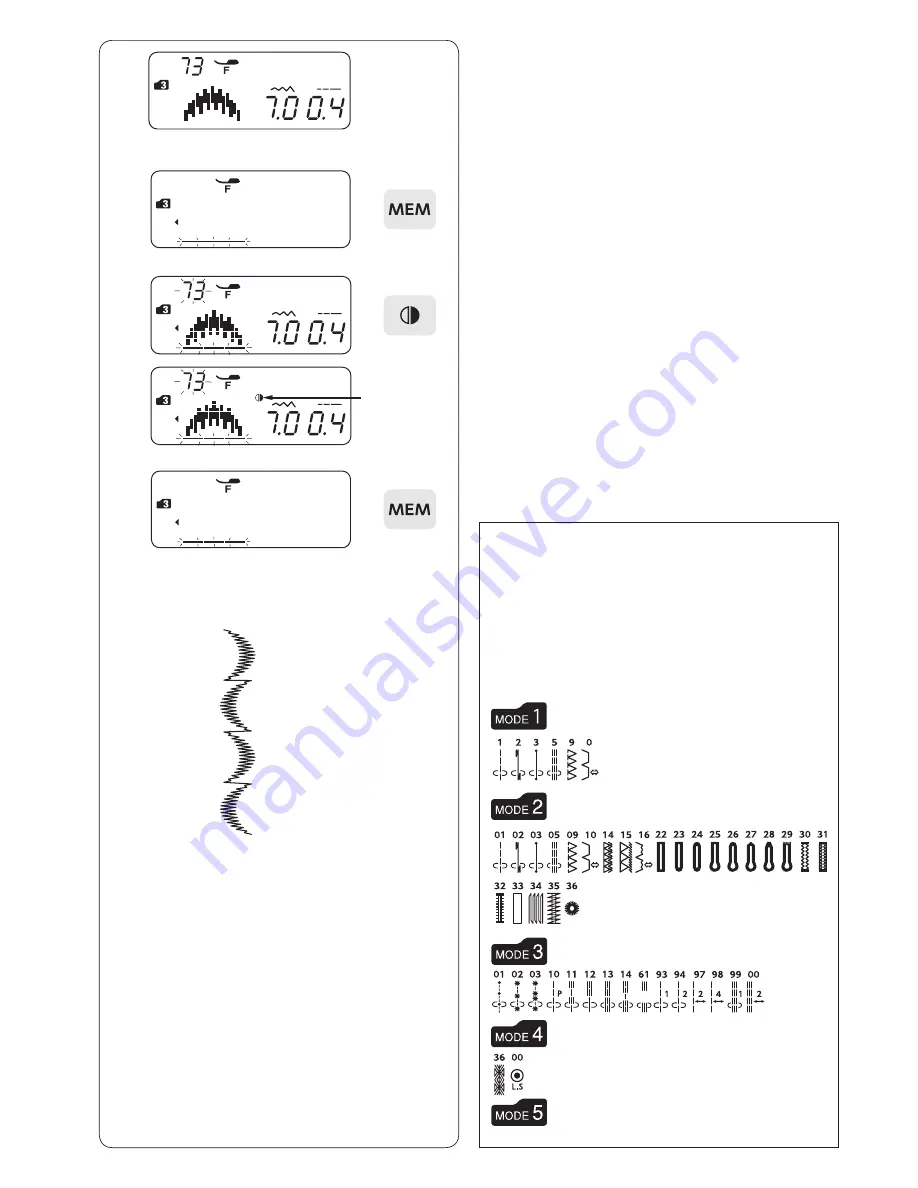
Mirror image cannot be applied to stitch patterns
below:
Mode 1:
Stitch patterns 1, 2, 3, 5, 9 and 0.
Mode 2:
Stitch patterns 01, 02, 03, 05, 09, 10, 14, 15,
16, and 22 to 36.
Mode 3:
Stitch patterns 01, 02, 03, 10 to 14, 61, 93,
94 and 97 to 00.
Mode 4:
Stitch pattern 64.
Mode 5:
All stitch patterns.
All stitch patterns.
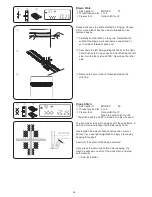
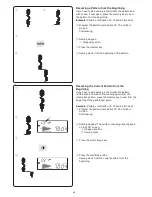
c
Select pattern 73 in mode 3.
Press the mirror image key.
The mirror sign will appear on the LCD screen.
q
Mirror sign
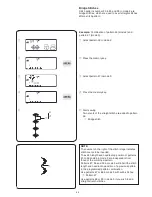
v
Press the memory key.
b
Start sewing.
The machine will sew the pattern combination
repeatedly.
Summary of Contents for 4300QDC
Page 1: ...Instruction Book 4300QDC...
Page 79: ...77 Stitch Chart...
Page 80: ...78 Stitch Chart...
Page 82: ...80 Version 1 00 12 6 2018...
Page 83: ......
Page 84: ...809 850 956 EN...


