17
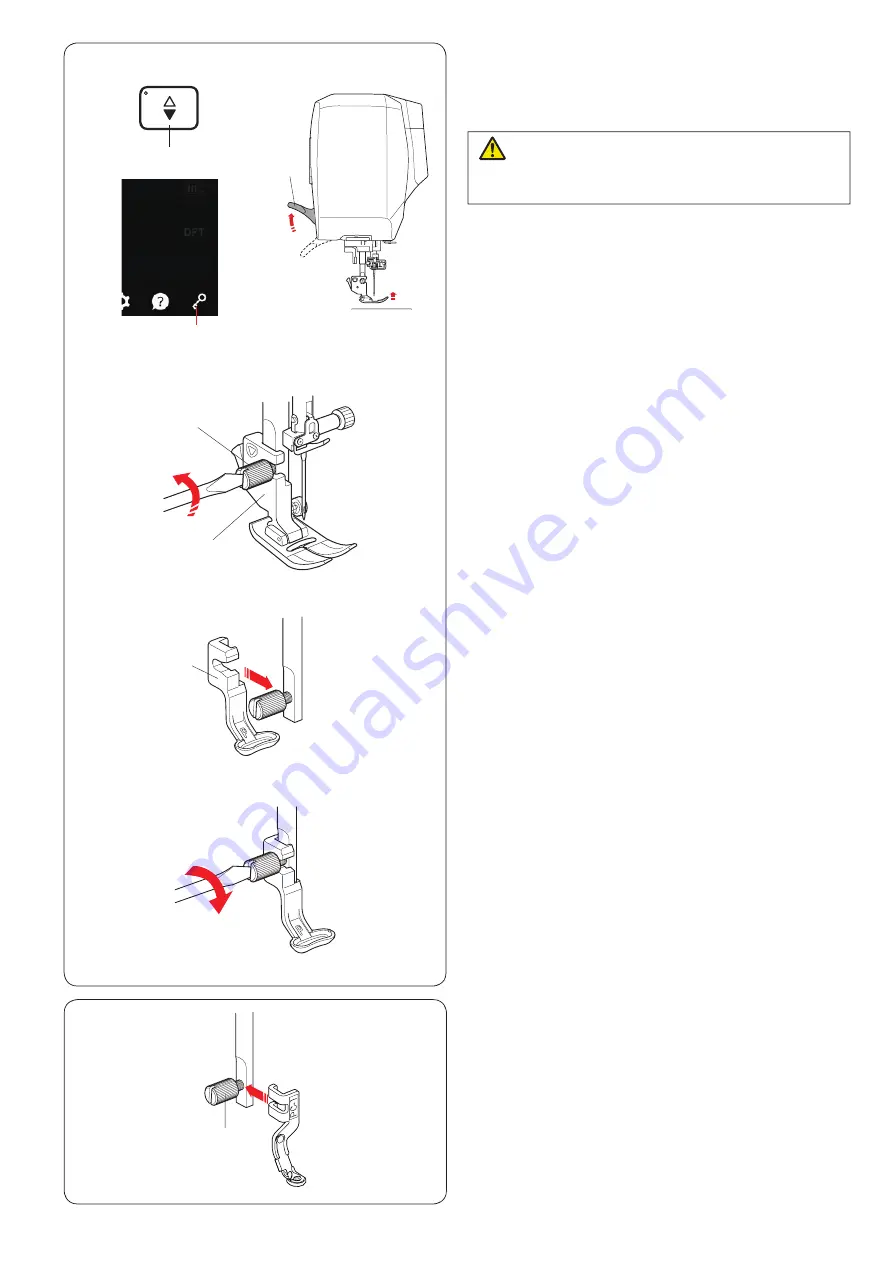
Attaching the Embroidery Foot
Use embroidery foot P or positioning marker embroidery
foot PM (refer to the next page) for embroidery. Attach
the couching foot when sewing a couching design.
z
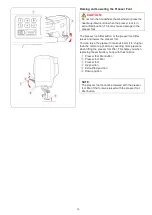
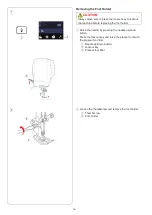
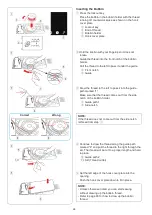
Turn the power switch on.
Raise the needle by pressing the needle up/down
button.
Press the lockout key and raise the presser foot with
the presser foot lifter.
q
Needle up/down button
w
Lockout key
e
Presser foot lifter
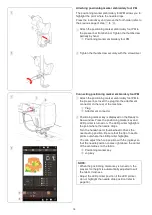
x
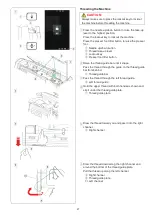
Loosen the thumbscrew with the screwdriver and
remove the foot holder.
r
Thumbscrew
t
Foot holder
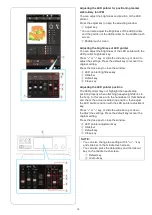
c
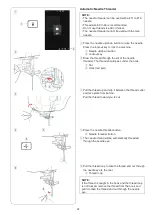
Attach embroidery foot P to the presser bar from
behind. Tighten the thumbscrew partially by hand.
y
Embroidery foot P
v
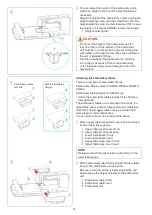
Tighten the thumbscrew securely with the screwdriver.
CAUTION:
Always make sure to press the lockout key to lockout
the machine before replacing the presser foot.
e
y
r
t
z
x
c
v
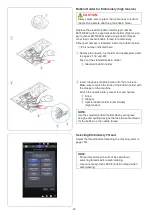
Attaching couching foot PC-1 or PC-2
Attach couching foot PC-1 or PC-2 to the presser bar.
Tighten the thumbscrew firmly with the screwdriver.
q
Thumbscrew
q
q
w

