62
Stuffed Doll Designs
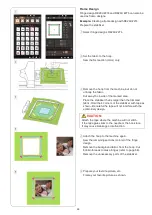
You can make your own stuffed doll with the In-The-Hoop
Designs. Prepare the following materials.
• Fabric 1 (front side of the doll)
• Fabric 2 (rear side of the doll)
• Stabilizer (non-water-soluble)
• Wad cotton
* You can attach parts like horns with RE46d #51 and
RE46d #52. Prepare fabric of your desired design and
material.
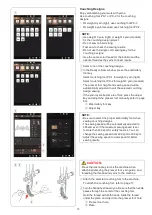
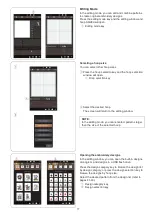
Select the desired pattern from RE46d #51 to RE46d
#73.
Example: RE46d #51 + horns
z
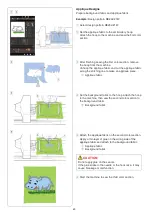
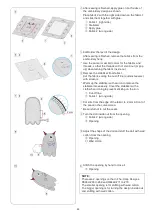
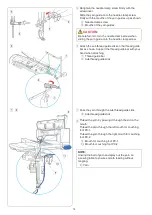
Attach a stabilizer on the wrong side of the fabric 1
and set the fabric in embroidery hoop RE46d (refer to
pages 36, 38-39).
Attach the embroidery hoop on the carriage (refer to
page 40).
q
Fabric 1
w
Stabilizer
NOTE:
Do not remove the fabric from the embroidery hoop
until the sewing project is finished.
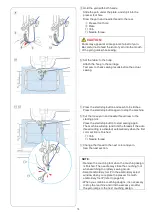
x
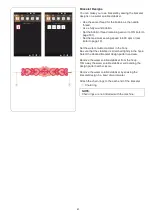
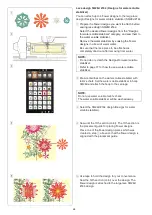
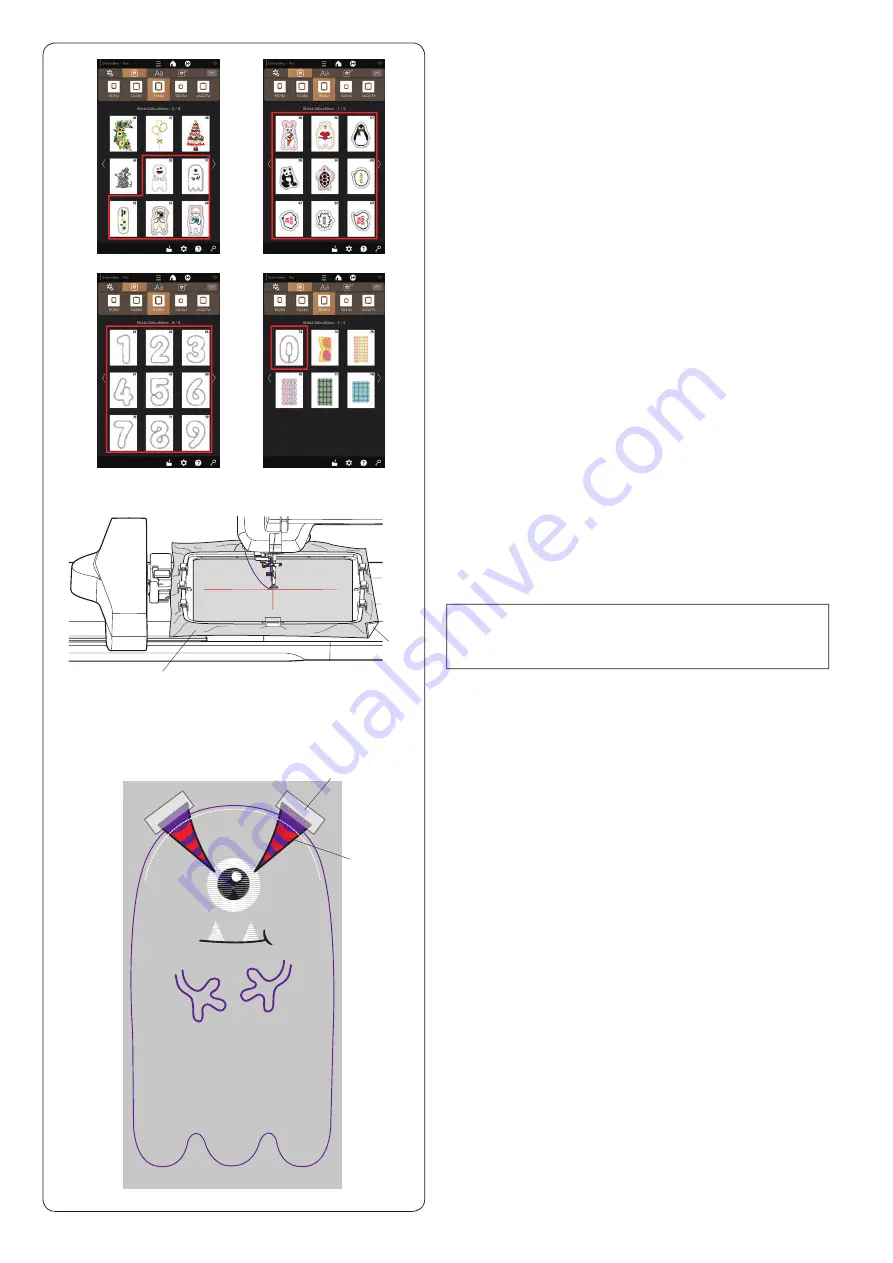
Embroider the following parts: both arms, cut-off
line, fangs, white of the eye, mouth, and eyeball. The
presser foot rises automatically when the machine
stops after the sewing of the eyeball is finished.
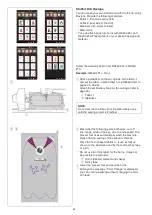
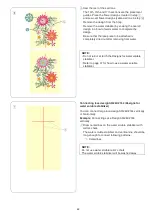
Place the horn shaped fabrics
e
(such as felt) as
shown on the illustration and fix them with sticky tape
or a pin.
* Do not use too thick fabric for the horns. It may not
be possible to embroider.
e
Horns (desired material and shape)
r
Sticky tape
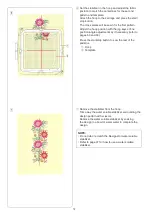
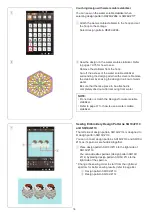
c
Lower the presser foot and sew the horns.
* Although the message “Color Change” is displayed,
you can continue sewing without changing the color
of thread.
q
w
z
x c
e
r

