90
b
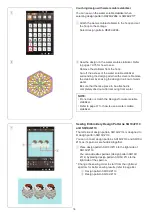
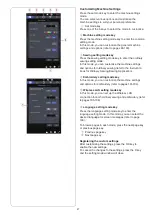
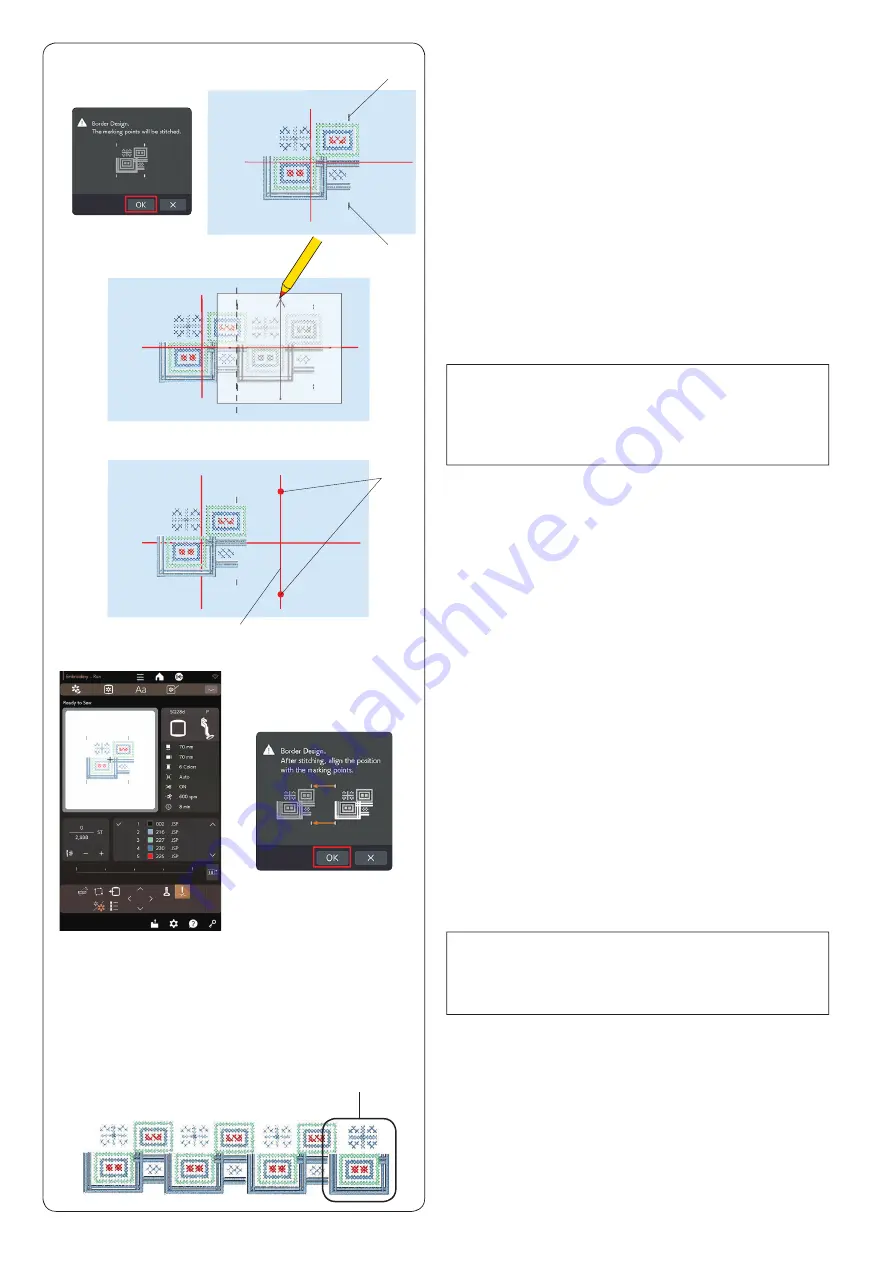
Remove the hoop from the carriage and remove the
fabric from the hoop.
Place the design (template sheet) on the fabric.
Align the marking points of the sewn pattern and
design (template sheet).
v
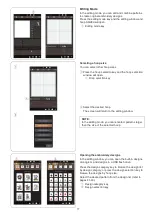
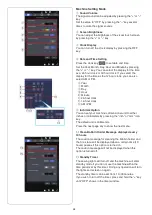
The machine will stop automatically when sewing the
design pattern is finished.
Press the start/stop button and the message for the
last 2 marking points will appear.
Press the OK key and press the start/stop button to
sew the last 2 marking points.
r
Last marking points
NOTE:
If semi-opaque paper is not available, print the design
(template sheet) on plain paper and cut the left side
at the marking points (along the broken line in the
illustration).
n
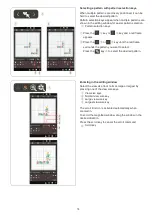
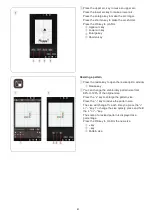
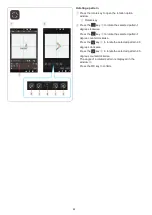
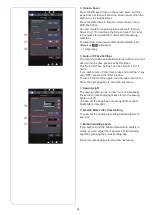
Mark the end points of the vertical centerline for the
second pattern.
t
Marking points
y
Vertical centerline
m
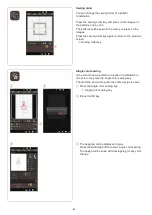
Set the fabric in the hoop and adjust the fabric position
to match the centerlines for the second pattern and
template.
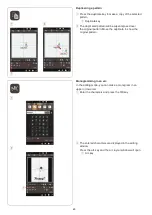
Attach the hoop to the carriage and press the start/
stop button.
Press the OK key when the message appears.
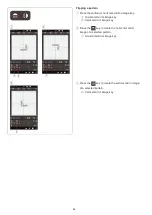
The hoop will move to the first marking point for the
second pattern.
Lower the needle by turning the handwheel to check if
the needle is right above the last marking point of the
first pattern.
Adjust the hoop position with the jog keys if
necessary.
Press the start/stop button to sew the second pattern.
,
Repeat steps
b
to
m
to sew the desired number of
patterns.
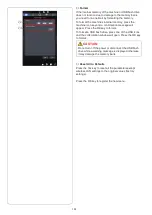
You may sew border design pattern RE20d #281 at the
end of the pattern series.
u
Design pattern RE20d #281
NOTE:
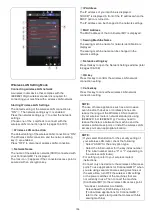
You can use positioning marker embroidery foot PM to
confirm the needle drop position without piercing the
fabric (refer to pages 18-19).
r
r
v
n
b
u
m
,
t
y

