


www.toews.com
7 4
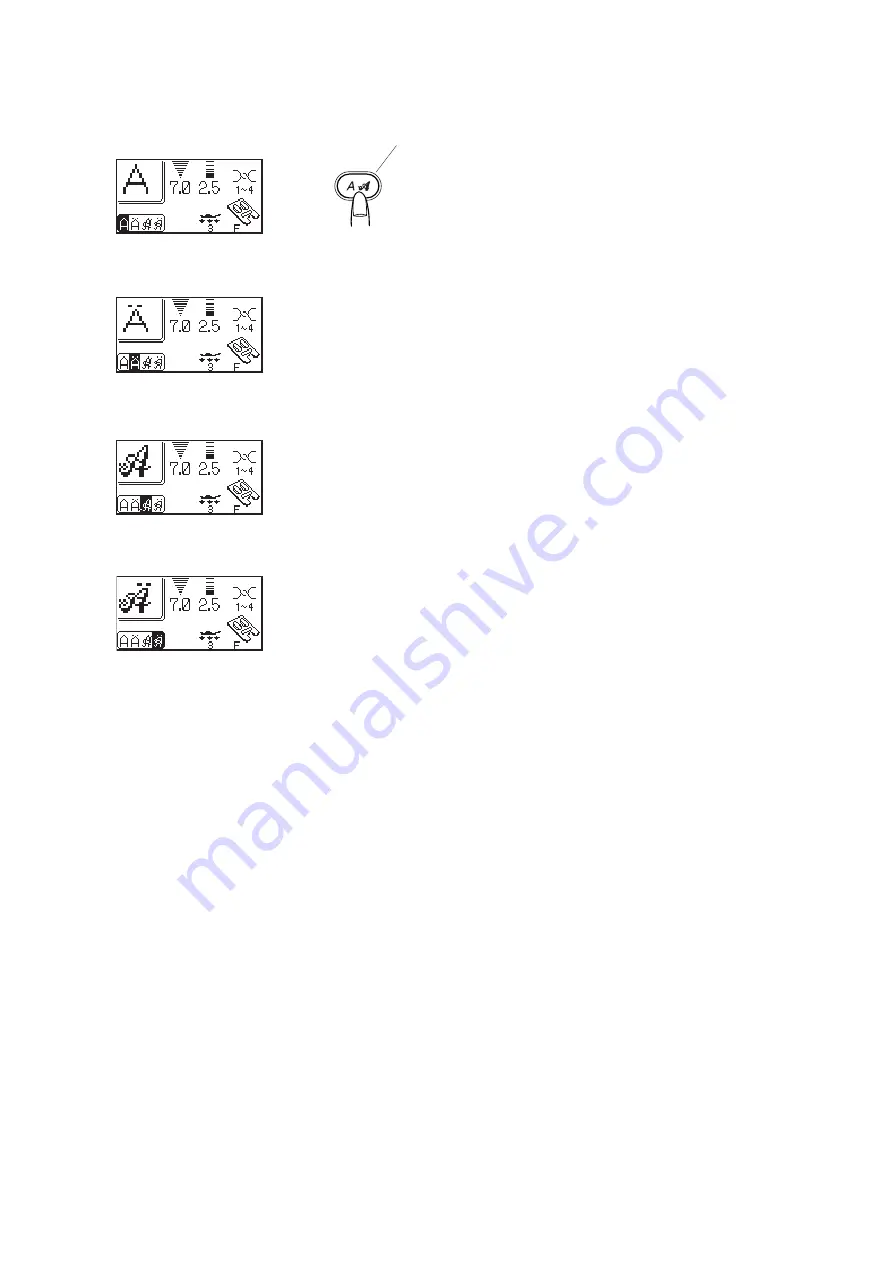
(1)
(2)
(3)
(4)
1
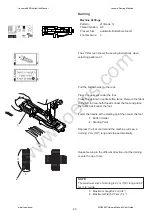
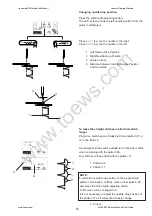
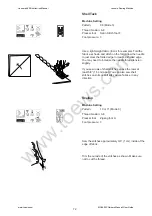
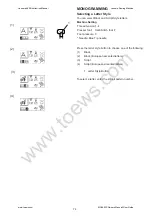
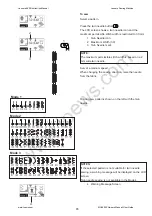
MONOGRAMMING
Selecting a Letter Style
You can select Block and Script Style letters.
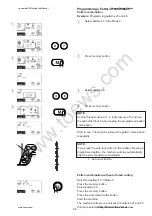
Machine Setting
Thread tension:1-4
Presser foot:
Satin Stitch foot F
Foot pressure: 3
* Needle: Blue Tip needle
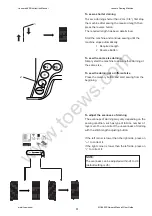
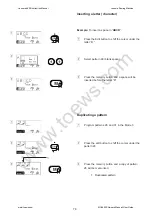
Press the letter style button to choose one of the following:
(1)
Block
(2)
Block (European accented letters)
(3)
Script
(4)
Script (European accented letters)
1 Letter Style Button
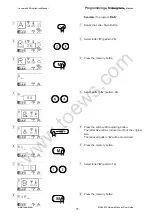
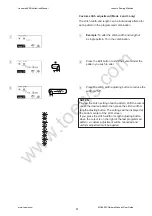
To select a letter, enter the 2-digit pattern number.
Janome 6600 Instruction Manual
Janome Sewing Machine
www.toews.com
MC6600P Owners Manual/ User Guide


